Supply Demand areas
- Indicators
-
Makarii Gubaydullin
 Multifunctional Trade Assistant:
MT5: https://www.mql5.com/en/market/product/71145 - Version: 1.20
- Updated: 7 March 2023
- Activations: 5
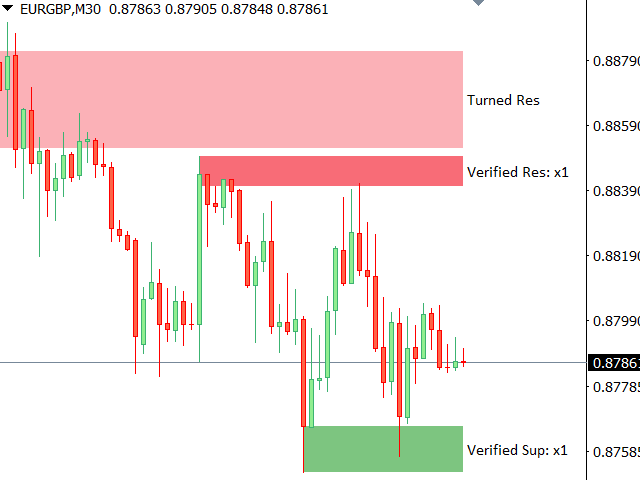
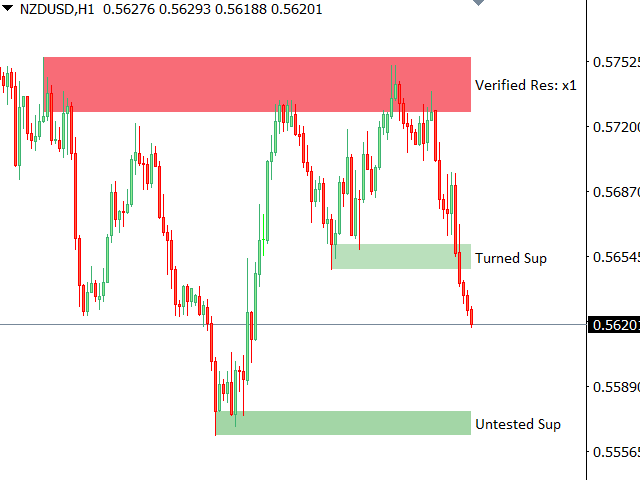
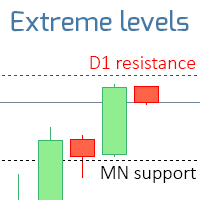
Supply / demand zones: observable areas where price has approached many times in the past.
Multifunctional trade manager: 66+ features, including this indicator | Contact me for any questions | MT4 version
The indicator shows where the price could potentially be reversed again.
Usually, the more times the price has been rejected from the level, the more significant it is.
In the input settings you can adjust:
- Enable or disbale Weak zones;
- Show or hide zone description;
- Font size;
- Set the basic color: separately for the support and resistance:
selected color will be less intense for a weak zones, so it will visually help you analyze the chart; - Timeframe for calculating the zones;
Supply and demand zones are key areas on a price chart where significant buying (demand) or selling (supply) has previously occurred. These zones help traders anticipate potential reversals or continuations in price movements. Supply and demand trading works best when combined with other tools like trendlines, moving averages, or order flow analysis.
How to Identify Supply & Demand Zones:
Demand Zones (Buying Pressure)
-
Formation: A strong bullish move after a decline.
-
How to Mark:
-
A sharp price rise (base).
-
The base before the rally is the demand zone.
-
A rectangle from the lowest candle wick to the consolidation area.
-
Supply Zones (Selling Pressure)
-
Formation: A strong bearish move after an uptrend.
-
How to Mark:
-
A sharp drop after a rally.
-
The base before the drop is the supply zone.
-
A rectangle from the highest candle wick to the consolidation area.
-
Key Rules:
- Zones must have a strong, fast move away.
- The stronger the initial move, the more significant the zone.
- Fresh zones (untested) are more reliable.
How to Trade Supply & Demand Zones:
A) Trading Bounces (Reversal Trades)
-
Demand Zone Entry: Buy near the zone with a stop-loss below it.
-
Supply Zone Entry: Sell near the zone with a stop-loss above it.
-
Take Profit: Target previous swing highs/lows or use a risk-reward ratio (e.g., 1:2 or 1:3).
B) Trading Breakouts (Continuation Trades)
-
If price breaks a demand zone, it may turn into a supply zone (and vice versa).
-
Enter short on a confirmed break below demand or long above supply.
Strengthening Your Zones:
-
Timeframe Confluence: Zones on higher timeframes (Daily, H4) are stronger.
-
Multiple Touches: Zones that hold multiple tests become weaker.
-
Volume Confirmation: High volume at the zone increases validity.