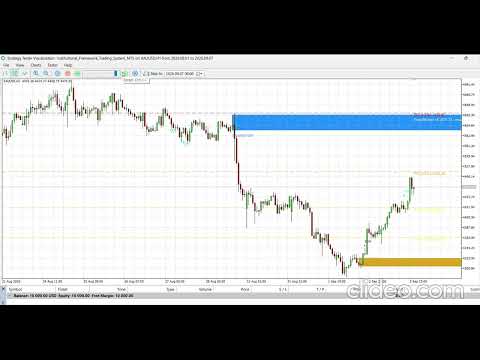
Institutional Framework Trading System MT5
- Indicators
- Version: 1.33
- Updated: 11 September 2026
- Activations: 8

Range-Bound Edition · v1.33
Trade Instruments With the Same Structure Institutions Actually Use
Most retail Smart Money Concept tools do one thing: they plot order blocks and liquidity sweeps on your chart and leave you to decide whether to trust them. Institutional Framework Trading System MT5 doesn't stop there. Every signal it prints is price-action structure that has already been cross-checked against up to three additional layers of institutional-grade context — real options-market positioning, macro fundamentals, and market sentiment — synthesized into one clear signal instead of three indicators arguing with each other on your screen.
It's built for traders who already understand order blocks, liquidity sweeps, and supply/demand zones and want a system that verifies structure instead of just drawing it.
What sets it apart
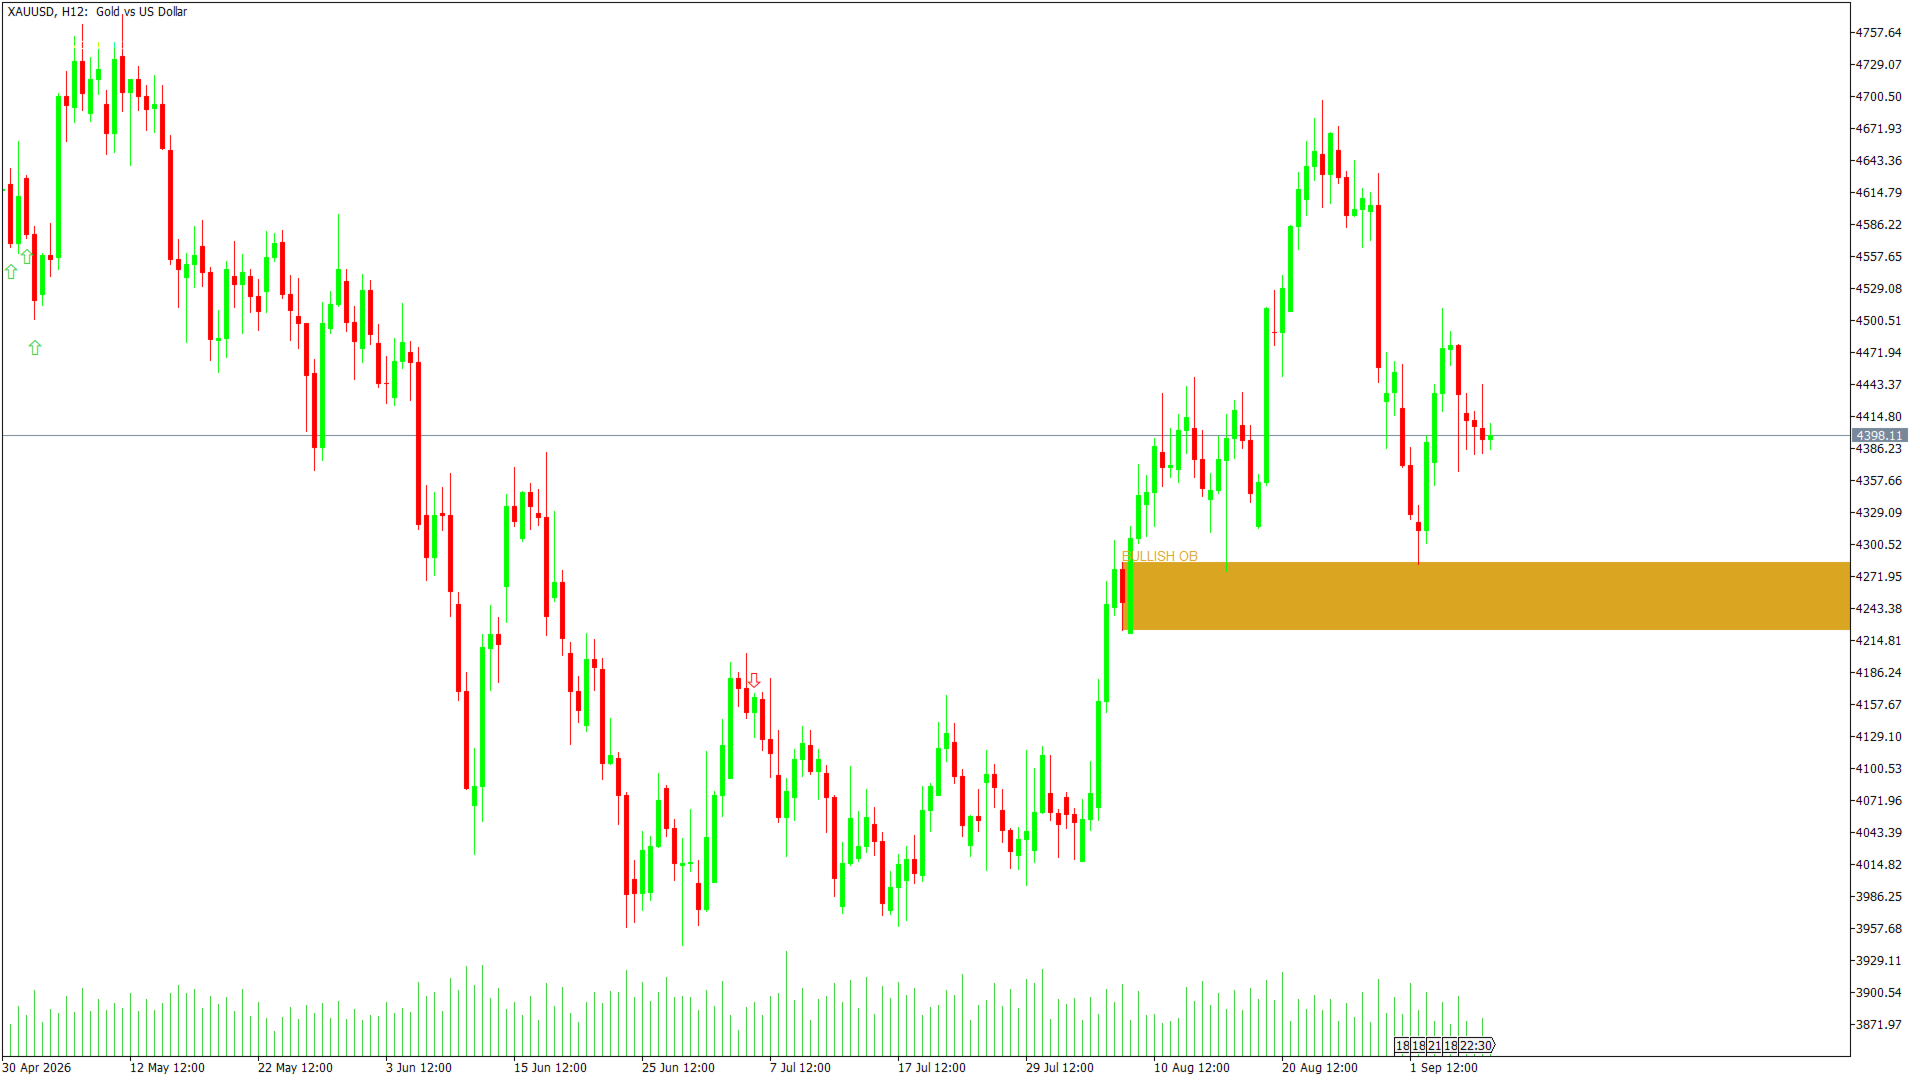
- A complete SMC structure engine — order blocks, liquidity sweeps, and supply/demand zones, built entirely from confirmed, closed-bar price action. Signals lock the moment a bar closes and are never repainted afterward.
- Multi-layer confirmation, not just structure. Every structural signal is cross-checked against divergence, exhaustion, and absorption detectors before it ever reaches your chart — so you're seeing agreement between price structure and order-flow behavior, not just a pattern match.
- Real options-market confluence. Pull directly from COMEX Gold futures options data — genuine open interest, Max Pain, and liquidity levels from the actual gold options market, not a synthetic stand-in — to see where size is actually sitting before price gets there.
- Macro-aware by design. A built-in pipeline reads the Fed's balance sheet, CPI/PPI, and employment data so your signals stay aligned with the broader macro regime instead of ignoring it.
- Sentiment-aware. CFTC Commitment of Traders positioning and market Fear & Greed feed a genuine contrarian filter — extreme sentiment readings are treated as a fade opportunity, not a green light.
- Two purpose-built modes. A scoring-based Conservative Mode for trending conditions, and a Range-Bound Mode — this build's default, tuned through strategy testing — built for consolidating markets where structure and reversion matter more than momentum.
- Works immediately, scales with you. Every advanced layer above is optional. Attach it with zero configuration and it runs on pure verified structure from the first bar. Add options data, macro feeds, or sentiment inputs whenever you're ready — nothing above the core engine is required to get signals.
1. Quick Start
- Copy the .mq5 file into your terminal's MQL5\Indicators folder (File → Open Data Folder from within MT5), then compile it in MetaEditor.
- Attach it to a gold chart (it will work on other symbols, but every default and comment in this file assumes XAU).
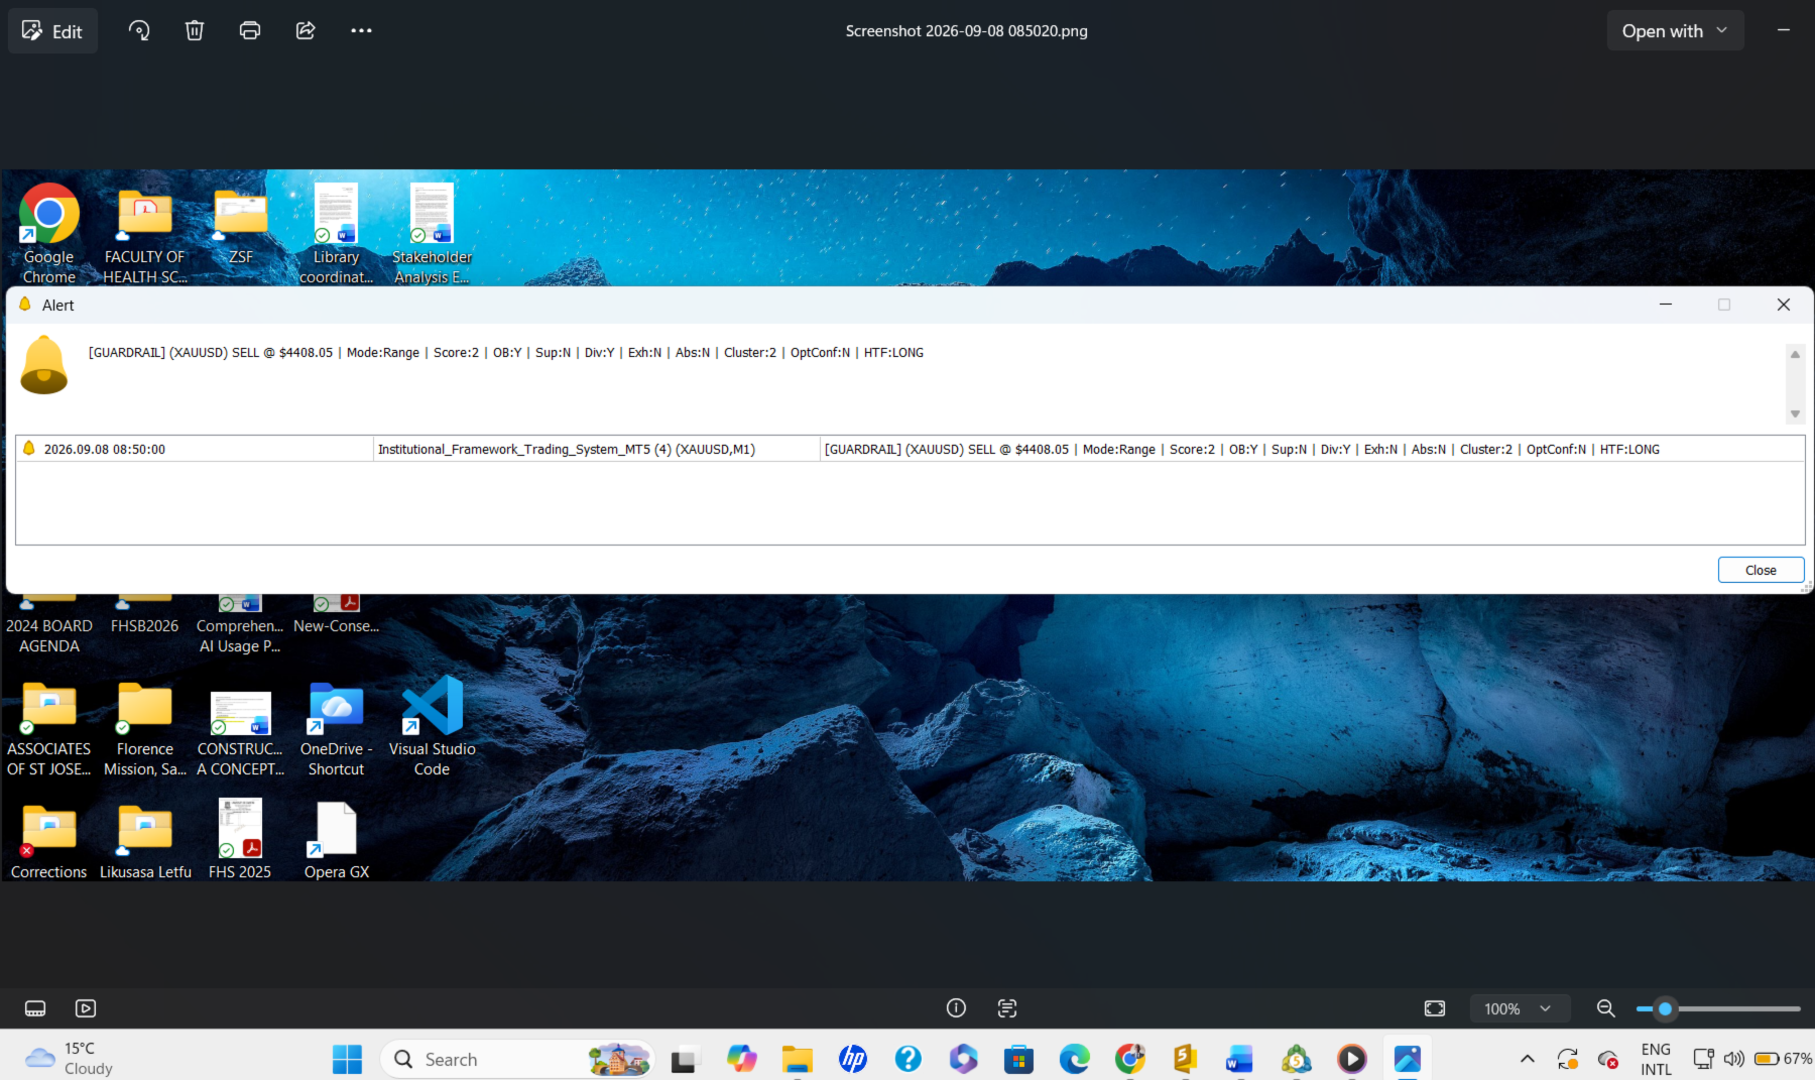
- Leave every input at its default. This ships in Range-Bound Mode — the mode this build was tuned for — with divergence detection active but its on-chart markers hidden (Section 2 explains why).
- Watch the Experts log after attaching. It will tell you plainly if any auto-fundamentals/sentiment fetch failed, and the on-chart info panel shows current mode, regime, and signal-scoring status at a glance.
- If you want options-market confluence, pick one path from Section 11 — otherwise skip it entirely; the indicator runs fine without it.
2. Signal Modes
enum ENUM_SIGNAL_MODE { MODE_CONSERVATIVE, MODE_RANGEBOUND };
- Conservative Mode — a point-scoring system. Order block, sweep, divergence, exhaustion, absorption, cluster confluence, and options confluence each add to a score; a signal only fires once the score clears MinSignalScore (default 4). The regime filter (Section 12's fundamentals/sentiment read) actively blocks signals against the prevailing bias in this mode.
- Range-Bound Mode (the default in this build) — requires one structural condition (an order block or a live demand/supply zone) and one confirmation (divergence, exhaustion, or absorption), and a minimum score via RangeBoundMinScore (default 2 — the value that reproduces the original always-on gate exactly; raise it only if you specifically want Cluster/Options confluence to start mattering more). The regime filter does not block direction in this mode — both directions stay active regardless of fundamentals/sentiment bias.
Important — read this before touching RequireDivergence , RequireOrderBlock , or RequireSweep : all three only apply in Conservative Mode. Running Range-Bound Mode (the default), these inputs do nothing at all — don't spend time tuning them. RequireDivergence ships set to false specifically so it stays consistent if you ever do switch back to Conservative Mode.
DrawDivergenceMarks also ships false by default in this build. This is purely cosmetic — it only hides the on-chart DIV_ markers. The underlying divergence detector ( EnableDivergence , still true ) keeps running and still counts toward hasConfirmation in Range-Bound Mode. Turn DrawDivergenceMarks back on if you want to see divergence visually flagged on the chart.
3. Core Structure Detection
Group: === SMC / Structure Detection ===
| Input | Default | What it controls |
|---|---|---|
| SwingWing | 3 | Bars required on each side of a candle to confirm it as a swing high/low. Lower = more (noisier) swings; higher = fewer, more significant swings. |
| SwingLookback | 100 | How far back the swing-finder searches for the prior swing point when checking for divergence or sweep structure. |
| ATRPeriod | 14 | The ATR period used to scale nearly every distance-based threshold in the indicator (displacement, exhaustion, absorption, divergence-swing filters). |
| OBDisplacementMult | 1.0 | Minimum body-size-to-ATR ratio a candle must have to qualify as an order block's displacement candle. |
| OBMaxWickRatio | 0.3 | Maximum proportion of that displacement candle's range that can be wick (0–1) — filters out big-range-but-mostly-wick candles from counting as real displacement. |
| SDMoveMultiple | 3.0 | How many multiples of the "base" candle range the subsequent explosive move must reach to qualify as a supply/demand zone (Section 6). |
| EquilibriumBandPct | 0.05 | Width of the "equilibrium" band around the 50% level of a detected range. |
4. Confirmation Detectors
Groups: === Exhaustion Detection === , === Absorption Detection === , === Delta Divergence === , === Delta (Native Tick) ===
| Input | Default | What it controls |
|---|---|---|
| EnableExhaustion | true | Master toggle for the exhaustion detector. |
| ExhaustionWickMult | 0.6 | Minimum wick-to-range ratio for a candle to qualify as exhaustion. |
| ExhaustionBodyMult | 0.3 | Maximum body-to-range ratio allowed alongside that wick. |
| EnableAbsorption | true | Master toggle for the absorption detector. |
| AbsorptionVolFactor | 1.5 | Minimum volume-vs-average multiple for a candle to qualify as absorption. |
| AbsorptionRangeFactor | 0.8 | Maximum range-vs-ATR ratio allowed (absorption = high volume, small range). |
| AbsorptionRejectPct | 0.2 | Minimum wick-rejection proportion required. |
| EnableDivergence | true | Master toggle for the divergence detector — leave this on even with DrawDivergenceMarks off (Section 2). |
| DrawDivergenceMarks | false (this build) | Purely visual — shows/hides the DIV_ chart markers. Does not affect signal generation either way. |
| DivergenceMinSwingATR | 1.0 | Minimum swing-to-swing price difference (in ATR) required before two swings are even compared for divergence — filters out noise-level swings. |
| MaxTickBars | 50 | How many of the most recent bars can use real buy/sell tick-delta for divergence; anything older automatically falls back to raw tick-volume instead. |
5. Cluster Confluence
Group: === Cluster Confluence (both modes) ===
| Input | Default | What it controls |
|---|---|---|
| UseClusterScoring | true | Whether multiple simultaneous confirmations on one bar earn a scoring bonus. |
| MinClusterSignals | 3 | How many confirmations must agree simultaneously to trigger the bonus. |
| ClusterBonusScore | 2 | Size of that bonus, added to the signal's score. |
This applies in both modes — in Range-Bound Mode it feeds into the RangeBoundMinScore gate described in Section 2.
6. Supply & Demand Zones
Group: === Supply & Demand Zones ===
| Input | Default | What it controls |
|---|---|---|
| DrawSupplyDemandZones | true | Master toggle for the zone-drawing engine. |
| SDLookback | 100 | How far back the zone-finder searches for qualifying base+explosive-move patterns. |
| SDMaxBaseCandles | 4 | Maximum number of "base" (consolidation) candles allowed before the explosive move. |
| SDDisplacementMult | 0.5 | Minimum body-to-ATR ratio for the explosive move away from a zone (separate from, and looser than, OBDisplacementMult — zones and order blocks are detected independently). |
| SDMaxZonesShown | 3 | Caps how many zones are drawn on the chart at once. |
| SupplyZoneColor / DemandZoneColor | Red / Blue | Chart colors. |
A live (unmitigated) demand or supply zone satisfies the "structural" half of Range-Bound Mode's gate (Section 2) exactly like an order block does.
7. Higher-Timeframe Filter
Group: === Higher-Timeframe Confirmation ===
| Input | Default | What it controls |
|---|---|---|
| UseHTFFilter | true | Whether a higher-timeframe directional read is required to agree before a signal fires. |
| HTFTimeframe | H4 | Which higher timeframe to check. |
| HTFLookbackBars | 20 | How many closed H4 bars back the trend read looks. |
| HTFNeutralPct | 0.05 | How close to flat the HTF trend must be before it's treated as "neutral" (neither blocking longs nor shorts). |
This filter always reads the last closed higher-timeframe bar (never the currently forming one), so it can't repaint.
8. Session Filter
Group: === Session Filter (approximate UTC windows, NOT DST-adjusted) ===
| Input | Default | What it controls |
|---|---|---|
| AllowedSession | SESSION_ALL | Restrict signals to a specific session: SESSION_ALL , SESSION_LONDON , SESSION_NEWYORK , or SESSION_LONDON_NY . |
| UTCOffsetHours | 0 | Adjust if your broker's server time isn't UTC. |
The actual windows checked internally: London = 08:00–16:00 UTC, New York = 13:00–21:00 UTC.
9. Signal Cooldown & Stale Zone Decay
| Input | Default | Group | What it controls |
|---|---|---|---|
| SignalCooldownBars | 5 | Signal Cooldown | Minimum bars (or, if the price hasn't moved enough, minimum price distance) between two signals at the same zone, to stop the same level firing repeatedly. |
| MaxBarAgeForSignal | 25 | Stale Zone Decay | How old an order block is allowed to be and still count as valid structure for a new signal. This one gates whether the arrow appears at all — different from the alert-timing setting in Section 13. |
10. Risk Management Protocol
Group: === Fibonacci Extension Auto-Targets ===
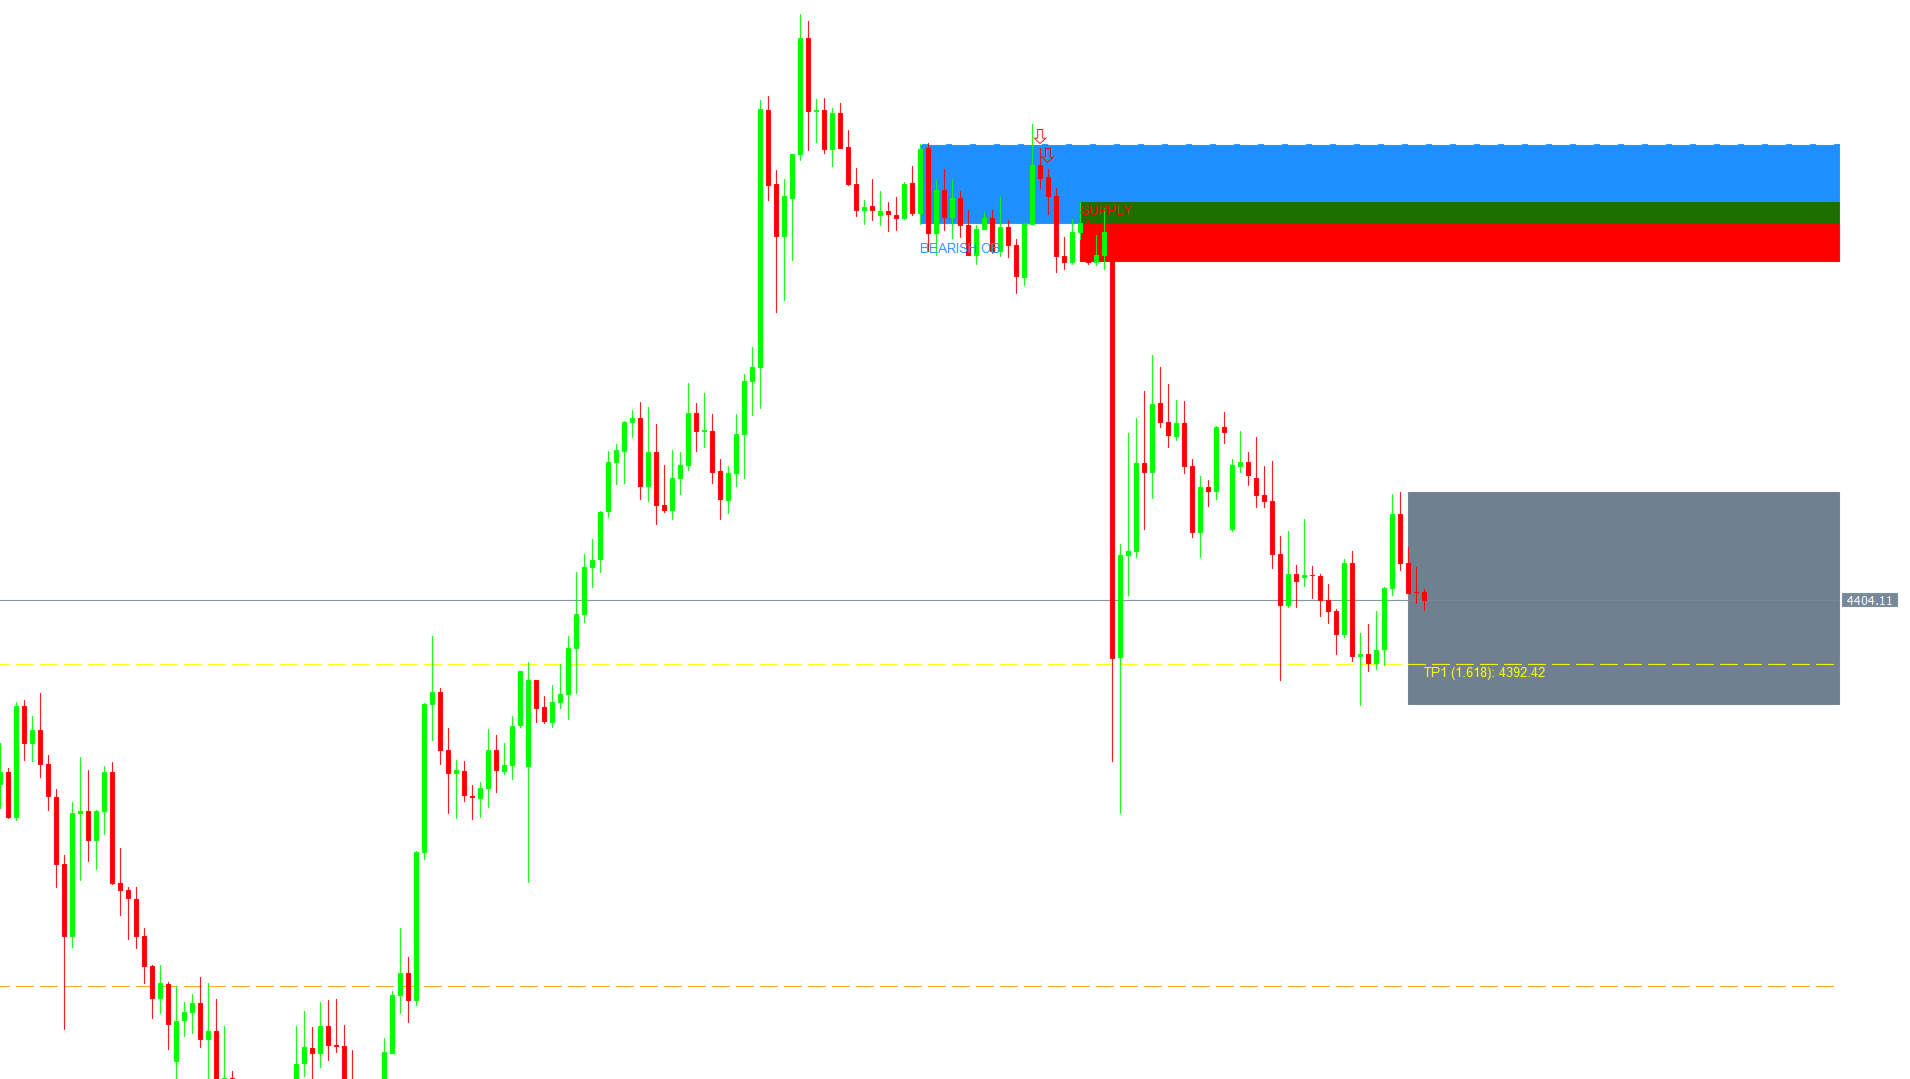
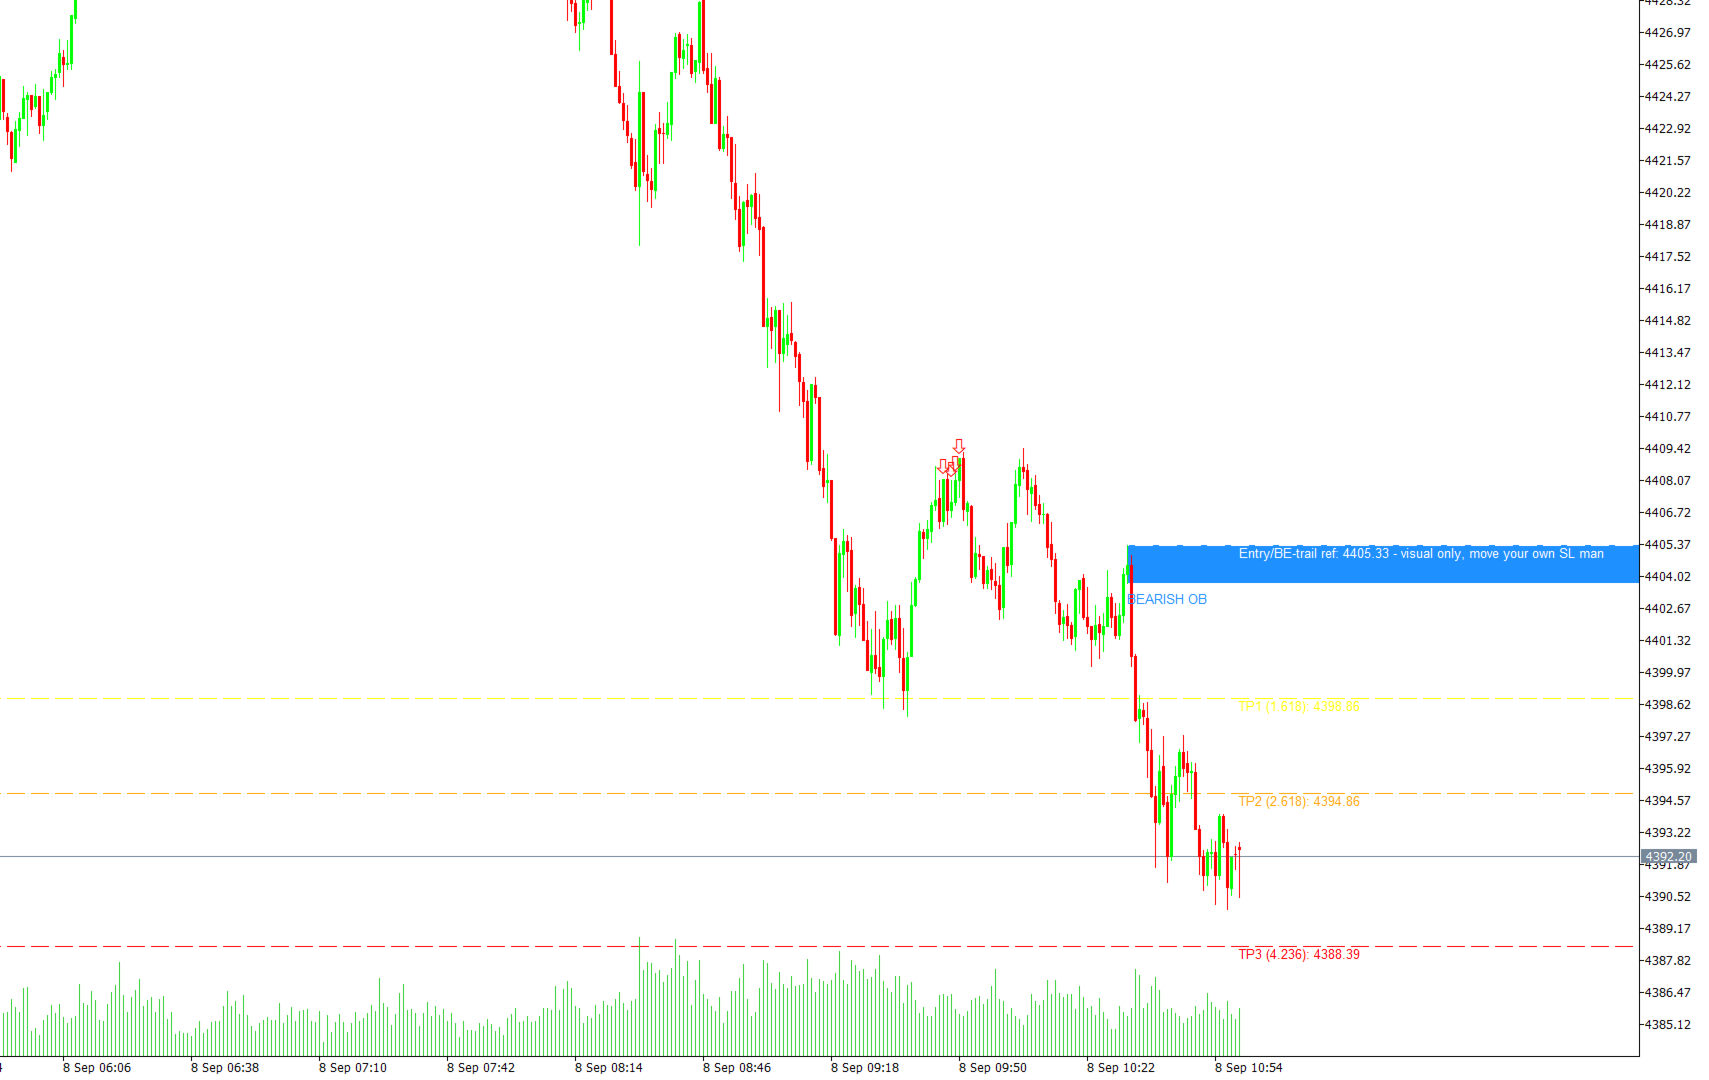
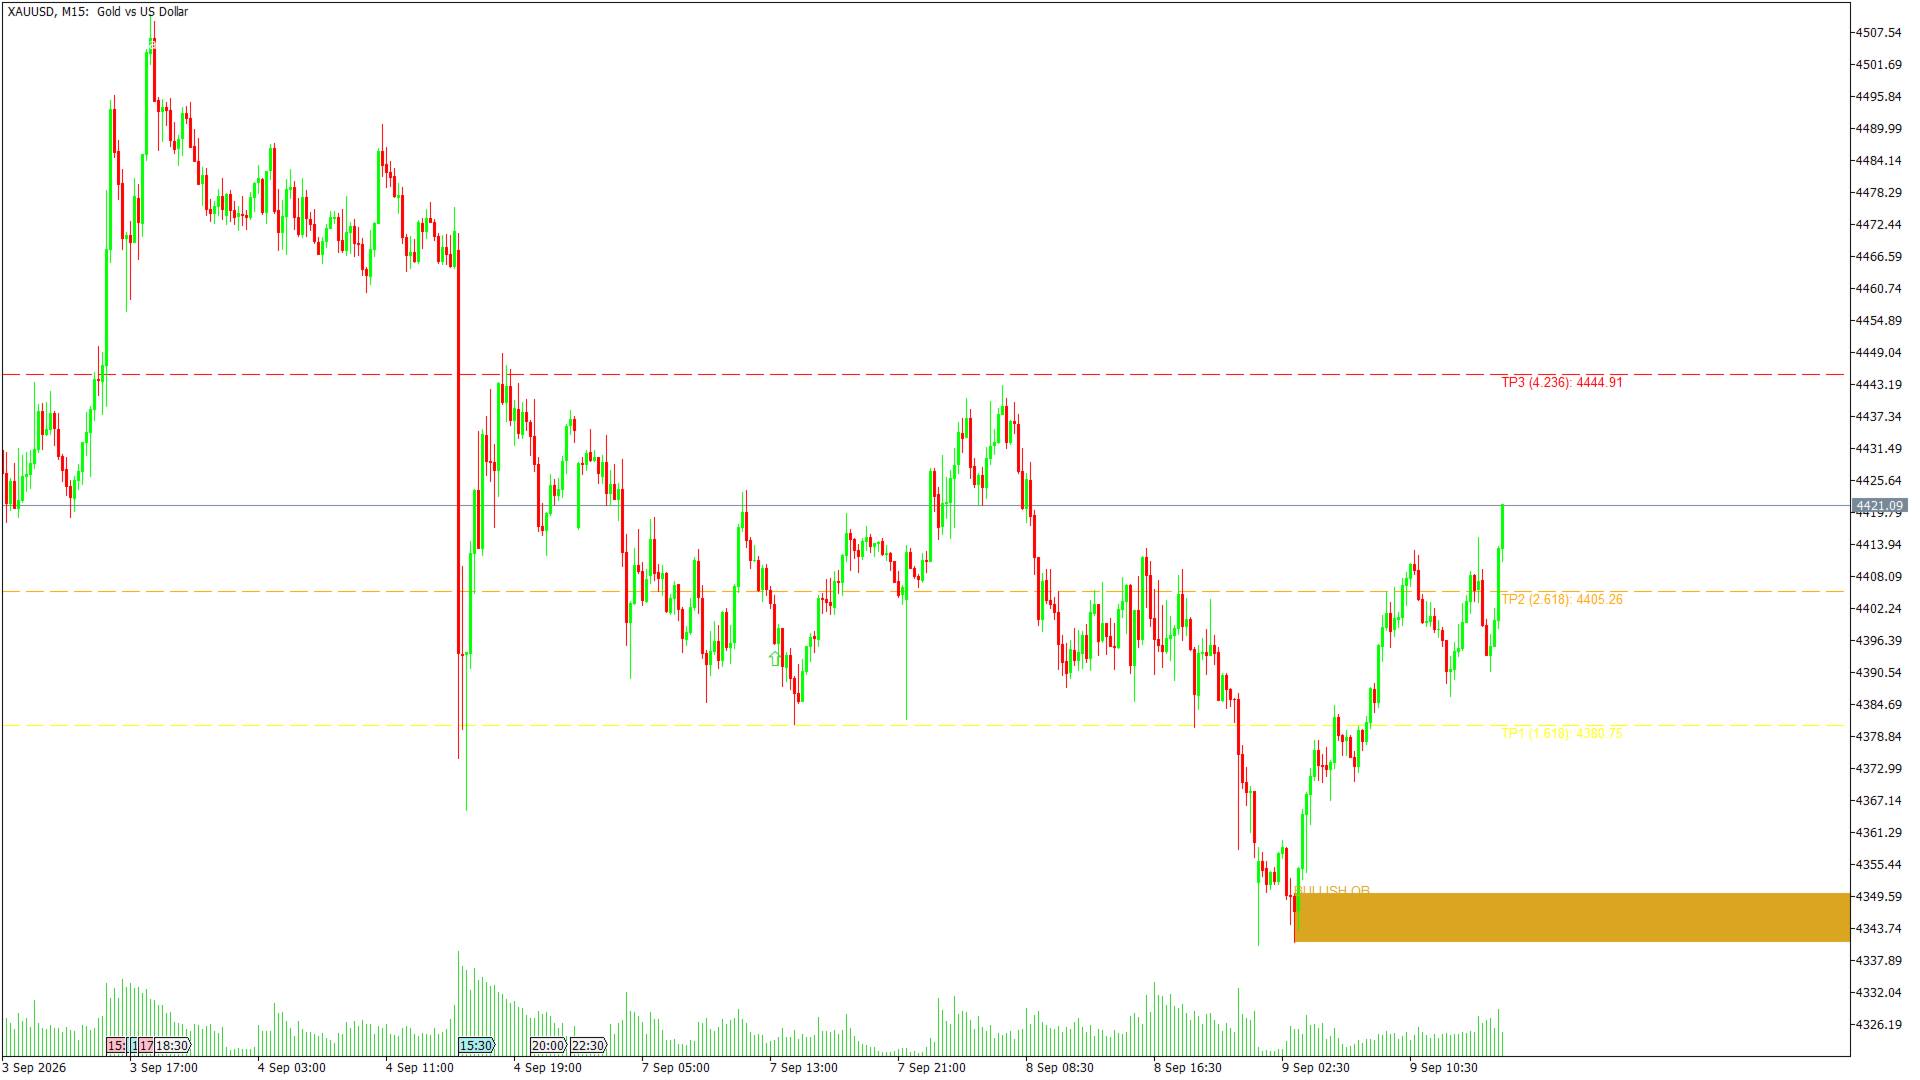
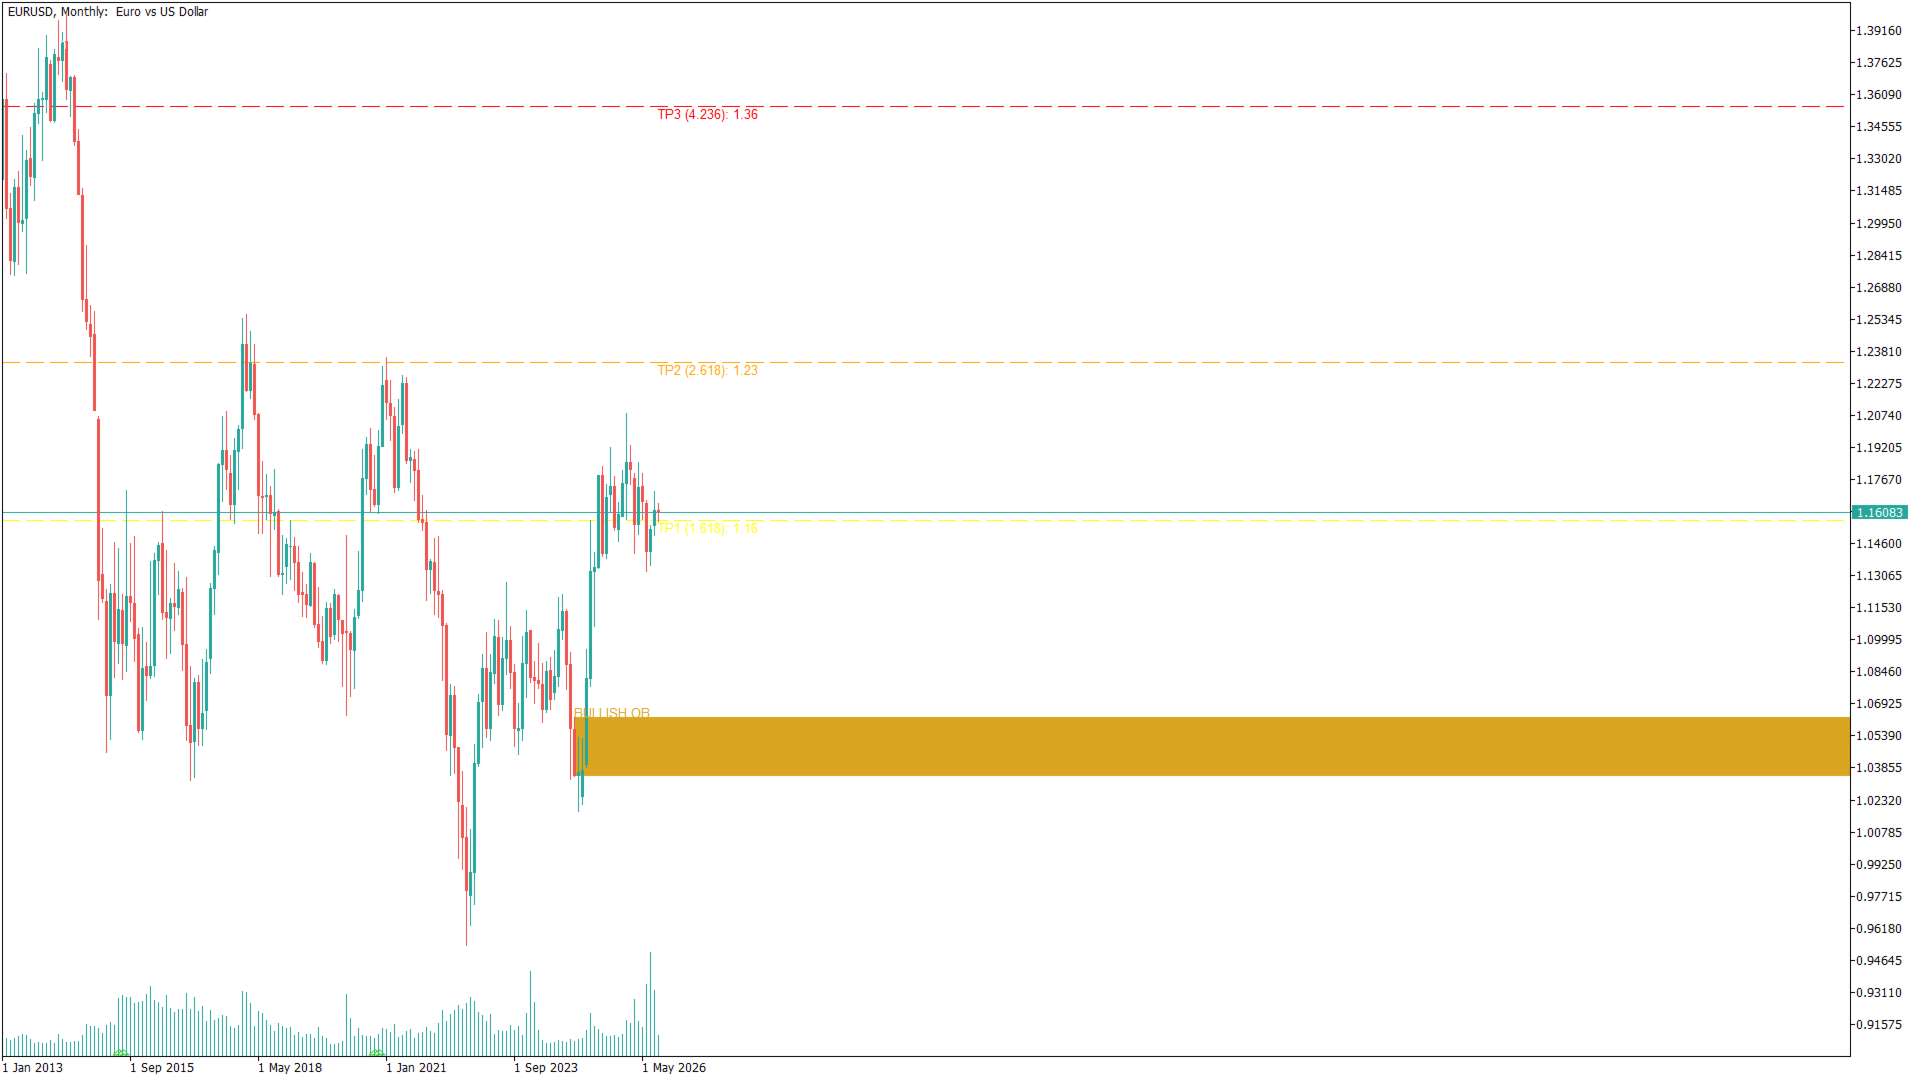
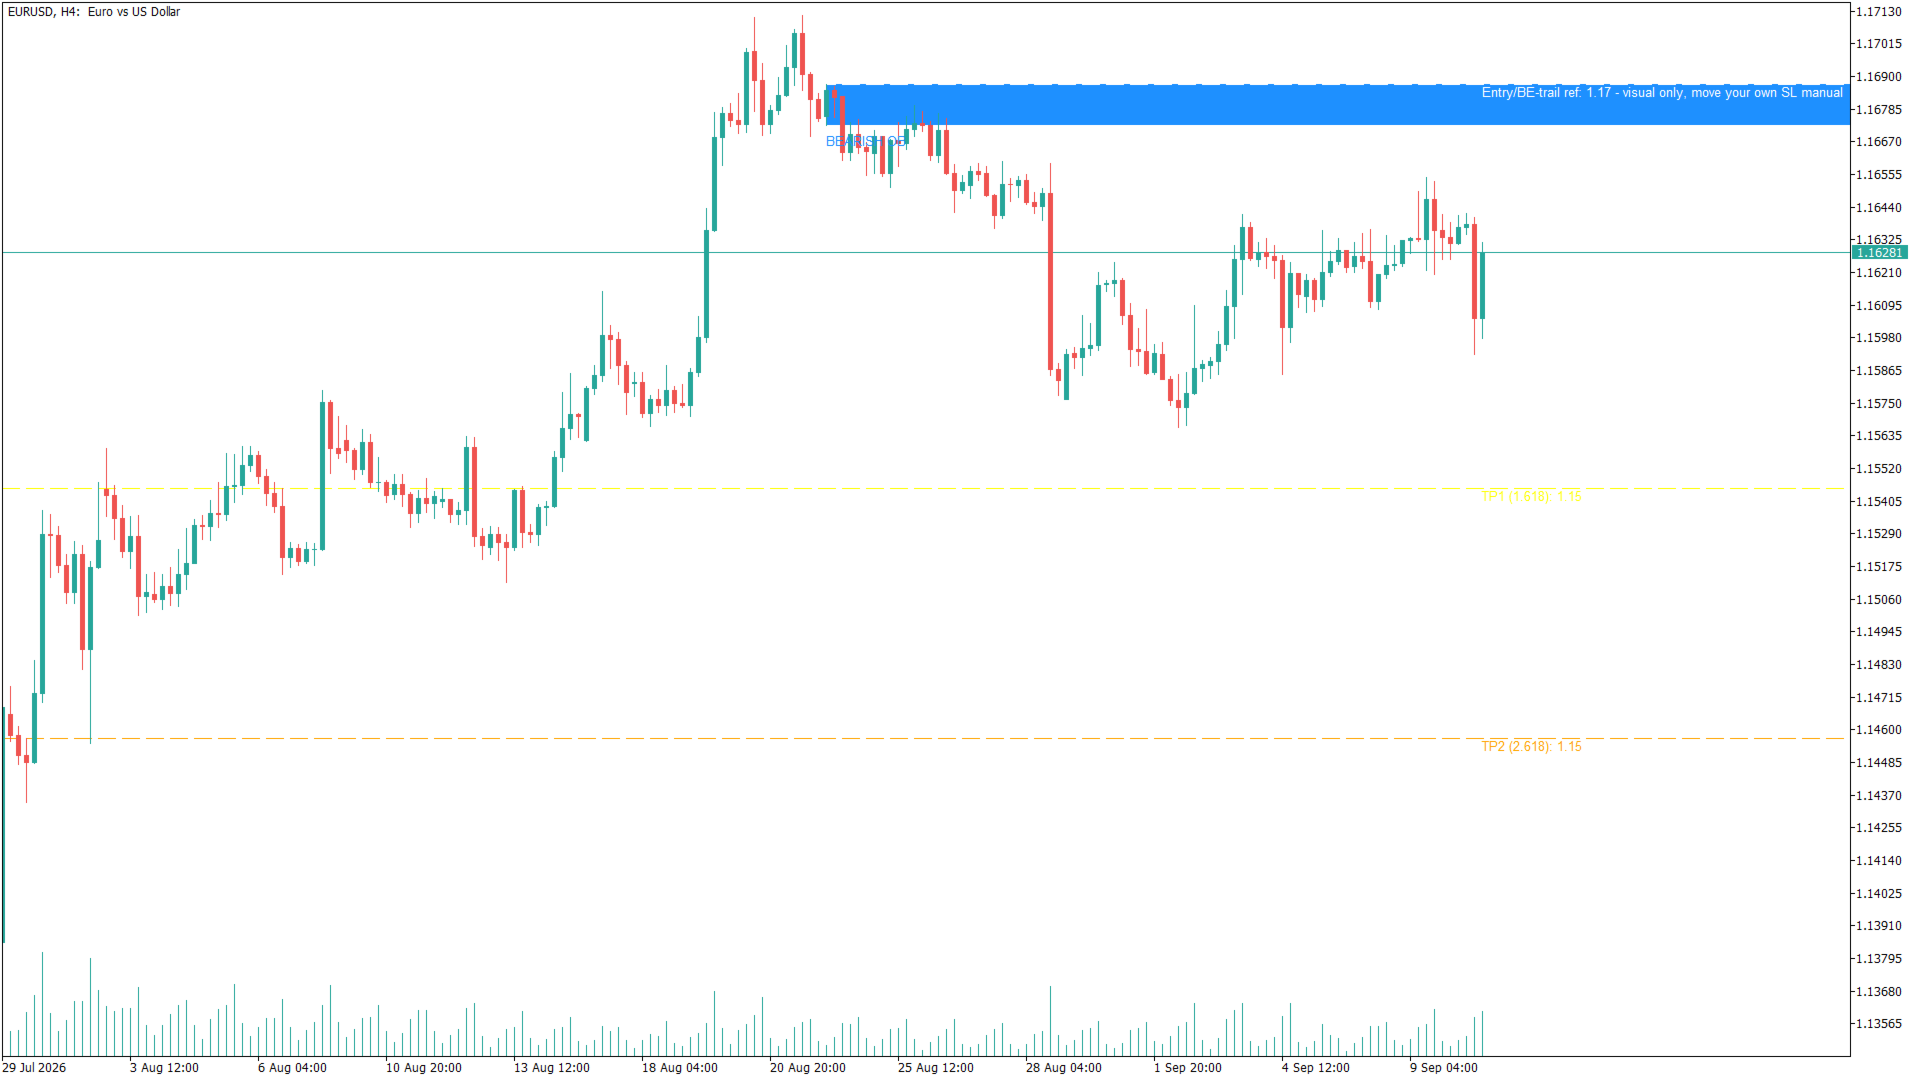
Once a bullish or bearish order block is detected, the chart plots TP1 / TP2 / TP3 (Fibonacci extensions, defaults 1.618 / 2.618 / 4.236) and a BE reference line.
The rule, exactly as the chart states it: move your stop-loss to break-even
| Input | Default |
|---|---|
| EnableFibTargets | true |
| FibTP1 / FibTP2 / FibTP3 | 1.618 / 2.618 / 4.236 |
| FibTP1Color / FibTP2Color / FibTP3Color | Yellow / Orange / Red |
| TrailBEColor | White |
11. Options Confluence — Two Data Sources
You have two ways to feed real options-market data into the "Options Liquidity Confluence" scoring bonus. You only need one — the indicator runs fine with neither.
Option A — FlashAlpha Live API (convenient, but a proxy)
- Get a free API key at lab.flashalpha.com .
- Set UseLiveAPI = true and paste your key into FlashAlpha_API_Key .
- Set FlashAlpha_Expiration to the expiration date you want, format yyyy-MM-dd — required, the free tier can't query "all expirations" at once.
- Leave FlashAlpha_Symbol at its default ( NEM ) unless you have a specific reason to change it.
Know what you're getting: FlashAlpha's free tier doesn't offer real COMEX gold options — NEM (Newmont, a gold-mining equity) is used as a liquid, correlated proxy. The indicator never plots proxy-equity strike prices on your gold chart directly (it only uses the proxy's net-gamma/GEX reading) — but understand "Options Confluence" in Live API mode is a sentiment proxy from a related instrument, not literal gold options positioning.
Free tier limits: MaxDailyAPICalls = 5 per day (a hard, self-imposed cap independent of FlashAlpha's own quota), and RefreshIntervalHours = 4 minimum between calls.
Option B — Monthly CSV from Barchart.com (real gold options, manual refresh)
This is literal COMEX Gold (GC) futures options data — not a proxy.
- Go to Barchart's Gold futures options chain ( barchart.com/futures/quotes/GC*0/options ), select your contract month, and download the chain as CSV.
- Your file needs at least 13 comma-separated columns per row, with: column 1 = strike, column 9 = volume, column 10 = open interest, column 13 = option type (must start with "C" or "P" — a header row is fine, it's auto-skipped).
- Place the file in your terminal's own data folder: File → Open Data Folder → MQL5 → Files.
- Set CSV_File_Name to match the filename exactly (default gcv26-options-monthly.csv ).
- Set UseLiveAPI = false .
Weekly strikes (optional add-on): Weekly_Call_Strikes / Weekly_Put_Strikes , format strike,openInterest,volume;strike,openInterest,volume;... — e.g. 4350,251,45;4400,36,12 . Leave blank (default) if unused — handled safely, no errors. Weekly_Weight (default 1.0) controls how much weekly OI counts relative to monthly OI across every level the indicator draws (Max Pain, Support, Resistance, BSL, SSL).
Options Display Tuning
| Input | Default | What it does |
|---|---|---|
| Min_OI_Threshold | 100 | Minimum open interest for a strike to count toward BSL/SSL |
| Min_Volume_Threshold | 200 | Minimum volume filter for options-based levels |
| Max_Pain_Buffer | 5 | Tolerance band (in strikes) around the computed Max Pain level |
| Max_Strikes_Processed | 100 | Caps how many strikes are loaded, nearest-to-price first |
| Max_Battle_Zones_Shown | 5 | Caps how many high-OI "battle zone" levels are drawn |
| Refresh_Hotkey | R | Press on the chart to force an immediate options refresh |
| Auto_Refresh_Seconds | 60 | How often the indicator re-checks whether a refresh is due (not the same as RefreshIntervalHours ) |
| UseOptionsConfluence | true | Master toggle for the options confluence scoring bonus (both modes) |
| OptionsConfluenceATRMult | 0.5 | Proximity tolerance (in ATR) to a key options level for the bonus to apply |
| OptionsConfluenceBonus | 1 | Size of that bonus |
12. Auto Fundamentals & Sentiment
Both scored 0–100:
- Fundamental score: 0 = bearish for gold, 100 = bullish for gold.
- Sentiment score: 0 = extreme fear, 100 = extreme greed.
- Default/neutral is 50 on both.
These are hybrid scores, not fully automatic ones. Even with UseAutoFundamentals = true , several components have no free public feed and must always be entered by hand:
| Manual input | What it is | Where to get it |
|---|---|---|
| ManualFedStance | 0 = very hawkish … 100 = very dovish | Your own read — no clean numeric feed exists |
| ManualCmeCutProb | CME FedWatch next-meeting cut probability (0–100) | cmegroup.com CME FedWatch Tool |
| ManualNFPActual / ManualNFPExpected | Non-farm payrolls, actual vs. consensus (thousands) | BLS has the actual; consensus isn't government data |
| ManualADPActual / ManualADPExpected | ADP employment, actual vs. consensus (thousands) | Same reasoning as NFP |
| ManualGeoScore | Geopolitical tension, 0–100 | Your own judgment call |
| BPR_USBanksLong / BPR_USBanksShort | CFTC Bank Participation Report, COMEX Gold | cftc.gov Bank Participation Reports (monthly) |
Components pulled automatically when UseAutoFundamentals = true : Fed balance sheet (FRED), CPI/PPI/unemployment (BLS), your broker's oil symbol price. For sentiment, UseAutoSentiment = true pulls CFTC Commitment of Traders (Disaggregated, Managed Money) and JM Bullion's Fear & Greed gauge.
Simplest option: set UseAutoFundamentals = false and UseAutoSentiment = false , and enter a single overall FundamentalScore / SentimentScore (0–100) yourself — zero external dependencies.
Getting Your FRED API Key
- Register free at fred.stlouisfed.org/docs/api/api_key.html .
- Paste into FRED_API_Key . Only needed for the balance-sheet component.
Whitelisting the Required URLs
In MT5: Tools → Options → Expert Advisors tab → check "Allow WebRequest for listed URL:" → add each domain you actually use:
A blocked domain logs the exact URL to add (error 4014) — always check the Experts log first.
FundamentalsRefreshHours / SentimentRefreshHours (default 24 each) control refresh cadence — daily is plenty, since the underlying data itself only updates weekly or monthly.