MA Trend Pro MT5 Hma Wma RSI ADX
- Uzmanlar
- Sürüm: 1.4
- Güncellendi: 27 Ağustos 2025
- Etkinleştirmeler: 5
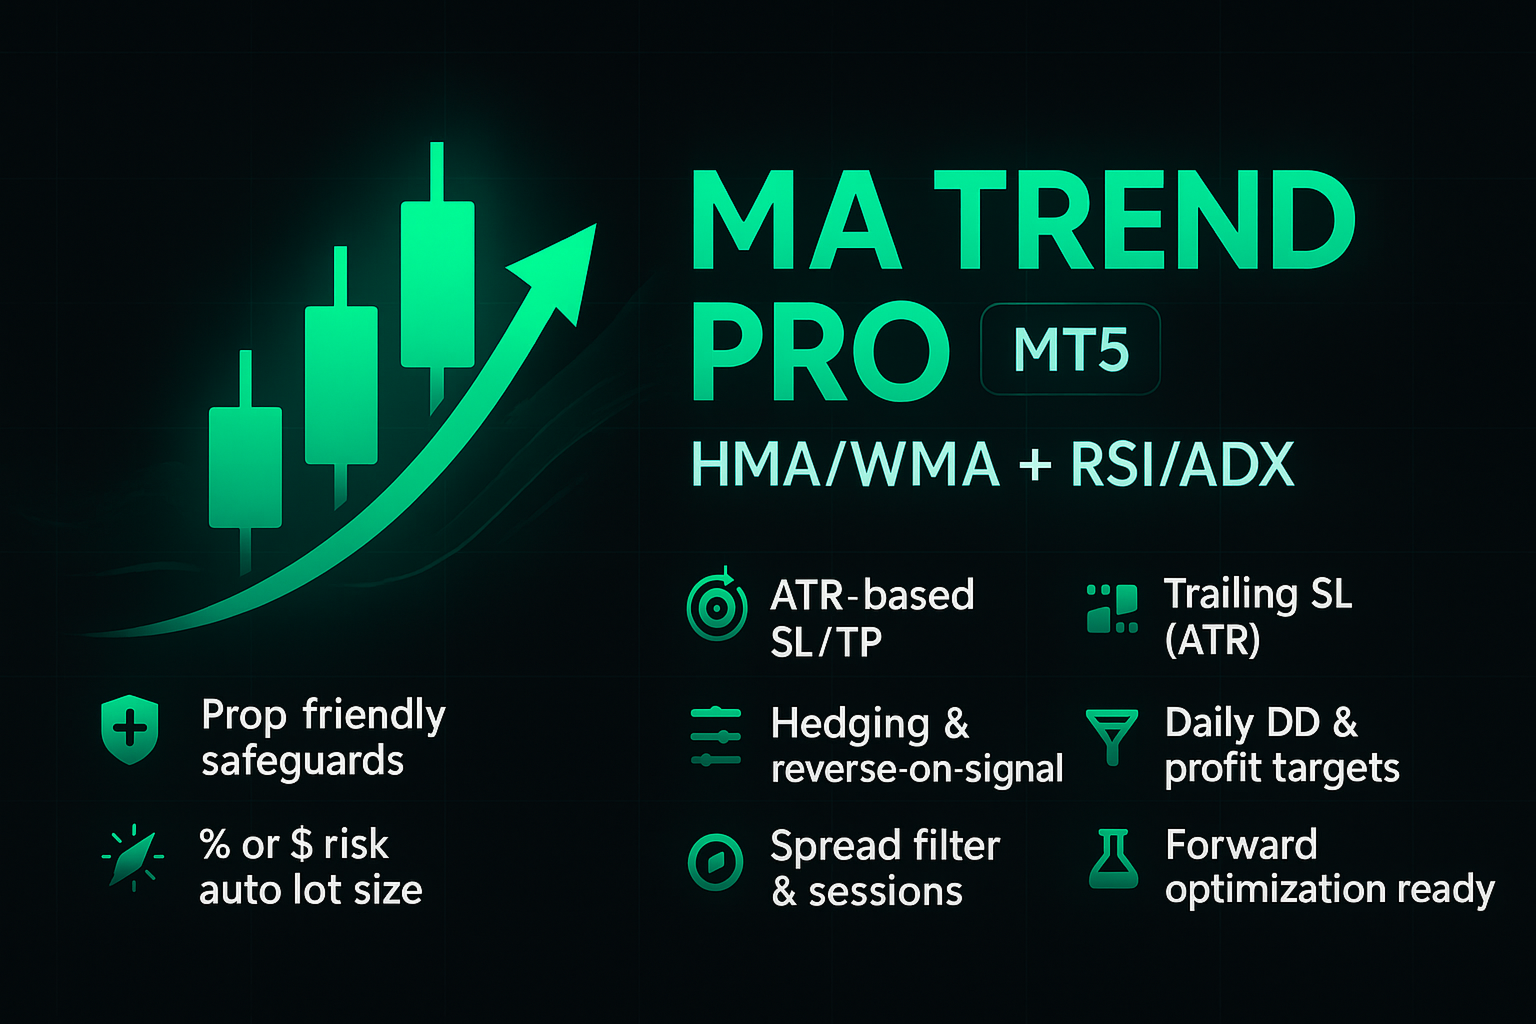
MA Trend Pro EA MT5 – Pre-Optimised & Fully Customisable
MA Trend Pro is a professional Expert Advisor designed to deliver the best of both worlds:
- Pre-optimised defaults for AUDUSD M5 ($100K prop firm account at 1:30 or 1:100 leverage). Just load and run.
- Fully customisable inputs for advanced traders who want to optimise for different pairs, timeframes, or broker conditions using the MT5 Strategy Tester. (See the bottom of this listing for full instructions on how to optimise in Strategy Tester.)
Every month, the default settings are updated with the most profitable and stable configuration — meaning you always start with a tested, prop-firm-ready setup, while still having full freedom to tweak and optimise.
Strategy-Tested 6-Month Results (AUDUSD M5, $100K, 1:30 & 1:100 leverage)
23rd Feb – 24th AUG
- Total Profit: $131,304
- Max Equity Drawdown: 6.33%
- Win Rate: 46.55%
- Trades Taken: 116
- Avg Win: $4,339
- Avg Loss: $1,542
- Max Consecutive Losses: 6
- Active Session: Sydney (01:00–06:59 GMT+3)
- Risk Per Trade: $2,000 (2% of $100,000 Account)
Why MA Trend Pro Stands Out
- Plug & Play: Defaults are pre-optimised for AUDUSD M5.
- Full Control: All parameters (MA type/periods, RSI, ADX, ATR stops, risk, trading hours, etc.) remain fully adjustable.
- Prop Firm Friendly: Keeps total drawdown under 7%, with equity protections built in.
- Session-Smart: Trades Sydney session only, closes before London volatility in default settings.
- Safe by Design: No grid, martingale, or overlapping trades.
Key Features
- Trend confirmation via WMA/HMA crossover + RSI + ADX
- ATR-based Stop Loss & Take Profit, with trailing stop logic
- Session filters and timed trade closure
- Risk per trade in cash or % of balance
- Daily drawdown and profit targets (optional)
- Max spread filter, trade cooldown, and equity guard
- Hedging toggle and opposite-signal logic
Recommended Setup
- Symbol: AUDUSD (default)
- Timeframe: M5
- Account Size: $100K (prop firm tested)
- Leverage: 1:30 or 1:100
- Broker Server Time: GMT+3
- Risk per trade: $2,000 or 2%(divide risk if running multiple EAs on one account.)
For other account sizes (will auto adjust if set to percentage):
- $1,000 for $50K
- $500 for $25K
- $4,000 for $200K
Quick Start (Beginners)
- Attach MA Trend Pro to AUDUSD M5.
- Keep the default risk (or adjust proportionally).
- Let it run during Sydney session.
Testing Pre-Optimised Defaults (AUDUSD M5)
- Open Strategy Tester (View → Strategy Tester, or Ctrl+R).
- Select Expert: MA Trend Pro (MT5).
- Symbol: AUDUSD, Period: M5.
- Testing history: last 6 months recommended.
- Modelling: Every tick (most accurate).
- Deposit: $100,000, Leverage: 1:30 or 1:100.
- In Inputs: right-click → Defaults (ensures clean parameters).
- Run the test and review results.
This allows you to confirm how the pre-optimised defaults perform on your broker’s data.
Optimisation (MT5 Strategy Tester)
- Open the Tester & pick the basics
View → Strategy Tester (Ctrl+R)
Expert: MA Trend Pro (MT5)
Symbol & Period: choose what you trade (strategies won’t work on every pair/TF—try a few)
Use history: last 6 months (recommended to start) - Forward setup (optional, recommended)
Forward optimisation: select a fraction (e.g., 1/4).
With 6 months of data, this splits into 4.5 months in-sample + 1.5 months forward/out-of-sample so you can see if results hold outside the fitted period. - Modelling & speed/accuracy
Modelling: 1 minute OHLC (great speed/accuracy trade-off for optimisation).
Delay: 0 ms (zero latency).
Spread: use Current or set a typical fixed spread for the symbol.
Tip: After you find a good set, re-test those inputs with Every tick based on real ticks and set delays to your last server ping to approximate live conditions. - Account settings (very important)
Deposit: enter your real balance (or what you plan to use).
Currency & Leverage: set exactly as your account.
If these are unrealistic, over-leveraging can become part of the strategy. - Optimisation criterion
Genetic algorithm
Optimisation by: Balance max (good default).
You can also try Profit Factor or Expected Payoff later.
Avoid judging by pips alone across different symbols (point sizes differ). - How input ranges work
In the Inputs tab: - Unchecked box → the fixed Value is used.
- Checked box → the EA sweeps Start → Stop in Step increments.
Example: MA Start = 100, Step = 25, Stop = 300 tests 100, 125, 150 … 300.
Recommended optimisation ranges
Risk (keep it tiny for optimisation)
Use ~0.1% per trade while you’re searching (100 for $100,000 accounts). This avoids margin rejection becoming part of the strategy. After you find a stable set, you can scale the risk safely.
- UsePercentageRisk = false, RiskValue ≈ 0.1% of Deposit (e.g., $100 on $100k), Unchecked.
- MaxLotSize = 0 (no cap), Unchecked.
Stops/Targets
- SlMultiplier – Checked: Start 1.0, Step 0.1, Stop 2.0
- ATRPeriod – 14, Unchecked
- UseTrailingSL – Checked: Start false, Stop true
- TrailMultiplier – Checked: Start 1.0, Step 0.1, Stop 2.0
- TpMultiplier – Checked: Start 2.0, Step 1.0, Stop 10.0
Trend & filters
- FastWMAPeriod – Checked: Start 40, Step 20, Stop 100
- SlowWMAPeriod – Checked: Start 100, Step 25, Stop 300
- UseHullMA – Checked: Start false, Stop true (let the optimiser pick HMA vs WMA)
- RSI_Period – 14, Unchecked
- RSIOversold – Checked: Start 20, Step 5, Stop 35
- RSIOverbought – Checked: Start 65, Step 5, Stop 80
- ADXPeriod – 14, Unchecked
- ADXMin – Checked:
- M1/M5: Start 15, Step 5, Stop 30
- Higher TFs: Start 0, Step 5, Stop 30
Session & timing (broker server time)
- StartHour / EndHour / Timed Close (CloseHour) – Checked, Step 1 hour
Pick windows around active sessions. Examples (server time): - Sydney: Start 2→3, End 4→7, Close 7→9
- London: Start 9→11, End 11→12, Close 12→14
(Times use broker server time—often EET/EEST ≈ GMT+2/3. Confirm with your broker.)
Position controls
- MaxOpenTrades – Unchecked at 1 (recommended).
If you want stacking: Checked: Start 1, Step 1, Stop 5 - CooldownMinutes – Checked: Start 0, Step 15, Stop 60
- MagicNumber – Unchecked (this is just the EA’s ID; keep it unique)
Days
- TradeTuesday / TradeWednesday / TradeThursday – true, Unchecked
- TradeMonday – Checked: Start false, Stop true
- TradeFriday – Checked: Start false, Stop true
Protections
- UseDrawdownLimit / UseMinEquityGuard / UseProfitTarget – Set to your prop-firm rules or personal guardrails (usually Unchecked during optimisation; enable with fixed values for live).
- MaxSpreadPoints – Checked: Start 8, Step 2, Stop 28
(Covers symbol differences: e.g., EURUSD ~2 points vs GBPJPY ~24.)
Hedging & reverse logic (pick one approach)
- Approach 1 (simple):
AllowHedging = true
ActOnOppositeSignal = false
OppositeSignalCloseAndReverse = false - Approach 2 (flip on signal):
AllowHedging = false
ActOnOppositeSignal = Checked: Start false, Stop true
OppositeSignalCloseAndReverse = Checked: Start false, Stop true
(If your account type is netting or your broker disallows hedging, use Approach 2.)
Interpreting results (plain English)
- Start with the Forward tab
If you turned on Forward optimisation, the Forward Results tab will show candidates. - Backtest = initial deposit + profit of the first 4.5 months
- Profit = profit of the last 1.5 months (out-of-sample)
Pick setups that look good in both—if it only wins in one and flops in the other, it’s probably overfit. - Open a detailed report
Right-click a row → Run single test. Backtest and Forward tabs will appear and show full stats (win rate, drawdown, equity curve, etc.). If it still looks sensible (not just one lucky mega-trade), keep going. - Freeze the setup and test only the risk
- Make sure the strategy you like was the last single test.
- Settings: Forward = No; turn Genetic algorithm back on.
- Inputs: Uncheck everything so your chosen values stay fixed.
- Choose how to risk:
- Percent: UsePercentageRisk = true, then check RiskValue and set Start = 0.1, Step = 0.1, Stop = 2.0 (0.1%→2.0%).
- Fixed cash: UsePercentageRisk = false, then check **RiskValue`. For $100,000, use Start = 100, Step = 100, Stop = 2000 (~0.1%→2.0%).
- Click Start to run the risk-only optimisation.
Why start small? Using ~0.1% avoids trades being rejected for size and keeps the strategy honest. You can scale later. - Spot over-leveraging quickly
Sort Optimisation Results by Total trades. You’ll often see a group of risk values all with the same (highest) trade count—the highest risk inside that full-trade group is typically your safe ceiling. Above that, total trades drop (margin rejections), and profit can even decrease. - Save your settings & use them on a chart
In Inputs, right-click → Save to a .set file (name it with symbol/TF/date).
On a chart, attach the EA → Inputs → Load your .set.
Re-optimise for other symbols/timeframes and save a new .set for each.