SMC OrderBlock MT5 EA
- 专家
- 版本: 1.0
- 激活: 10

SMC OrderBlock EA (v1.00), built for Gold (XAUUSD)
Author: Lungile Mbanjwa | Assisted by: Grok and Claude
Platform: MetaTrader 5 (MQL5) | Style: Smart Money Concepts order-block entries
Symbol: Gold only (XAUUSD, or your broker’s gold name such as GOLD or XAUUSDm)
Important: Gold only, demo first
- Trade Gold only. The EA is built, set up and described for Gold. Do not run or test it on other symbols such as forex pairs, indices or crypto. Its stop buffers, spread behaviour and examples are all based on Gold, so results on other symbols are not supported.
- Demo first, then real. After you get the EA, always start on a demo account on Gold. Check that it behaves as described and that you are comfortable with its trades and drawdown. Only then move to a real account, and start with the smallest lot.
- Use the same settings on the real account that you proved on the demo.
What it does
The EA finds order blocks on H1 and H4. An order block is the last opposing candle before a strong move. It then trades when price comes back into an H1 order block, with a fixed stop loss and a 2:1 reward-to-risk target. By default it takes at most one trade per day.
The rules
1. Swings. A swing high is a candle whose high is higher than the 3 candles on each side. A swing low is the mirror image. Only swings younger than the age limit are used: 120 bars on H1 and 60 bars on H4.
2. Order block candle.
- Bearish: from a swing high, look back (up to 50 bars) for the first bullish candle. The zone runs from that candle’s high down to its close.
- Bullish: from a swing low, look back for the first bearish candle. The zone runs from that candle’s low up to its open.
3. Grading. Each block earns points:
- Displacement: the move is bigger than 1.2 × ATR (+1) or bigger than about 2.2 × ATR (+2).
- Break of structure: within 12 bars, price takes out the level of the candle two bars before the block (+1). Without this the block is rejected.
- Strong body: the candle’s body is more than 55% of its range (+1).
A score of 4 is grade A, 2–3 is grade B, and 1 is grade C. Only A and B are traded by default.
4. Freshness. A block is dropped if any later candle has closed beyond it. It must be unmitigated.
5. Entry. When the bid (for buys) or ask (for sells) is inside an H1 block of grade B or better, the EA enters at market. H4 blocks are drawn for context, and there is an optional filter that demands an H4 block overlap.
6. Stop and target.
- Stop loss: the far edge of the zone plus 30 points. On Gold that is $0.30.
- Take profit: entry ± 2 × the risk.
7. Break-even. At 1R profit the stop moves to entry ± 5 points ($0.05 on Gold). A trailing stop of 150 points is available but off by default.
8. Blockers. No entry when any of these apply:
- A high-impact news event is within 30 minutes ahead or 15 minutes behind, for the symbol’s currencies (for Gold, USD events).
- The spread is too wide. Gold spreads can jump around news and rollover, so setting a max spread is wise.
- You’re outside the allowed session or day.
- The daily loss limit has been hit.
- The daily trade limit is used up.
Examples on Gold
Grading. An impulse of 2.5 × ATR (+2), a break of structure (+1) and a 70% body (+1) make 4 points, grade A. An impulse of 1.3 × ATR (+1), a break of structure (+1) and a 40% body make 2 points, grade B. No displacement, a break of structure (+1) and a weak body make 1 point, grade C, which is skipped.
Bullish buy on XAUUSD (H1).
- A bearish candle has a low of 2640.00 and an open of 2641.50, so the zone is 2640.00–2641.50.
- Price rallies to 2655.00, breaking structure, and the block grades B.
- Later the bid falls to 2641.20, inside the zone. The EA buys at the ask of 2641.40.
- The stop loss is 2640.00 − 0.30 = 2639.70, so the risk is 1.70.
- The take profit is 2641.40 + 2 × 1.70 = 2644.80.
- At a bid of 2643.10 (1R), the stop moves to 2641.45.
With 1% risk on a $1,000 account, the risk is $10. One lot of Gold is 100 oz, so a 1.70 stop costs $170 per lot, and the lot is about 0.05.
Bearish sell on XAUUSD (H1).
- A bullish candle has a high of 2655.00 and a close of 2653.50, so the zone is 2653.50–2655.00.
- The ask touches 2654.30, inside the zone, and the EA sells at the bid of 2654.00.
- The stop loss is 2655.00 + 0.30 = 2655.30, so the risk is 1.30.
- The take profit is 2654.00 − 2.60 = 2651.40.
- At an ask of 2652.70 (1R), the stop moves to 2653.95.
With 1% risk on $1,000, the stop costs $130 per lot, so the lot is about 0.07.
Skipped setups.
- A block where price later closed through the zone is mitigated and ignored.
- A block with no break of structure is rejected.
- At 15:30 on a US news day the EA waits from 15:00 until 15:45.
- After a morning trade it takes no more until the next server day.
- With a 2% daily loss limit on $1,000, a $20 loss closes any trade and stops trading for the day.
How to get started
- Open a demo account and a Gold chart (any timeframe, since the EA reads H1 and H4 itself).
- Attach the EA to that one chart with its own magic number.
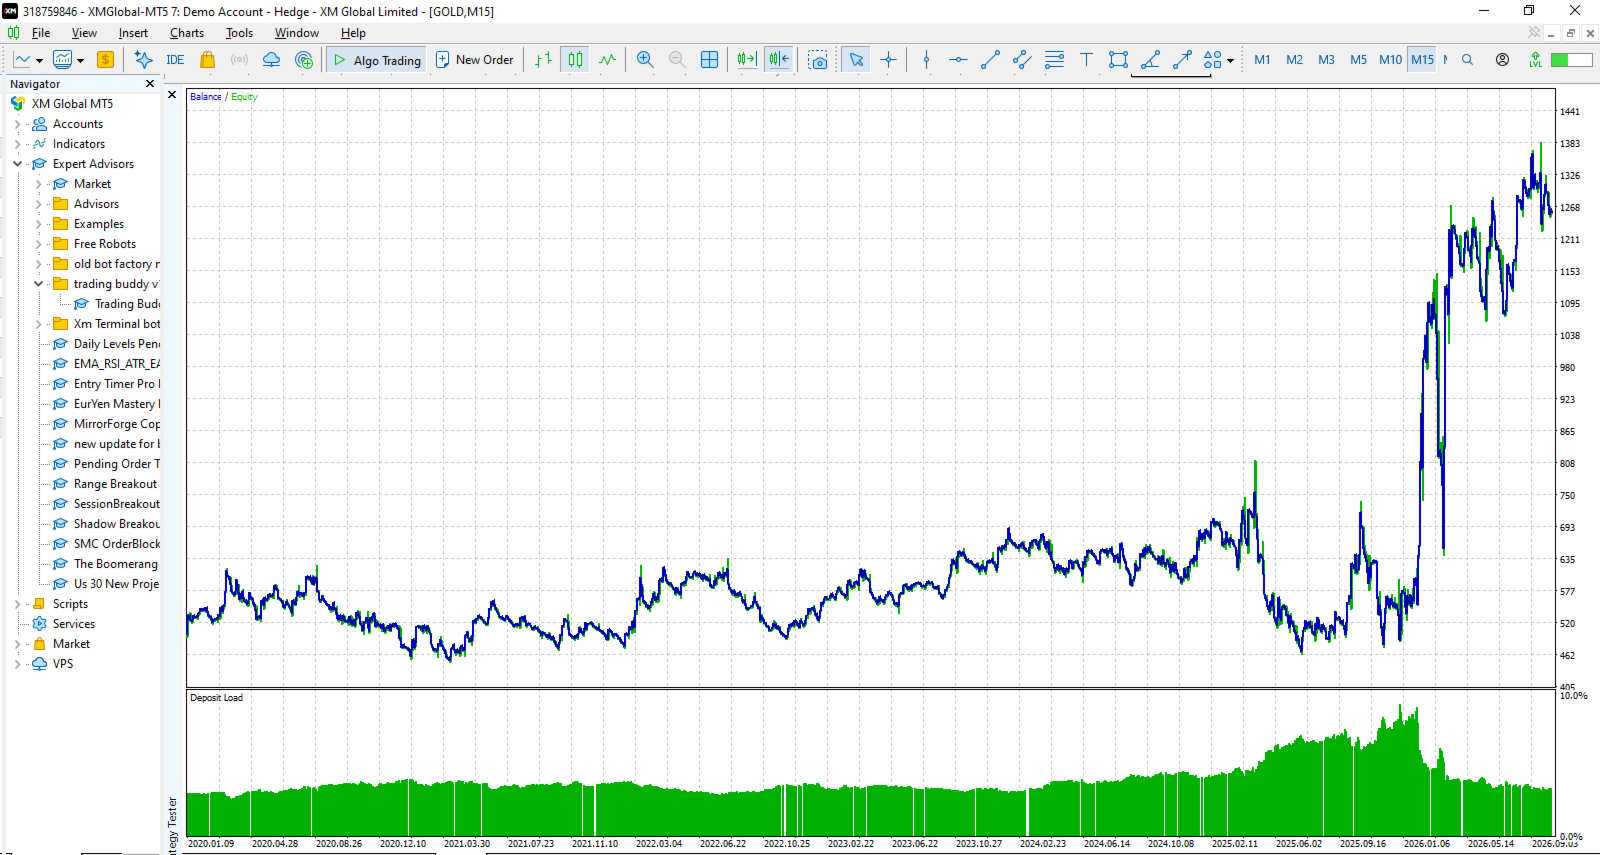
- Run it on demo for a good stretch and review the trades.
- Go live only when you are satisfied, on Gold only, with the smallest lot at first.
Safety and tools
- Restart-safe: it restores its daily trade count and profit and loss after a restart, and never touches your open trades.
- Safe beside other EAs: it works only on its own magic number and symbol.
- Orders: lots are reduced to fit your margin, and a rejected order is retried after a pause. Break-even and trailing moves are skipped while price is too close to the stop or target.
- Level alerts: an optional alert fires when price enters an order block zone. It is off by default.
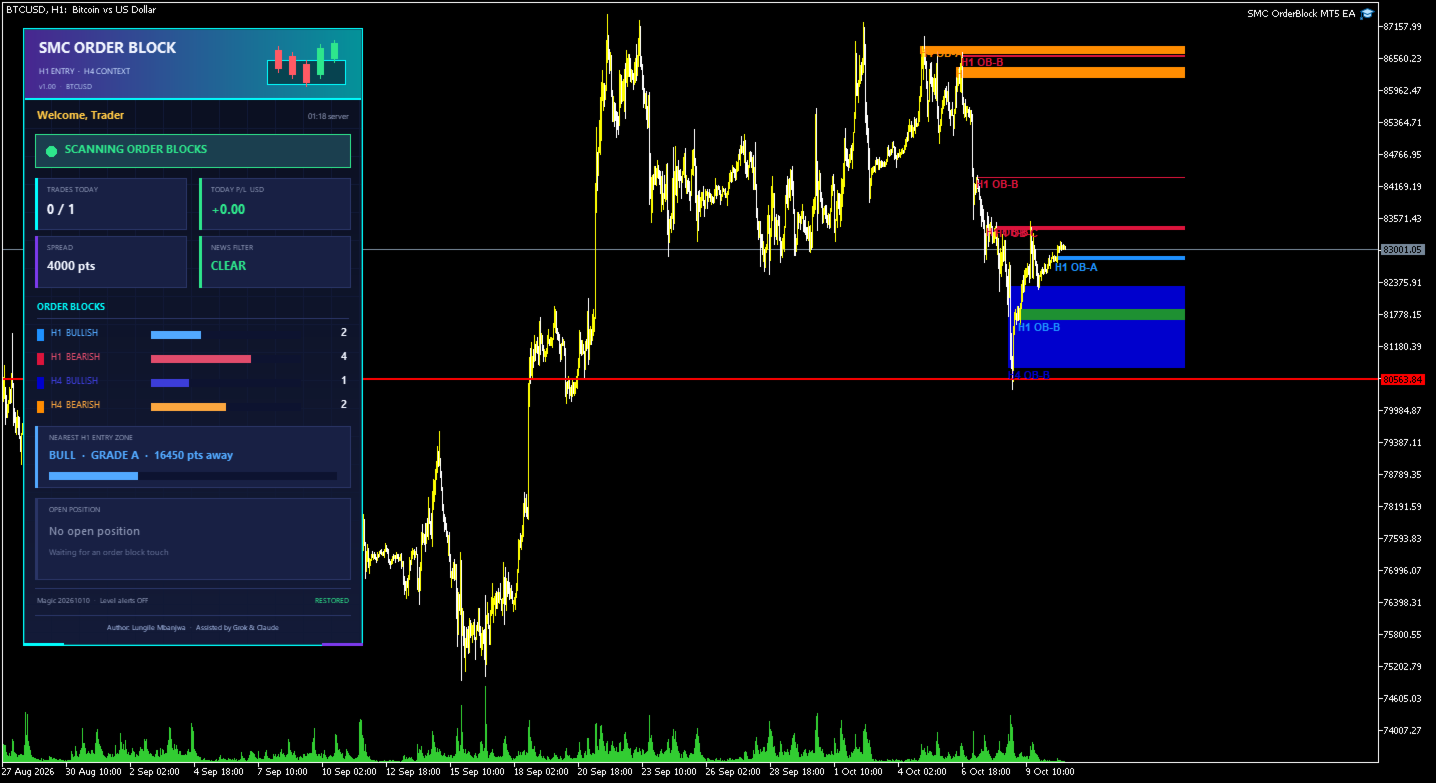
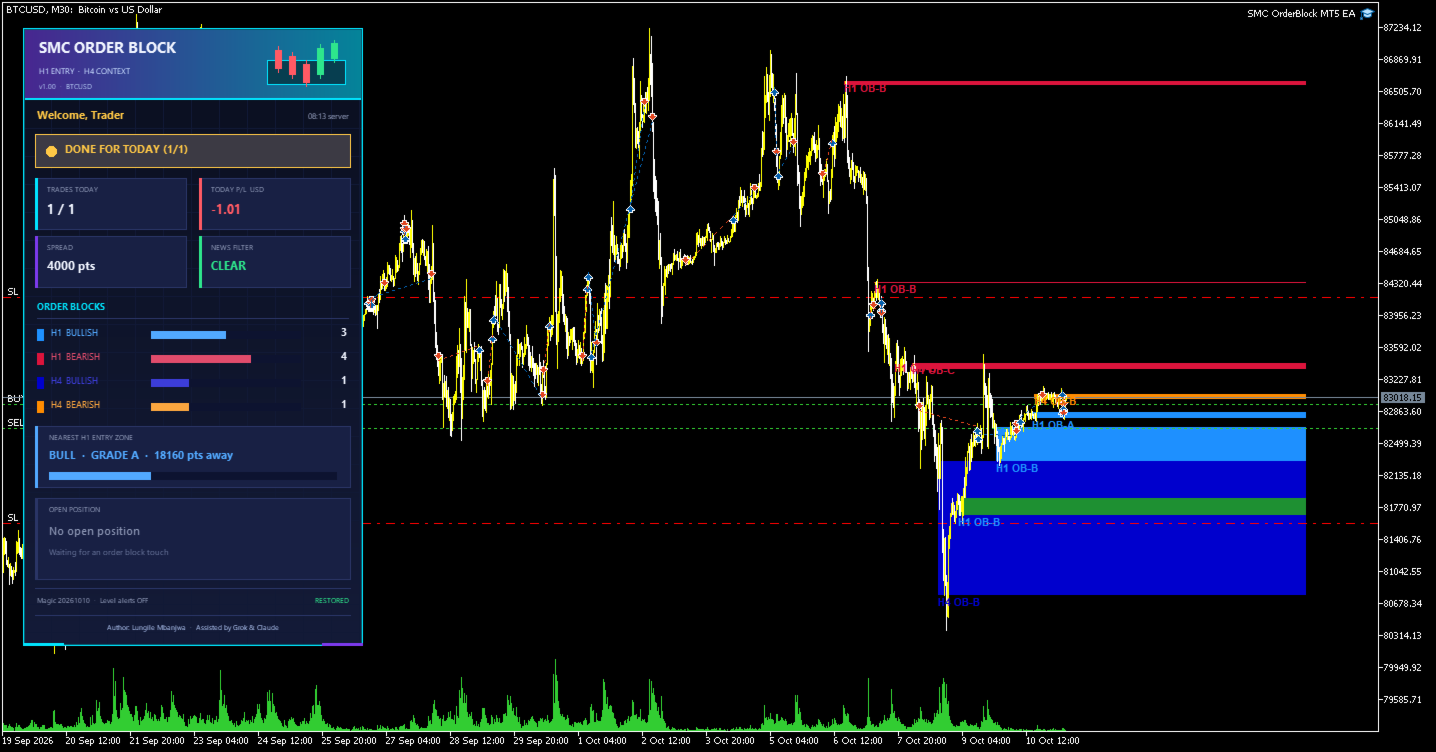
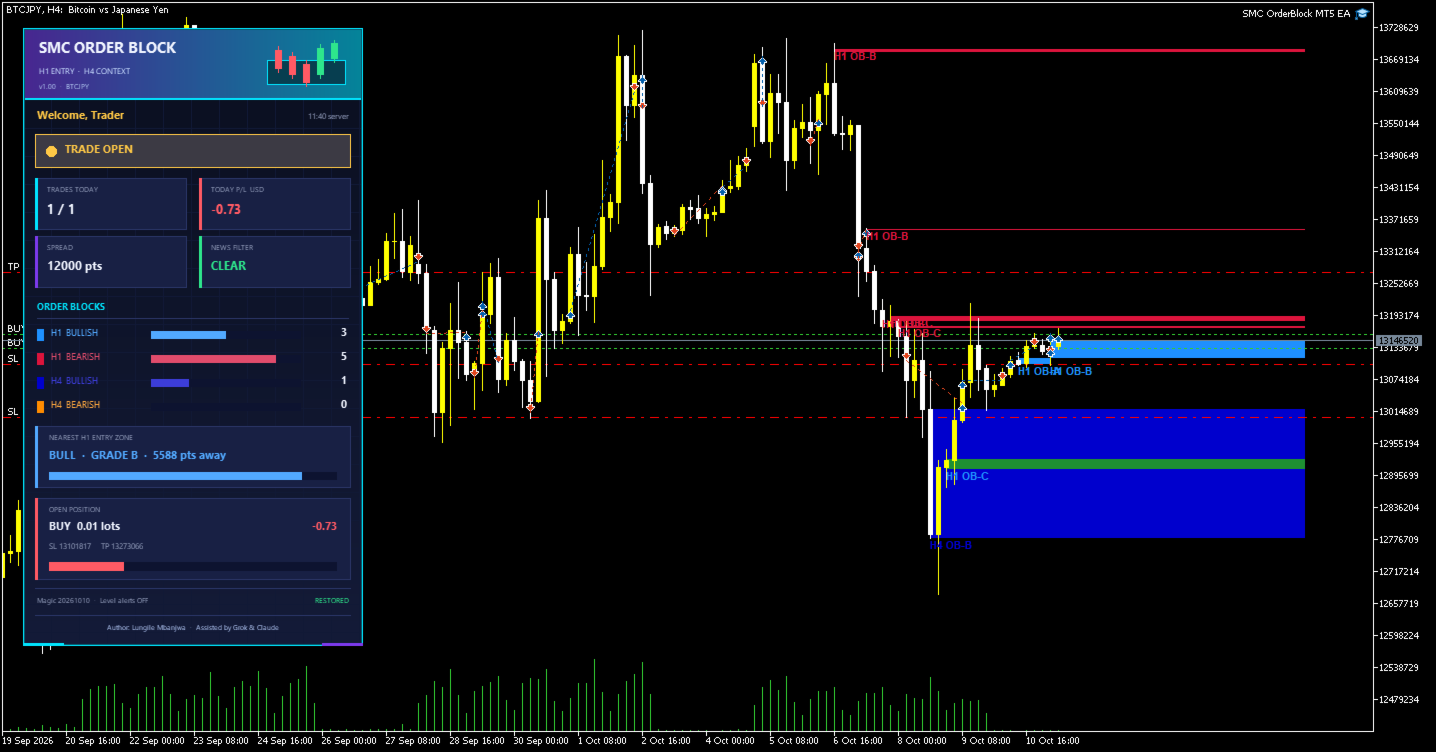
- Info panel: a dark gradient panel shows the status, trades today, profit and loss, spread, news state, order block counts, the nearest zone, the open position and your credit line.
Notes
- Both timeframes share one counter, so H1 blocks can crowd H4 blocks off the chart.
- The news filter does not work in the Strategy Tester.
- On a netting account, other EAs on the same symbol can interfere. A hedging account is recommended.
Risk disclaimer
Trading leveraged products such as Gold carries a high risk of loss. Backtests do not guarantee future results. Test on a demo account first, and only risk money you can afford to lose.