Liquidity zones Pro
- Indicatori
- Israr Hussain Shah
- Versione: 2.0
- Attivazioni: 5
Uncover Institutional Footprints with Volume-Based Supply & Demand
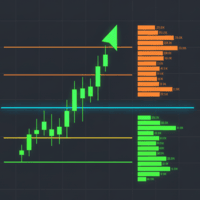
Liquidity Zones is a sophisticated Price Action and Volume analysis tool designed for MQL5. Unlike standard Support & Resistance indicators that rely solely on price history, this indicator integrates Volume Volatility Analysis to identify high-probability reversal levels.
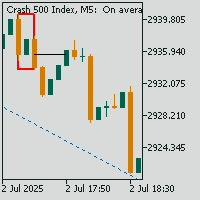
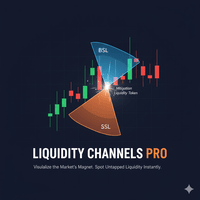
It automatically detects key Swing Highs and Swing Lows where significant trading activity (volume) occurred. In Smart Money Concepts (SMC), these areas represent "Liquidity Pools"—levels where stops are clustered and where institutions are likely to re-engage the market. The indicator manages these zones in real-time, showing you which levels are holding and which have been "swept" or "grabbed."
Key Features:
-
Volume-Filtered Pivots: Filters out weak noise; only draws zones on pivots with statistically significant volume (Standard Deviation analysis).
-
Real-Time Liquidity Tracking: Automatically extends active zones and marks them as "Grabbed" the moment price pierces the level.
-
Dynamic Visuals:
-
Solid Box & Solid Line: Active, untested zone.
-
Hollow Box & Dashed Line: Liquidity has been taken (Zone Broken).
-
Grab Marker: Distinct icon showing exactly where the stop run occurred.
-
Multi-Mode Filtering: Choose between Low, Mid, or High volume sensitivity to suit your trading style (Scalping vs. Swing).
This indicator is best used for Reversal Trading and Stop Hunt strategies.
Strategy 1: The Liquidity Sweep (Turtle Soup)
This is the primary strategy for this indicator.
-
Identify an Active Zone: Look for a solid Blue (Resistance) or Green (Support) zone extending to the current price.
-
Wait for the "Grab": Do not enter immediately when price touches the line. Wait for price to pierce the level.
-
The Entry Signal: Watch for the "Grab Marker" (Red icon) to appear. This indicates price broke the level (taking stop losses) but might be rejecting.
-
Confirmation: Enter a trade against the break if the candle closes back inside the range or leaves a long wick.
-
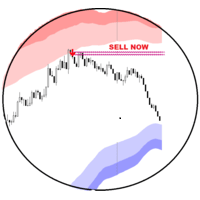
Example: Price shoots up through a Blue Zone, the Grab Marker appears, and the candle closes leaving a long upper wick. Sell.
-
Strategy 2: The Rejection (Respect)
-
Look for a fresh, high-volume zone that has not yet been tested.
-
As price approaches the zone slow down (smaller candles).
-
Enter on a reversal candlestick pattern (Engulfing, Pinbar) that touches the zone without triggering the "Grabbed" status.
Strategy 3: Breakout & Retest
-
If a zone is broken with a massive, full-body candle (not just a wick), the liquidity has been consumed.
-
Wait for price to return to the broken dashed line.
-
Use the broken zone as a "Flip Zone" (Resistance becomes Support).
