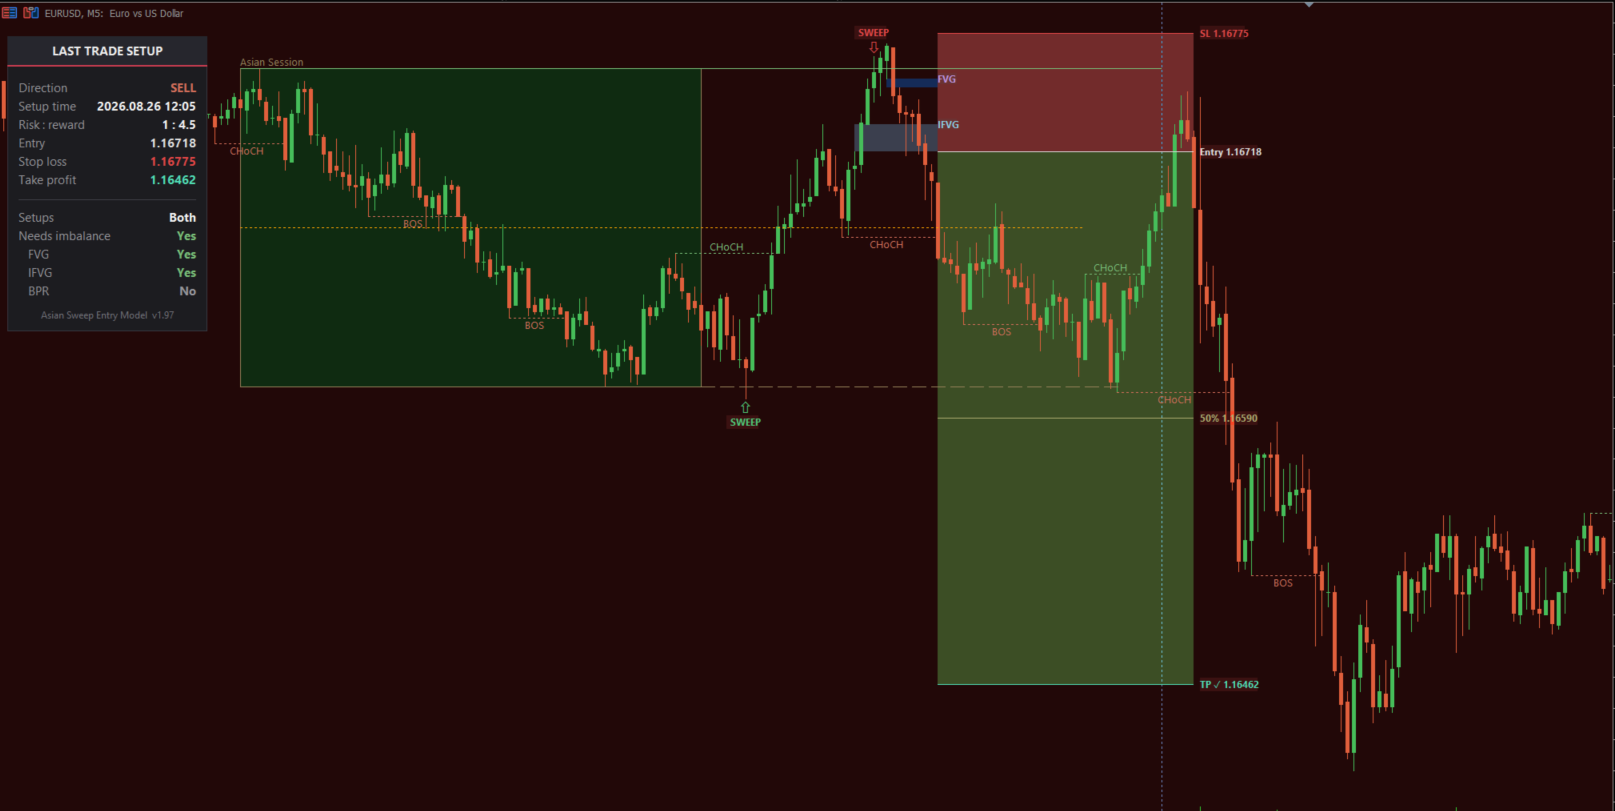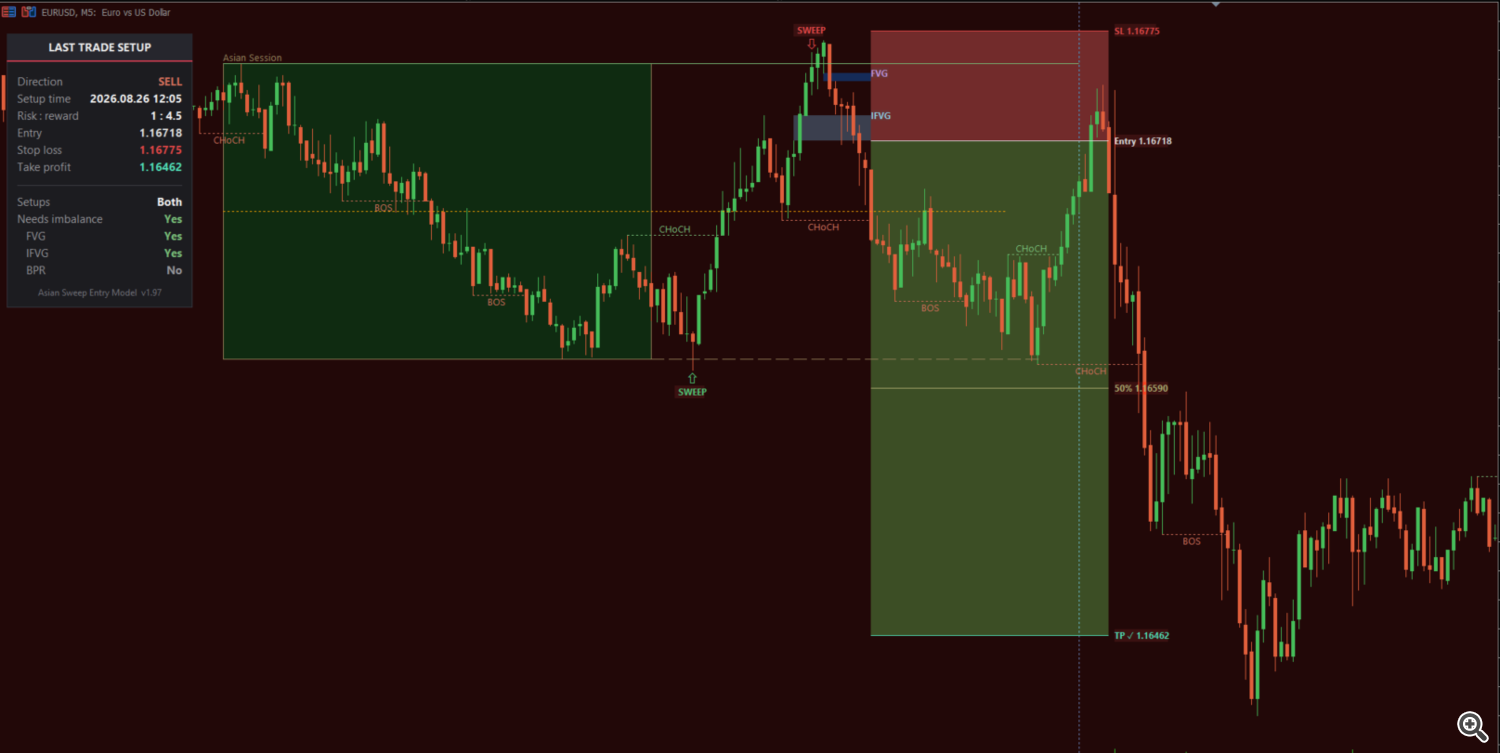
The Asian Sweep Entry Model is built around one simple idea: the Asian session prints a range, that range gets swept for liquidity, and what price does in the minutes after the sweep tells you whether it was a trap or the real move. This post walks through every single input in the indicator, group by group, so you know exactly what you're tuning before you touch a single setting.
🌏 Sessions (Broker/Server Time)
Tells the model when "Asian session" actually starts and ends on your broker's clock — every broker's server time is a little different, so get this right first.
| Setting | Default | What it does |
| Asian session start hour / minute 🕒 | 3 : 00 | When the range starts building |
| Asian session end hour / minute 🔒 | 9 : 00 | When the range locks and stops growing |
| New York open hour / minute | 15 : 00 | Marks the NY open on the chart, and gates how late a signal is allowed to fire |
📊 Market Structure
Controls how the model reads price action on your chart's own timeframe.
| Setting | Default | What it does |
| Show internal structure (BOS/CHoCH) ✅ | On | Toggles the structure-break lines and labels |
| Internal pivot lookback | 4 bars | Bars each side confirming a swing point — smaller = more sensitive, larger = calmer |
| Show pending legs 📏 | On | Draws the unbroken levels price still has to clear before a break counts |
⚡ Sweep & Signal
The heart of the model — the rules that decide whether a sweep actually turns into a tradeable setup.
| Setting | Default | What it does |
| Setup mode | Both | Which setups to take |
| — Both | ✓ default | Reversal and continuation setups both active |
| — Reversal only | | Only takes the break-back-inside-the-range setup |
| — Continuation only | | Only takes the break-outside-the-range setup |
| Require imbalance 🧲 | On | Only take a break that left behind a genuine imbalance |
| — Count fair value gap (FVG) | On | Includes FVGs as qualifying |
| — Count inverted FVG (IFVG) | On | Includes IFVGs as qualifying |
| — Count balanced price range (BPR) | On | Includes BPRs as qualifying |
| Minimum imbalance size | 0.0 points | Ignore gaps thinner than this (0.5-point steps) |
| Max continuation distance | 0.75× range | For the continuation setup, how far past the session range the entry may still sit |
| Require inside-zone break | On | Reversal only — forces the break to land back inside the session range |
| Signal on BOS too | On | By default reversal only fires on a CHoCH; this also allows a same-direction BOS |
| Max signals per day 🔢 | 1 | Hard cap so the model stops after its setup for the session |
| After-session only ⏳ | On | Entries only allowed once the Asian session has closed |
| Before-NY only ⏳ | On | Entries only allowed before the New York open |
🎯 Trade Levels (TP/SL Boxes)
Everything about how the model draws its risk on the chart.
| Setting | Default | What it does |
| Show trade boxes | On | Toggles the TP/SL boxes |
| SL buffer 🛡️ | 0.0 pips | Extra room beyond the swing extreme (0 = stop sits exactly on the level) |
| Risk:reward | 1 : 2.0 | Take-profit distance as a multiple of the stop, 1:1 up to 1:5 |
| Entry mode | Nearest imbalance | Where the entry line is placed |
| Entry Fib ratio | 0.618 | Fibonacci mode only — 0 = break level, 1 = right at the stop |
| Show 1:1 line | On | Draws the halfway marker between entry and target |
| Box extend bars | 40 | How far right the TP/SL boxes stretch visually |
| Show imbalance zone 🟪 | On | Highlights the exact FVG/IFVG/BPR that qualified the entry |
📈 Trend Filter
The higher-timeframe context check.
| Setting | Default | What it does |
| Use trend filter | On | Requires the higher-timeframe structure to agree before a setup is valid |
| Trend timeframe | H4 | Which higher timeframe supplies that context |
| External pivot lookback | 2 bars | Sensitivity of the higher-timeframe swing detection |
| Show trend background 🎨 | On | Tints the chart background with the current HTF trend |
| Show swing structure (chart TF) | Off | Optional display-only overlay of external structure on your current timeframe — doesn't affect signals |
🖼️ Chart Drawings
| Setting | Default | What it does |
| Max history days | 30 | How far back the indicator backfills on load |
| Show session background | On | Fills the session box instead of an outline |
| Level extend bars | 60 | How far the session high/low lines and midline project forward |
| Show midline ➗ | On | Draws the halfway line of the session range, running in step with the high/low lines |
| Show NY marker | On | Vertical line at the New York open |
| Show sweep label | On | Text tag on each sweep marker |
| Sweep arrow width | 1 (smallest) | Size of the sweep triangle markers |
| Show panel 🗂️ | On | On-chart box summarizing the last trade setup |
🎨 Chart Appearance
| Setting | Default | What it does |
| Apply chart style | On | Recolors candles/background for contrast against the drawings |
| Hide grid | On | Removes MT5's default chart gridlines |
🐞 Diagnostics
| Setting | Default | What it does |
| Debug log | Off | Prints why each structure break was taken or skipped, in the Experts tab |
🔔 Alerts
| Setting | Default | What it does |
| Alert on signals | On | Pop-up alert the moment a full setup fires |
| Push notify 📱 | Off | Also sends the alert to the MT5 mobile app (needs MetaQuotes ID set under Tools → Options → Notifications) |
| Alert on sweeps | On | Notified the instant the session high/low gets swept |
| Alert on bullish structure | On | Notified on bullish CHoCH/BOS |
| Alert on bearish structure | On | Notified on bearish CHoCH/BOS — split from bullish so you can mute one side |
That's the full settings map for the indicator. If you're new to the model, a sensible way in is to leave everything on defaults, watch it for a week on the pair you trade, and only then start adjusting the sweep, imbalance, or trend-filter settings to match what you're seeing. 🚀