
Easy Way to Publish a Video at MQL4.Community

Introduction
Nowadays there are so many different video formats and programs for recording video clips, that it is a kind of problem even to choose such a program. The article describes the ways of recording video clips for publishing on MQL4.community website at high quality and acceptable size without unnecessary actions.
Few Words about Formats
Most of existing formats are not suitable to be published in the Internet because of compatibility problems and available codecs. But there is a universal method - recode clips into a flow format *FLV that can be easily viewed in any browser supporting Adobe Flash version 8.
Exactly this video format is used by the video service of our forum for showing video clips. Files in FLV format are created by the video service of our forum, though source files for uploading to our website can be in AVI, MPG, WMV or directly in FLV.
Program for Creating Video
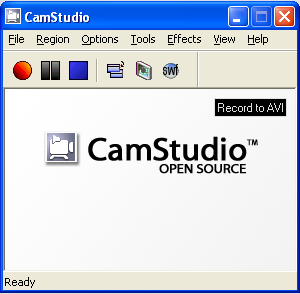
Not all users want to use paid programs for recording from computer screen. That's why I recommend to install a small free program CamStudio, using which you can easily record video from screen:
Distributive of the program is a zip archive file camsetup.zip (1.4 Mb) that can be unpacked to any temporary folder for installation. For your convenience CamStudio Installet is attached to the article.
Program Installation
So, after you download the zip file with the program, it should be installed. Simply create a temporary folder and copy files from the zip archive into it. To install the program start the file camsetup.exe. The program is installed automatically, all you need to do is to click Next. By default the program will be installed into the folder C:\ProgramFiles\CamStudio, but you may indicate another installation path.
At the end of installation process your operating system will show a question about the video codec installation:
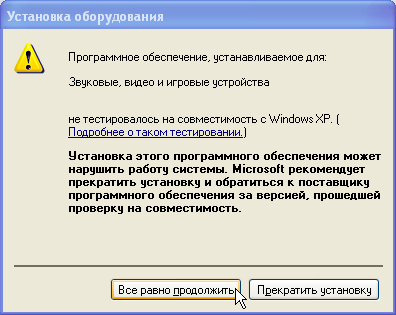
Agree and click "Continue anyway", after that a message about a successful program installation will appear. Now you can use the program
You see, everything is done in automatic mode, there are no problems with installation. Press "Ready" and the program will start.
Viewing Settings
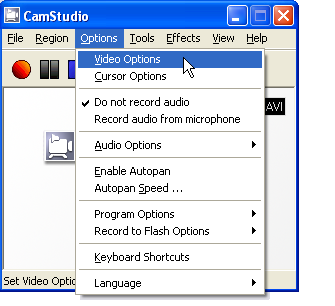
Almost everything is ready, we are ready to record video from computer screen (it is called video screen capture). One more asset of this type installation should be mentioned here - all necessary settings for capturing video are already specified. They can be viewed by selecting "Options" - "Video Options" in the menu.
 |
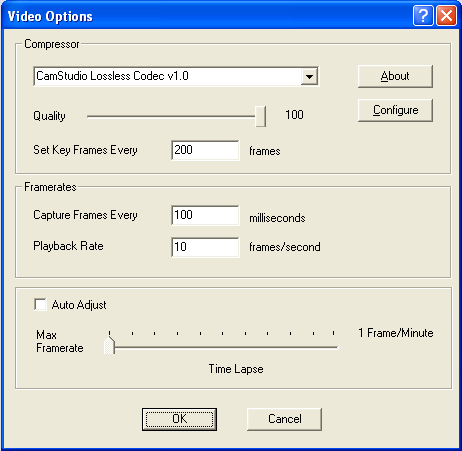 |
Everything is already set. Let's dwell on some moments. CamStudio Lossless Codec v1.0 is set up as a codec. Slider of "Quality" parameter is set up in the rightmost position - the value is 100. It means 100% quality preservation when a file is compressed by the video codec.
The next parameter is "Set Key Frames Every ... frames", the value is 200. It means every 200 frames a key frame will be created. Below is a short explanation:
As distinct form video tape recorders that recorded on a tape each video frame, modern algorithms of video compression use another principle for the sake of size economy. It was noted that the larger image part stays unchanged when one frame is replaced by another. It means there is no need to describe each video picture pixel for each frame. Instead, some initial frame (key frame) can be remembered, after that pixels that have changed as compared to the previous frame are detected. This approach allows to considerably reduce the size of video files.
However, a key frame should be updated from time to time, so that the quality of video doesn't become worse on the 1000th frame from the key frame because of the inevitable information loss during compression. There are different ways to prevent this, but the easiest one is to update a key frame from time to time. If this is done too often (small value of "Set Key Frames Every"), the video quality will be very high, but the final file size will be too large. If the value is too large (for example a key frame is created every 500 frames), the size of the final file will be small, but the quality will be poor. The parameter value 200 is in most cases enough for getting video of good quality.
The next parameter is "Capture Frames Every ... milliseconds". It indicates intervals of time, through which frames will be captured from the screen. The value of "Capture Frames Every" equal to 100 milliseconds is usually enough, because we are not going to record dynamic scenes of an action movie or Formula 1. Creation of frames every 100 milliseconds gives us 10 frames per second which is quite enough for showing video illustrations.
The second parameter from the group "Framerates" - "Playback Rate ... frames/second" sets the frequency at which frames will be shown in the final file. It is known that a human eye cannot perceive more than 25 frames per second. For a video captured from computer screen the value of "PlayBack Rates" equal to 10 frames/second is also enough.
The lowest parameter "Time Lapse" is also left as it is "Max Framerate" (as shown at the picture). We can also view the compression algorithm configuration. Click "Configure".
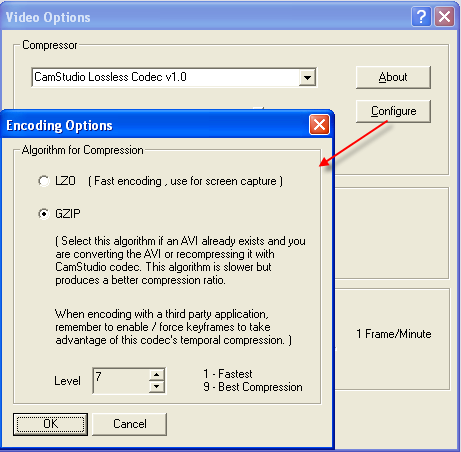
A window appears for selecting Algorithm for Compression. Here the necessary box is already checked: "GZIP". At the very bottom the compression degree "Level" is specified from 1 (the quickest method of coding) to 9 (the smallest size of a compressed video). Default value 7 suits our purpose, leave it unchanged. Click "OK" and save the settings. Everything is ready for capturing video.
Starting to Capture Video
Before starting to capture we must define what we are going to record: the full screen, certain window or part of screen. This option can be chosen using "Region" menu.
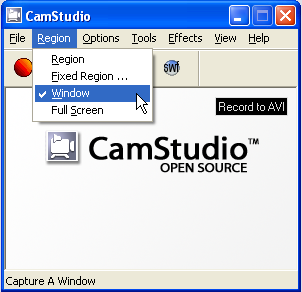 | 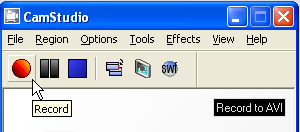 |
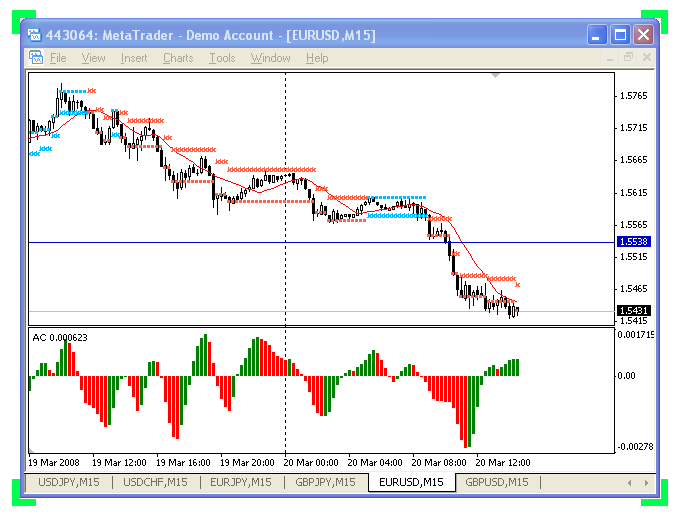
The most convenient mode is "Window", because in this case you simply click on a necessary window and the program defines the window borders. In most cases this mode is used, for example when we want to capture video from EURUSD H1 chart. Press the round red button "Record" to start recording.
A message appears telling us to click on a window to be captured:
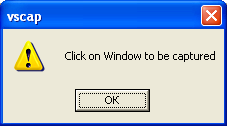
Click "OK" and then click on a necessary window. Four green blinking angles appear on the angles of a captured window to indicate the recorded region.
During video capture CamStudio displays service information:
 |
For example, in this case:
|
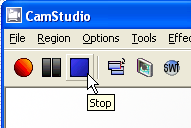
You can stop capturing clicking "Stop". After you click it a pop-up window appears for saving the video file.
|
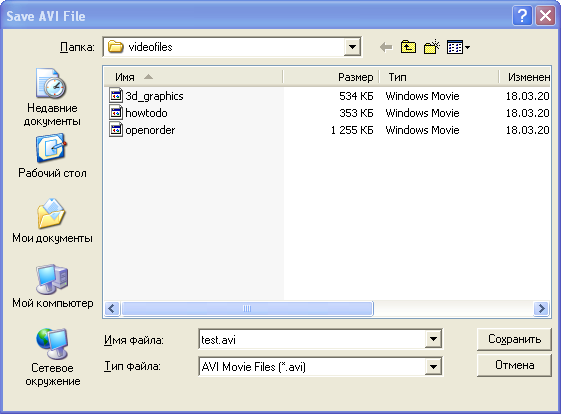 |
You can choose any directory for saving your video clips; the program will remember this folder and further will offer to save files into this folder. For example, I create a folder "C:\Program Files\CamStudio\videofiles" and save the captured video clip into this folder and name it test.avi. It is all ready, we have a video file that can be published.
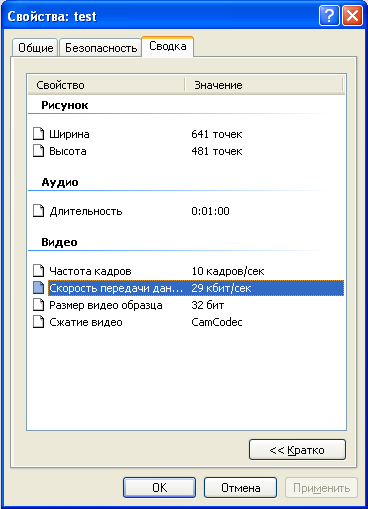
Please note, the created video file requires internet channel speed only 29 kilobit per second. So the video can be viewed even with a very poor channel.
Publishing Video
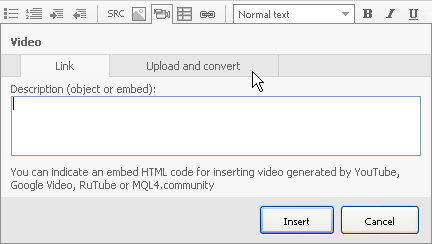
To publish video in a comment or an article, click "Video" in the editor. A window with two tabs appears. Click "Upload and convert":
Click "Browse..." and select the necessary *.avi file (test.avi).
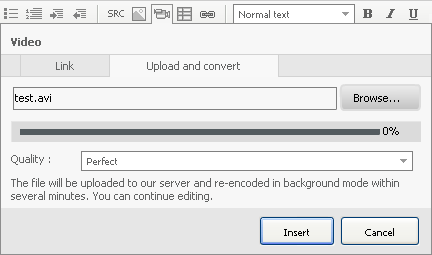
After clicking "Insert" the file uploading process starts.
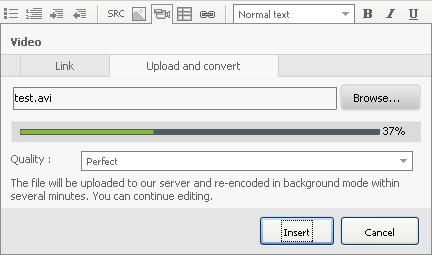
This is the first publication stage. The picture shows that at the current moment 37% of the file is uploaded to the site. When the uploading is over, a black window will appear pointing at the place where the video will be located. You can add video description right under the black square, e.g. "how to publish video".
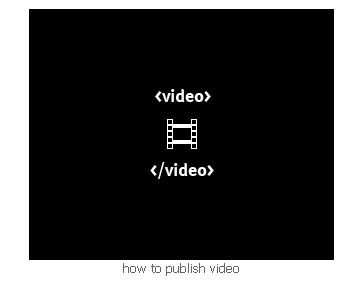
After clicking "Save" you will see a black window informing that video service functions of our website start converting the file - "video in progress". This is the second publication stage.
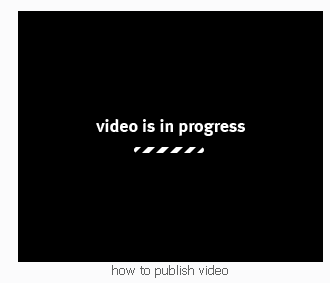
When the conversion is over, you will see the following result:
how to publish video
Some Useful CamStudio Features
First, it is the possibility to set up "hot" keys for starting, pausing and stopping video capturing. To do this, in "Options" menu select "Keyboard Shortcuts".
By default "F8" key starts/terminates video capturing process. "F9" means stopping video capturing and saving an avi file. "F10" cancels video capturing. You may change "hot" keys for these operations.
The second interesting possibility is a visual cursor options when recording video. Use menu "Options" - "Cursor Options".
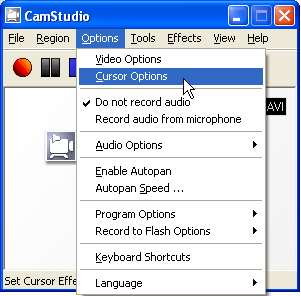 |
 |
Here you can choose whether to show a cursor or not. "Hide Cursor" - cursor will be invisible when recording video, "Show Cursor" - cursor is visible and can be recorded. Here you can set the cursor type visible in a video clip.
Enabled "Use Actual Cursor" means recording cursor in its usual form. Enabled "Use Custom Cursor" or "Use Cursor From File" allows recording video with other cursor type. You can try to change types of cursor, I think, it will be interesting.
Besides, on the same page you can select the option "Highlight Cursor". By default a cursor will be highlighted by a yellow Circle of Halfsize. You can select another Shape from the list of available shapes. To change the highlighting color press "Color" button. But there is something more.
We can visually define clicking of mouse buttons. Check "Enable Visual Click Feedback". Now in the recorded video the cursor will be highlighted by one color (by default red) when clicking the left button, and by another color (by default blue) when clicking the right button. You can change these colors as well.
The description of CamStudio options is enough for this article. You will enjoy learning about other options by yourself.
Conclusion
You see, it is easy to create your own video clips. And you don't have to buy special software or spend much time studying a new program. I hope, this article will help you not only to publish video in our forum, but also to record video for various purposes.
You can continue studying this topic - there are a lot of books nowadays related to creating video on a computer. I hope this article will be of great help to you.
Translated from Russian by MetaQuotes Ltd.
Original article: https://www.mql5.com/ru/articles/1520
Warning: All rights to these materials are reserved by MetaQuotes Ltd. Copying or reprinting of these materials in whole or in part is prohibited.

 Metalanguage of Graphical Lines-Requests. Trading and Qualified Trading Learning
 An Expert Advisor Made to Order. Manual for a Trader
 Expert Advisors Based on Popular Trading Systems and Alchemy of Trading Robot Optimization
 Using MetaTrader 4 for a Time Based Pattern Analysis
- Free trading apps
- Over 8,000 signals for copying
- Economic news for exploring financial markets
You agree to website policy and terms of use