Pullback Rejection
- Indicatori
- Versione: 2.0
- Attivazioni: 5
Overview
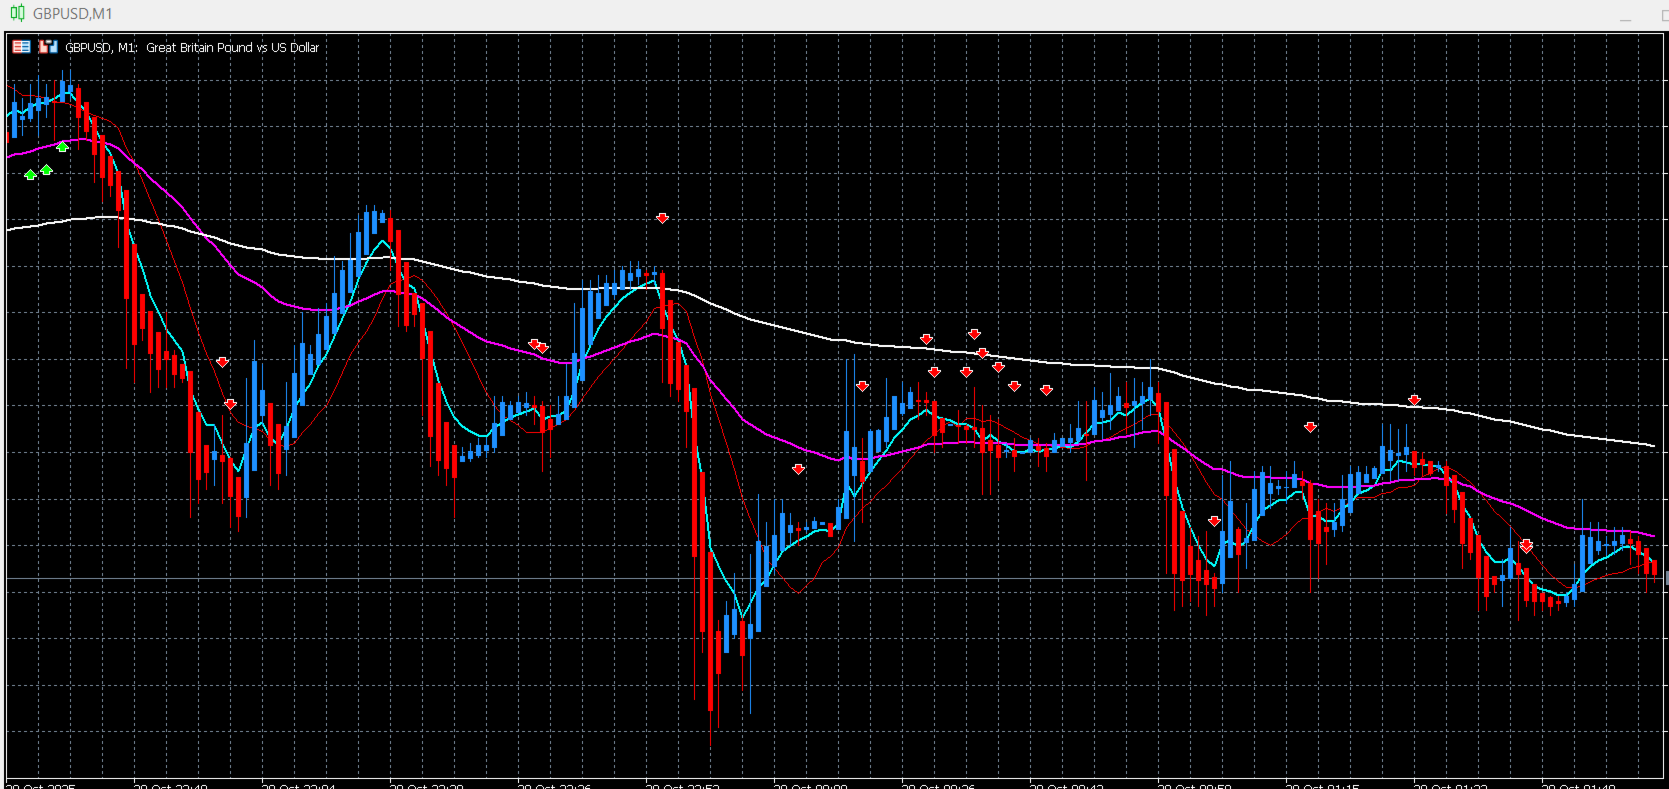
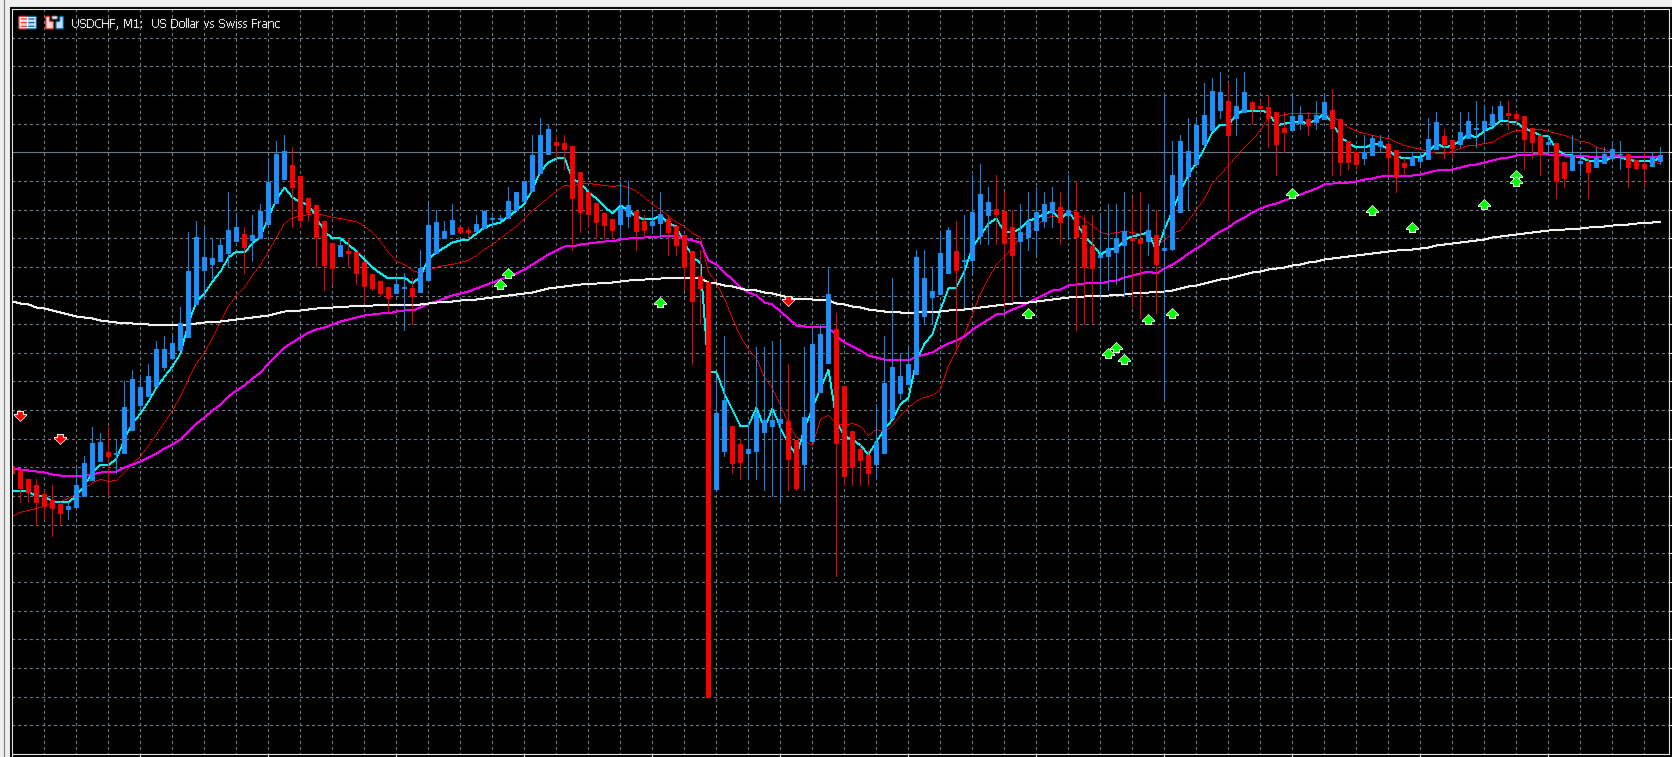
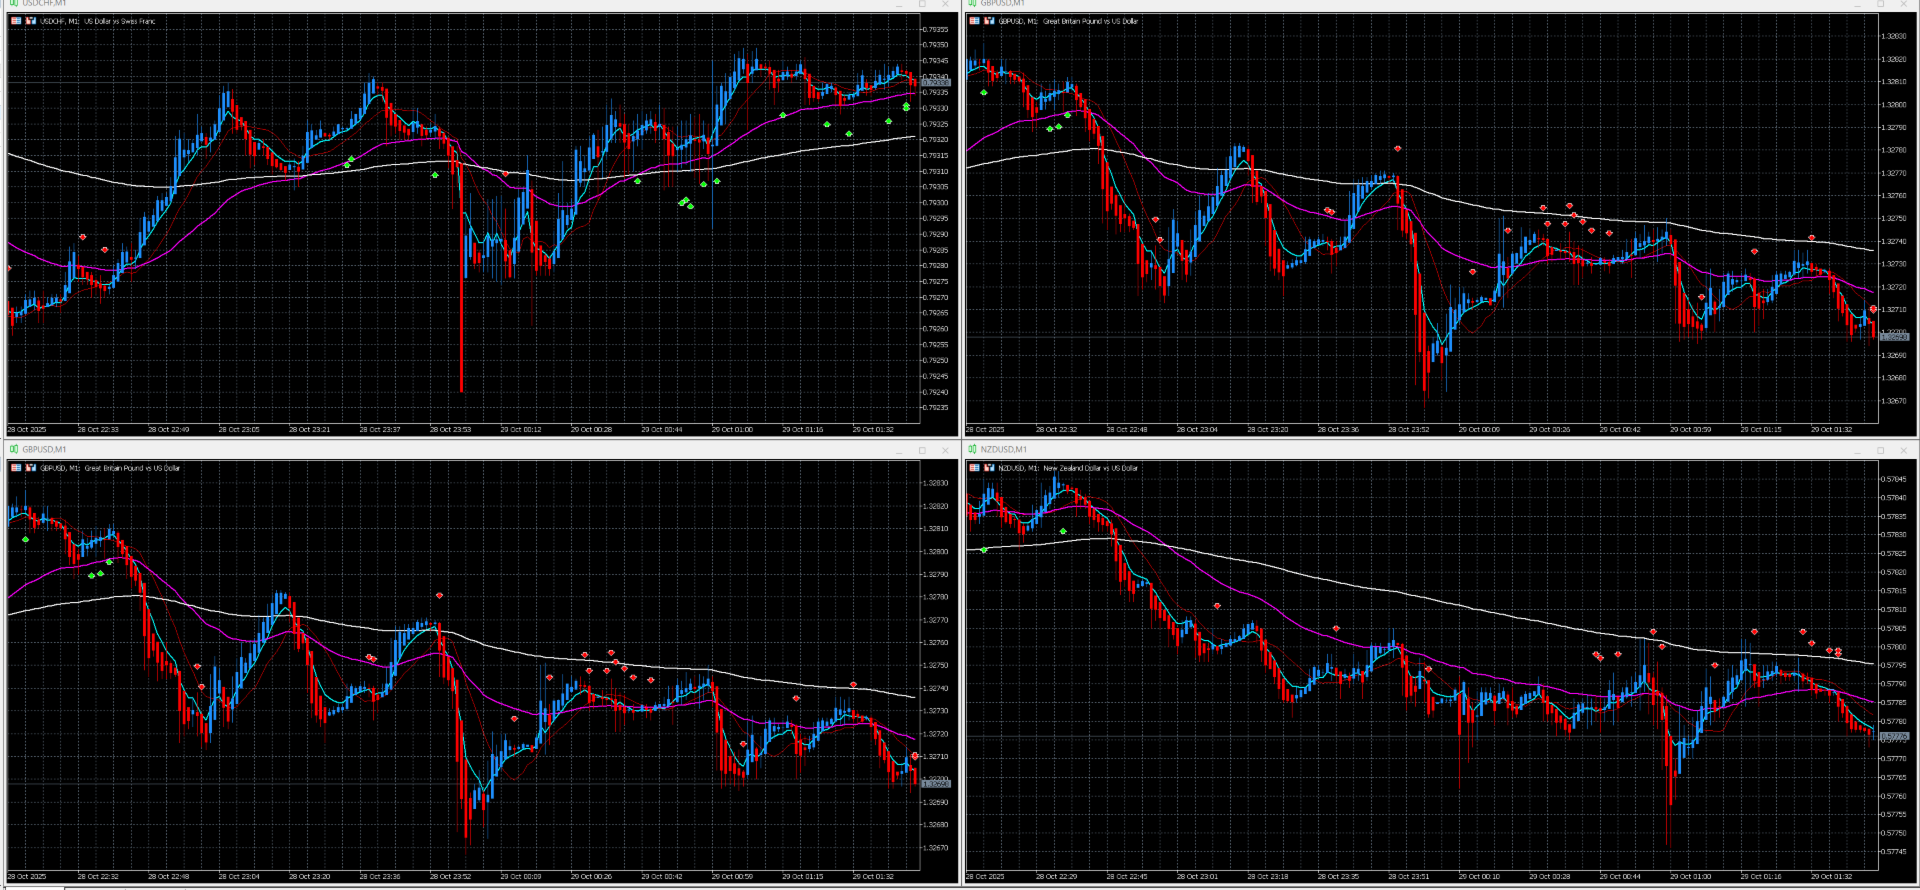
Pullback Rejection v2.0 is a professional-grade visual indicator that spots continuation setups after pullbacks using Heiken Ashi logic and multi-EMA trend bias.
It is designed for scalpers and intraday traders who want clean, rule-based BUY and SELL signals aligned with trend direction only — no repainting, no noise, no counter-trend traps.
Trading Concept
The indicator combines EMA 7, EMA 50, and EMA 200 to define directional bias:
| Bias | Condition | Trades Allowed |
|---|---|---|
| Bullish | EMA7 > EMA200 and EMA50 > EMA200 | BUY-only |
| Bearish | EMA7 < EMA200 and EMA50 < EMA200 | SELL-only |
| Neutral / Crossing | EMAs mixed | No trades |
Within the active bias zone, the tool waits for a Heiken Ashi Doji (stall candle) that touches the fast or mid EMA zone and then confirms entry when the next candle closes strongly in the trend direction.
This provides a precise “pullback → stall → rejection” entry that human scalpers naturally look for.
Key Features
Trend filter based on EMA 7 / 50 / 200
Heiken Ashi internal calculation (works on any chart type)
Automatic detection of Doji / stall candles
Next-bar confirmation logic — no early or repainting signals
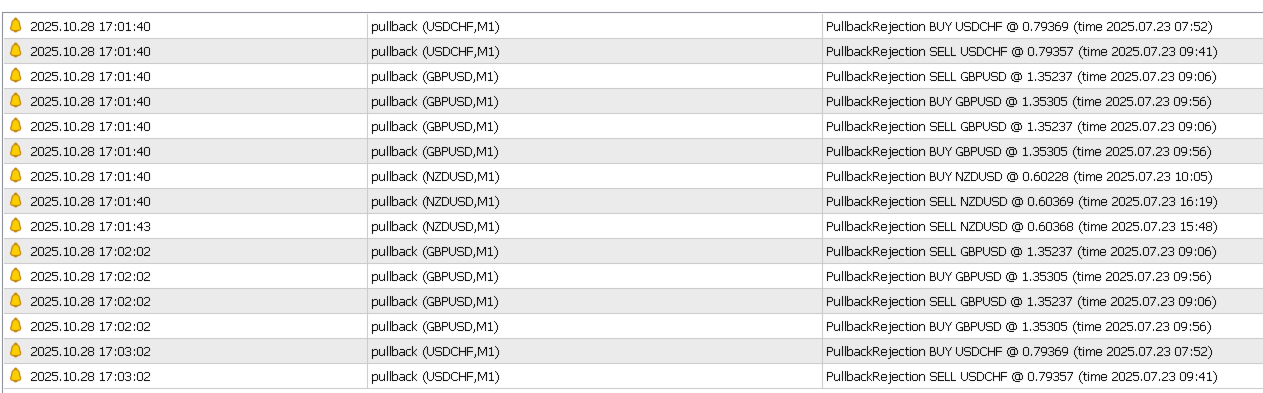
Arrow objects & alerts on confirmation candle only
Configurable proximity filter (distance to EMA zone)
Adjustable cooldown to prevent signal spam
Customizable colors, sound, and visual objects
Fully compatible with MT5 strategy tester
Signal Logic Summary
SELL Setup
-
EMA7 < EMA200 and EMA50 < EMA200 (bearish bias)
-
Previous candle = HA Doji or small bullish pullback near EMA 7 / 50
-
Current candle = bearish HA close < previous HA close
-
Arrow ▼ appears above confirmation candle
BUY Setup
-
EMA7 > EMA200 and EMA50 > EMA200 (bullish bias)
-
Previous candle = HA Doji or small bearish pullback near EMA 7 / 50
-
Current candle = bullish HA close > previous HA close
-
Arrow ▲ appears below confirmation candle
Input Parameters
| Input | Description | Default |
|---|---|---|
| InpFastEMAPeriod | Fast EMA period | 7 |
| InpMidEMAPeriod | Middle EMA period | 50 |
| InpSlowEMAPeriod | Long-term EMA (Trend line) | 200 |
| InpDojiBodyPercent | Max body-to-range ratio to define Doji | 0.35 |
| InpMaxPullbackPoints | Distance (points) from EMA 7/50 to qualify as pullback | 40 |
| InpCooldownBars | Bars to wait before next same-type signal | 5 |
| InpEnableSellSignals / InpEnableBuySignals | Enable/disable direction | true |
| InpEnableAlerts | Pop-up alerts for each signal | true |
| InpDropChartObjects | Draw chart arrows/labels | true |
Recommended Usage
-
Timeframes: M1–M15 for scalping / M30–H1 for intraday
-
Markets: Forex majors, indices, gold, crypto CFDs
-
Combine with:
-
Support / resistance zones
-
Session timing or volatility filters
-
Your own risk-reward or binary-options timing strategy
-
Support / Credits
Developed by MFIT-NM Labs
Indicator ID: Pullback Rejection v2.0