SMC Structure Sentinel — How a Structure-Based Gold EA Decides When Not to Trade

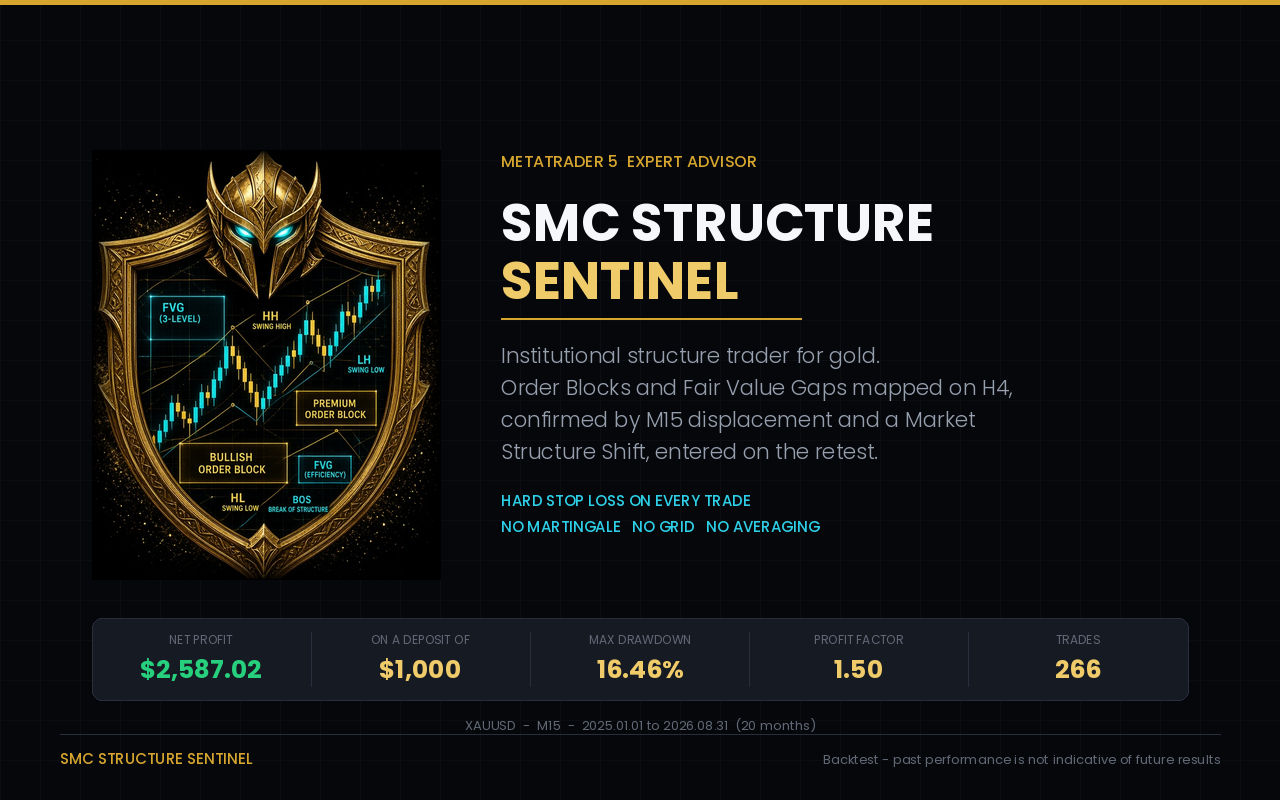 SMC Structure Sentinel — How a Structure-Based Gold EA Decides When Not to Trade
 MetaTrader 5 Expert Advisor · XAUUSD · H4 analysis into M15 execution
Most gold robots fail in the same way. They find a level, they take the trade, and the level was never the point — the market had already told them it was not going to react there, and they entered anyway.
SMC Structure Sentinel is built around the opposite instinct. It spends most of its time refusing to act. It maps where institutional orders were likely left behind, waits for price to come back to one of those places, and then waits again for the lower timeframe to prove the reaction before a single order is sent. If the proof never arrives, the setup expires and nothing happens.
Product Link:-https://www.mql5.com/en/market/product/195969
This article explains how it works, what it will and will not do, and how to set it up.
1. The idea in one paragraph
Large orders cannot be filled in one place. When institutional size enters a market it leaves evidence behind: a candle range that was never traded back through, a gap that price moved away from too quickly to fill, a cluster of stop orders resting above an obvious high. Smart Money Concepts (SMC) is the practice of reading that evidence. The Sentinel automates the reading, and — more importantly — automates the discipline of not trading when the evidence is incomplete.
2. The four stages
Stage one — the higher timeframe map (H4)
The EA establishes a directional bias from confirmed breaks of structure, then locates and tracks the areas where price is likely to react:
- Order Blocks — the last opposing candle range before an impulsive move away
- Fair Value Gaps — price ranges that were skipped through rather than traded
- Resting liquidity — equal highs and equal lows, previous day high and low, previous week high and low
Each zone is tracked until price either respects it or invalidates it. A zone that has been used is not used again.
Stage two — the lower timeframe proof (M15)
Nothing trades on a zone alone. This is the part that separates a structure trader from a support-and-resistance bot. Before the EA will consider an entry, price must:
- Leave the zone with real displacement — an impulsive leg, not a drift. A genuine displacement leg creates a Fair Value Gap behind it and leaves a fresh Order Block.
- Break the last opposing swing — a Market Structure Shift. This is the market changing its mind, and the EA detects it intrabar rather than waiting for a candle to close.
If price reaches the zone and slices straight through it, there is no displacement, no shift, and no trade. That non-event is the EA doing its job.
Stage three — entry, stop and target
- Entry on the retest of the newly created zone.
- Stop loss placed beyond the structure that produced the shift. Not a fixed number of points — the market decides where the trade is wrong, and the position is sized afterwards to fit.
- Target the next unswept higher-timeframe liquidity level, with a minimum and a maximum reward-to-risk so the EA neither takes thin trades nor reaches for levels price rarely gets to.
Stage four — the ratcheting profit lock
Once a trade is far enough in front, the stop begins to trail a fraction of the initial risk below the trade's own high-water mark — and it only ever moves forward.
The practical consequence: a position that has run well into profit cannot hand all of it back. Every improvement is kept. There is no scenario in which the lock loosens.
An optional scale-out can bank part of the position at a profit level of your choosing, after the lock is already protecting the trade.
3. What it will never do
| No martingale | The size never increases after a loss. |
| No grid | No stacking of orders into a losing move. |
| No averaging down | A losing position is never enlarged. |
| No stop removal | The stop is never deleted or widened — only moved forward. |
One position at a time. A hard stop loss on every trade, set before the order is sent. The size is calculated before the position exists, from the stop distance the structure gave it.
4. Backtest
XAUUSD · M15 · 2025.01.01 – 2026.08.31 (20 months) · every tick based on real ticks · 100% history quality · 207,730,451 ticks · $1,000 deposit · fixed 0.05 lots, no compounding
| Metric | Result |
|---|---|
| Net profit | $2,587.02 (+258.7% on $1,000) |
| Maximum equity drawdown | 16.46% |
| Maximum balance drawdown | 14.69% |
| Profit factor | 1.50 |
| Recovery factor | 3.96 |
| Sharpe ratio | 12.12 |
| Expected payoff | $9.73 |
| Total trades | 266 over 20 months (~13/month) |
| Win rate | 61.65% |
| Long / short won | 64.15% / 57.94% |
| Gross profit / loss | $7,766.86 / −$5,179.84 |
| Equity curve linearity (LR correlation) | 0.97 |
| Worst losing run | 8 trades, −$539.70 |
A note on that last row, because it is the number that actually matters to you. Every strategy has losing runs, and this one produced a run of eight. In this test it arrived after the account had already grown, which is why maximum drawdown stayed at 16.46%. If the same run arrives in your first month on a small account, the percentage is much larger. That is why the recommended starting balance below is not $1,000.
These figures come from one historical period on one broker's data. They are not a forecast. Run your own tests, on your own broker's feed, over periods you choose — the EA ships with a signal-only mode precisely so you can watch it decide before you risk anything.
5. Position sizing — four ways, one ceiling
| Mode | What it does |
|---|---|
| Fixed lot | Your lot size, with optional growth as the balance grows. |
| Risk percent | Sized so entry-to-stop costs exactly X% of balance. The only mode that adapts to how wide the stop actually is. |
| Balance per lot | One minimum lot for every X of account balance. |
| Manual | Traded exactly as entered, for traders doing their own arithmetic. |
Over all four sits a hard per-trade risk ceiling. If the calculated size would risk more than your limit on one stop, the size is reduced — never the stop. Only when even the broker's minimum lot would breach the limit is the trade skipped, and the journal says so in plain language.
There is a reason this matters more on gold than on most instruments. The stop here is structural, so its width is set by the setup rather than by you. Across the test above the widest stop was many times the narrowest. At a constant lot size that is the same multiple in money risked per trade — which is the difference between an equity curve that grinds upward and one that lurches. The EA reports the spread of realised risk (minimum, average and maximum percentage a single stop actually cost) both on the dashboard and in the journal, because no MetaTrader report shows it.
6. Protection
- Hard stop loss on every position, set before the order is sent
- Per-trade risk ceiling — reduces the size, never the stop
- Daily loss stop and optional daily profit target
- Equity drawdown circuit breaker with a timed resume
- Maximum open positions and maximum trades per day
- Session window, weekday filter and Friday cut-off hour
- Spread guard and slippage cap
- Economic calendar filter using the terminal's own news feed
- Multi-chart portfolio limits — run several symbols and they share one position cap, one trades-per-day cap and one daily loss budget. Without this, five charts at 2% each is a 10% day.
7. On the chart
The EA is not a black box on screen. It draws its higher-timeframe zones, its liquidity levels and its Market Structure Shift markings, and a dashboard reports:
- the current higher-timeframe bias and the last confirmed break of structure
- how many Order Blocks and Fair Value Gaps are live, and how many liquidity levels are mapped
- for each direction, exactly which conditions are satisfied and which are still missing — sweep, displacement, FVG, Order Block, Market Structure Shift
- the position size in force, and the realised risk per trade with its range
- the day's profit and loss, the drawdown against its limit, and the count of entries skipped and why
- a plain-language status line: what the EA is waiting for right now
Below the price action sits a clean dark theme applied on attach — no grid, no volume histogram, no period separators — so the EA's own markings are the only things competing for your attention. It saves your chart's appearance first and restores it when the EA is removed.
8. Getting started
- Attach it to an XAUUSD M15 chart. The EA analyses H4 and M15 internally whichever timeframe the chart shows, but the drawings are scaled for M15.
- Set signal-only mode on. The EA draws its full analysis and reports every decision to the journal without placing a single order. Watch it for a few days and check the setups against your own reading of the chart.
- Read the three sizing lines the EA prints when it attaches. They state what a typical stop costs at your chosen size, what percentage of your balance that is, and the balance this symbol wants at your chosen risk.
- Turn signal-only off on a demo account first.
- Recommended minimum balance: $2,000. Below that, on gold, the structural stop and the broker's minimum lot leave too little room between "the EA skips trades" and "one losing run hurts".
- A VPS is recommended for live use.
9. Honest limits
- It trades XAUUSD. It is built around gold's structure and volatility, and it is not a multi-symbol EA.
- It is not a high-frequency system. Roughly thirteen trades a month in the test above. If you want constant activity, this is the wrong product.
- It will have losing months. A strategy that waits for confirmation spends whole weeks not trading, and confirmation sometimes arrives right before the market changes its mind.
- The published figures are one historical period. Test it yourself before you trust it.
10. Support
Questions, broker-specific setup, or help choosing a sizing mode for your account size — message me through my MQL5 profile. If something in the EA behaves in a way the journal does not explain, send me the journal text and I will tell you exactly what happened.
Trading leveraged instruments carries a risk of loss that can exceed your deposit. Past performance is not indicative of future results. Nothing in this article is financial advice.
SMC Structure Sentinel — Copyright 2026, Nawal Kishor Yadav