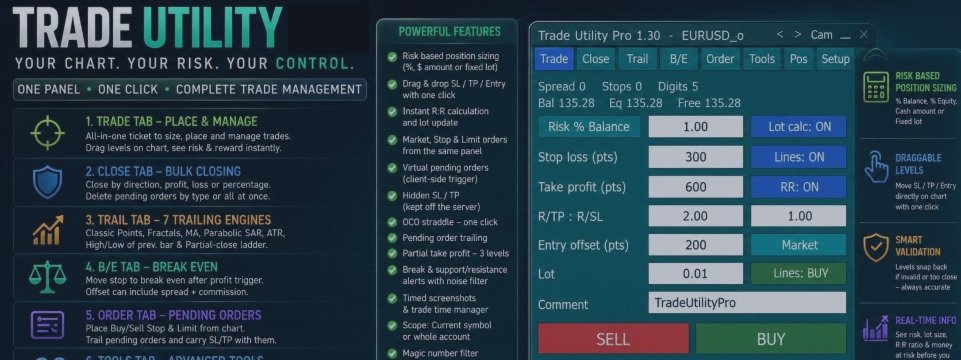

Trading Utility MT5: https://www.mql5.com/en/market/product/189246
Buy Trading Utility, Get ONE indicator FREE !
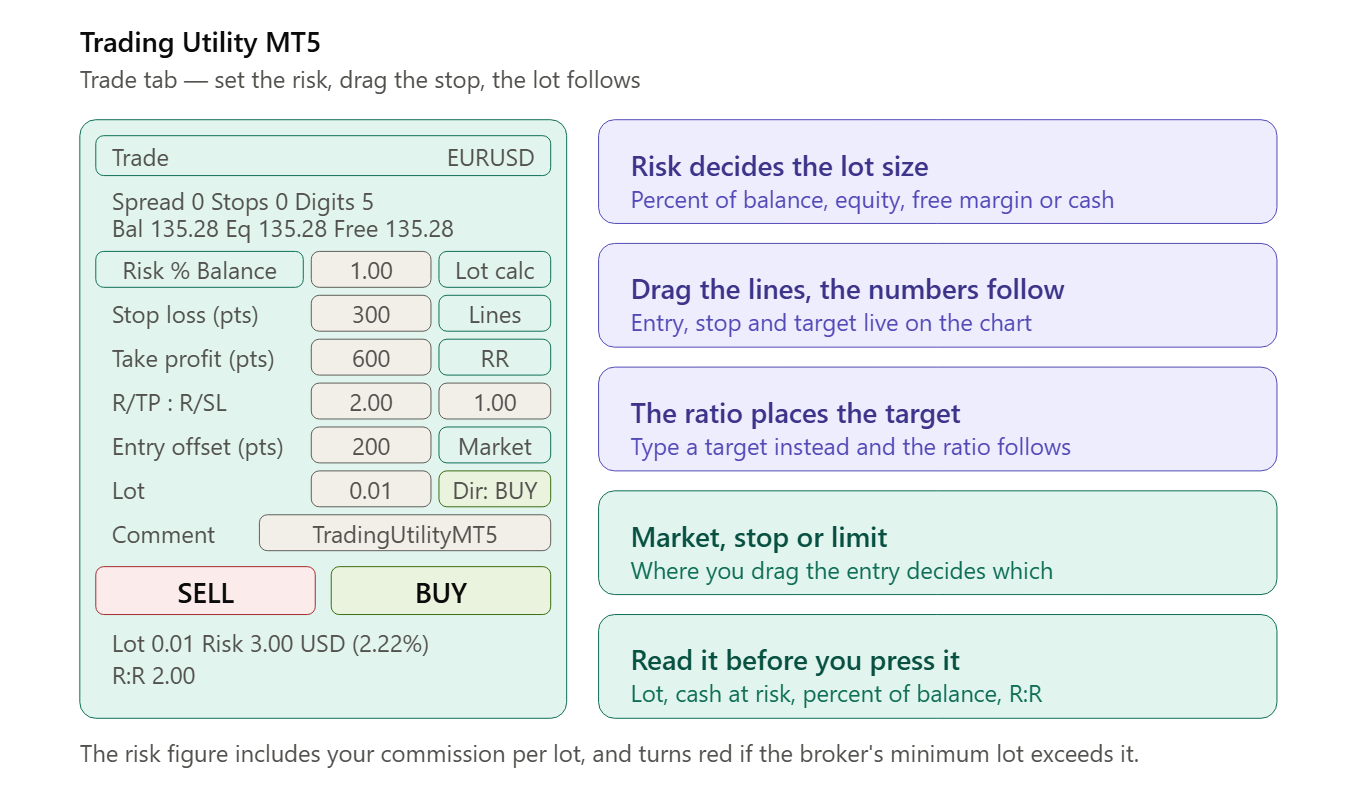
The one that decides the size of everything else.
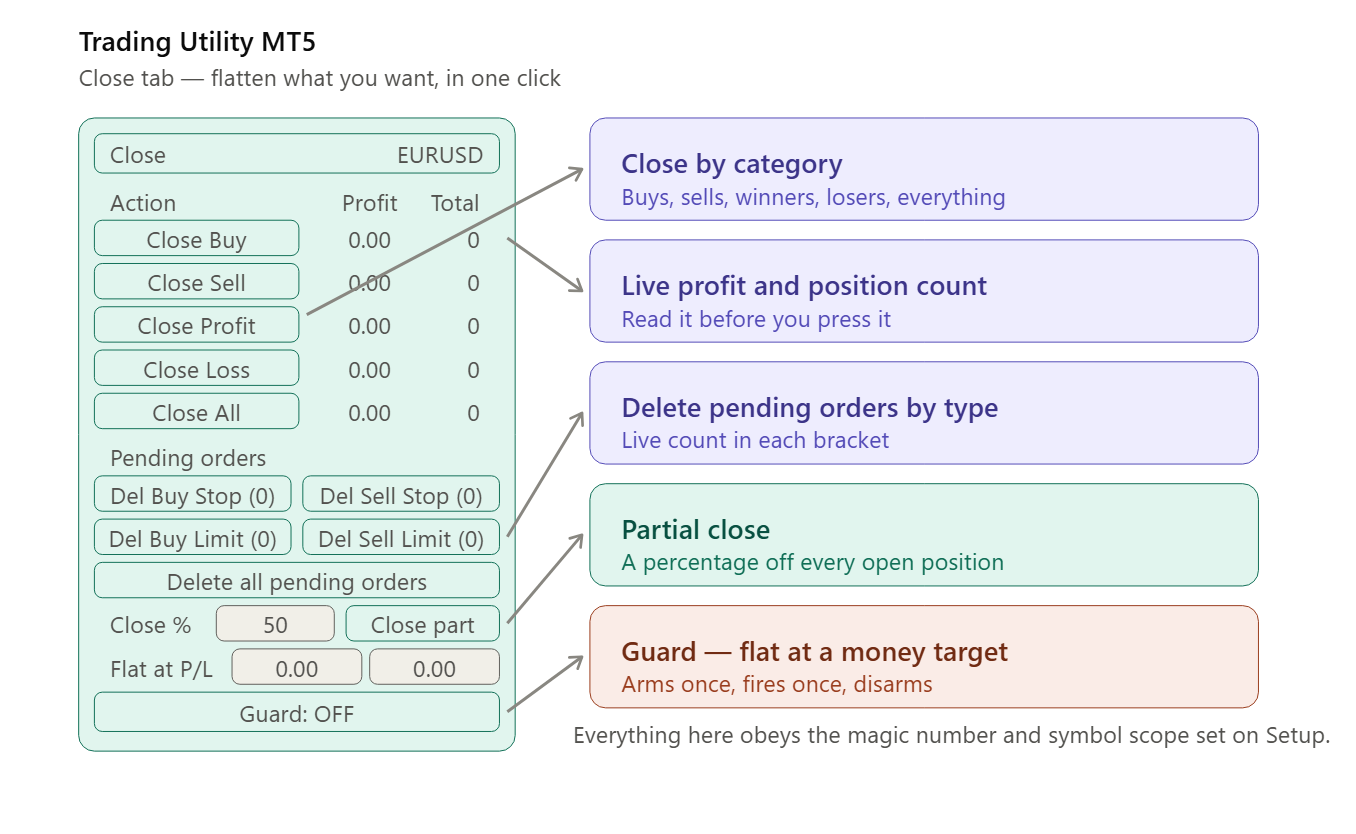
The Close tab is the "get me out" screen — its whole job is turning a decision into one click, so the annotations follow that logic rather than listing controls top to bottom:
The details behind each annotation:
Close by category. Five buttons, each closing one group in one action — buys, sells, every position currently in profit, every position currently in loss, or the lot. No selecting rows, no order dialog.
Live profit and count. The two right-hand columns aren't decoration; they're the reason the buttons are safe to press. Profit is colour-coded (green positive, red negative) and both columns refresh continuously, so you know what Close Loss will cost before you click it.
Pending orders by type. Four buttons for buy stop, sell stop, buy limit, sell limit, each carrying its live count in brackets — (0) means nothing to delete, so a misclick does nothing. Plus one button for all of them.
Partial close. Type a percentage, press Close part , and that share comes off every open position in scope at once. 50% on three positions closes half of each, not half of one.
Guard. The two Flat at P/L fields are a profit target and a loss limit in account currency. Guard: OFF arms them. Once armed, the EA closes everything when floating P/L crosses either figure, then disarms itself — it won't re-fire on the next trade you open. That last part matters: an auto-flat that stays armed silently is how people lose a good position.
The line at the bottom is the one people miss. Every button on this tab respects the magic-number filter and the symbol/all-symbols scope from the Setup tab. With scope set to the current symbol, Close All flattens this chart, not your account.
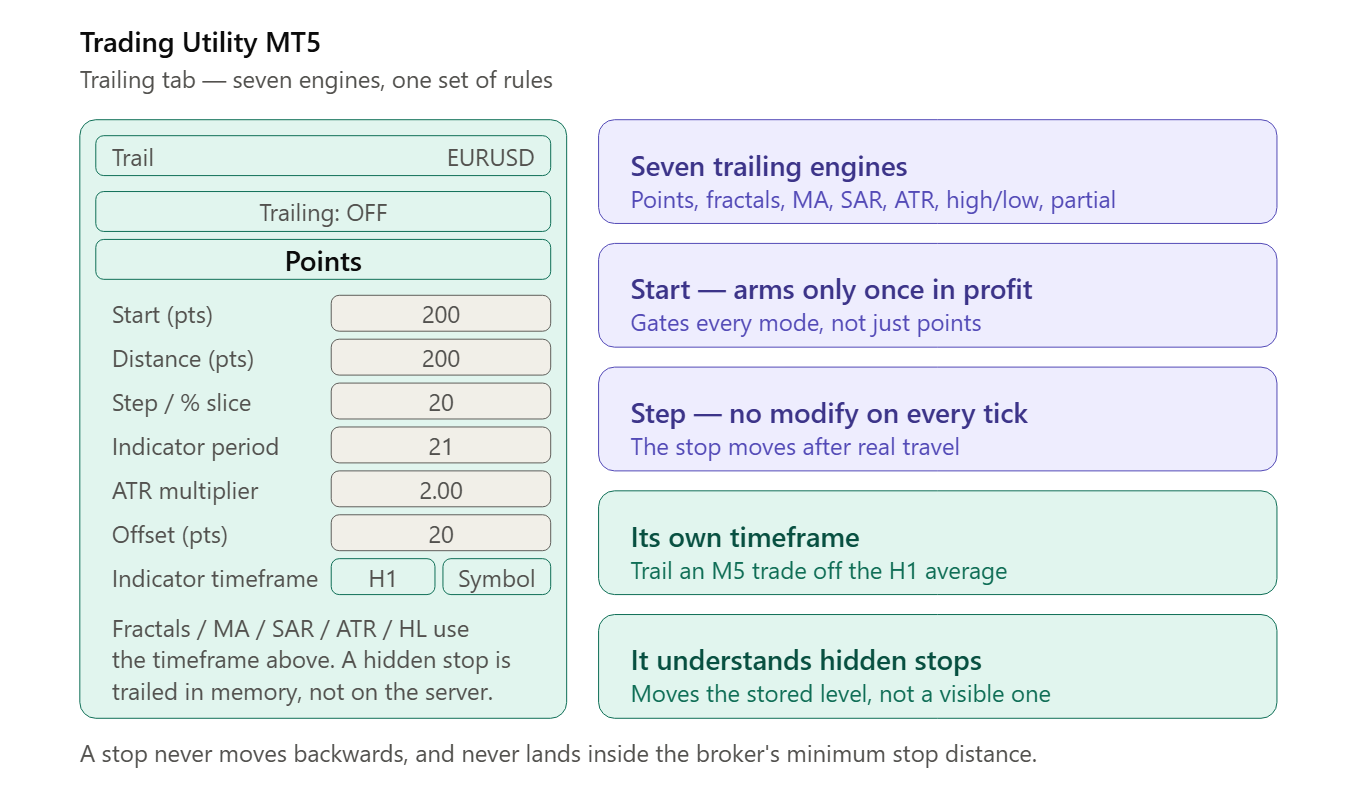
The Trailing tab's selling point is that the seven engines share one set of rules, so switching between them doesn't change how the stop behaves:
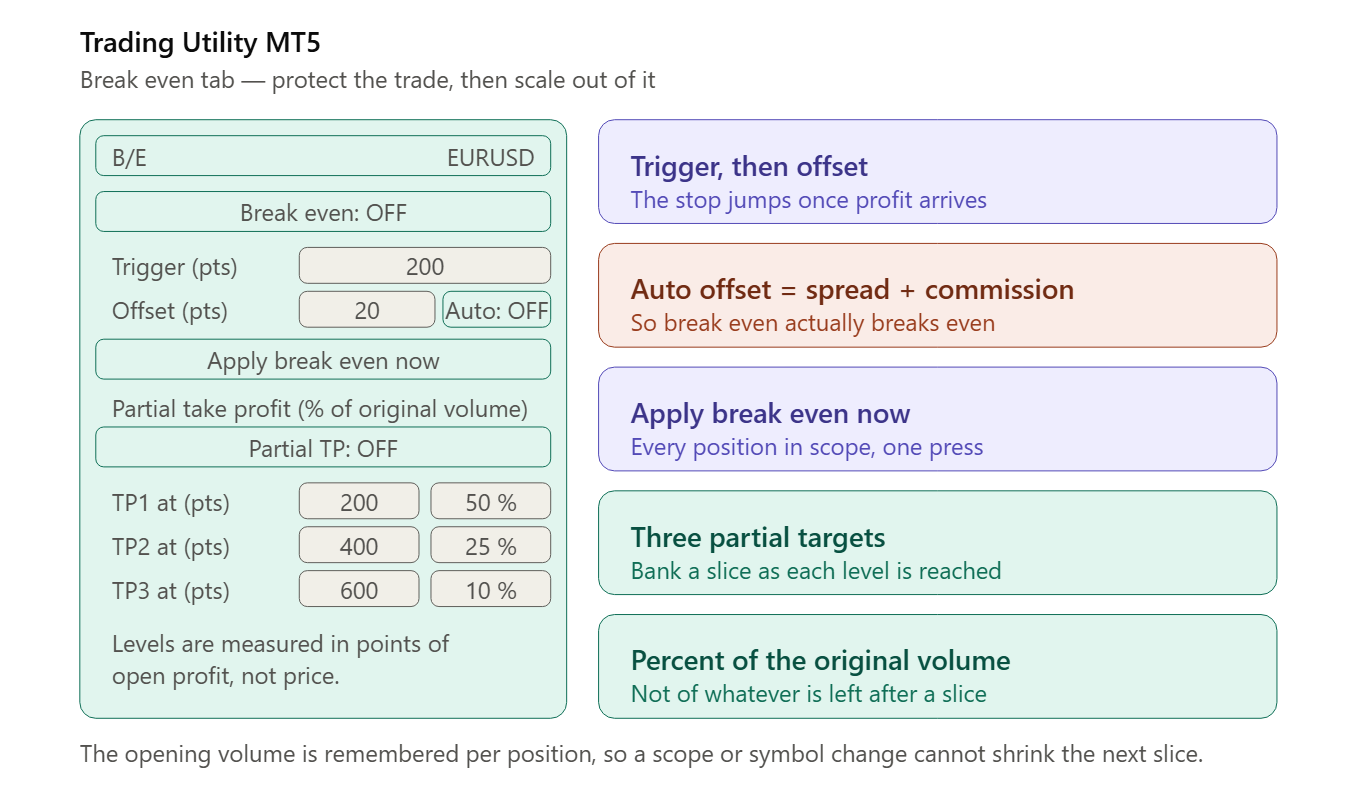
Break even has one detail worth putting on the banner: the offset can be calculated so that "break even" actually breaks even:
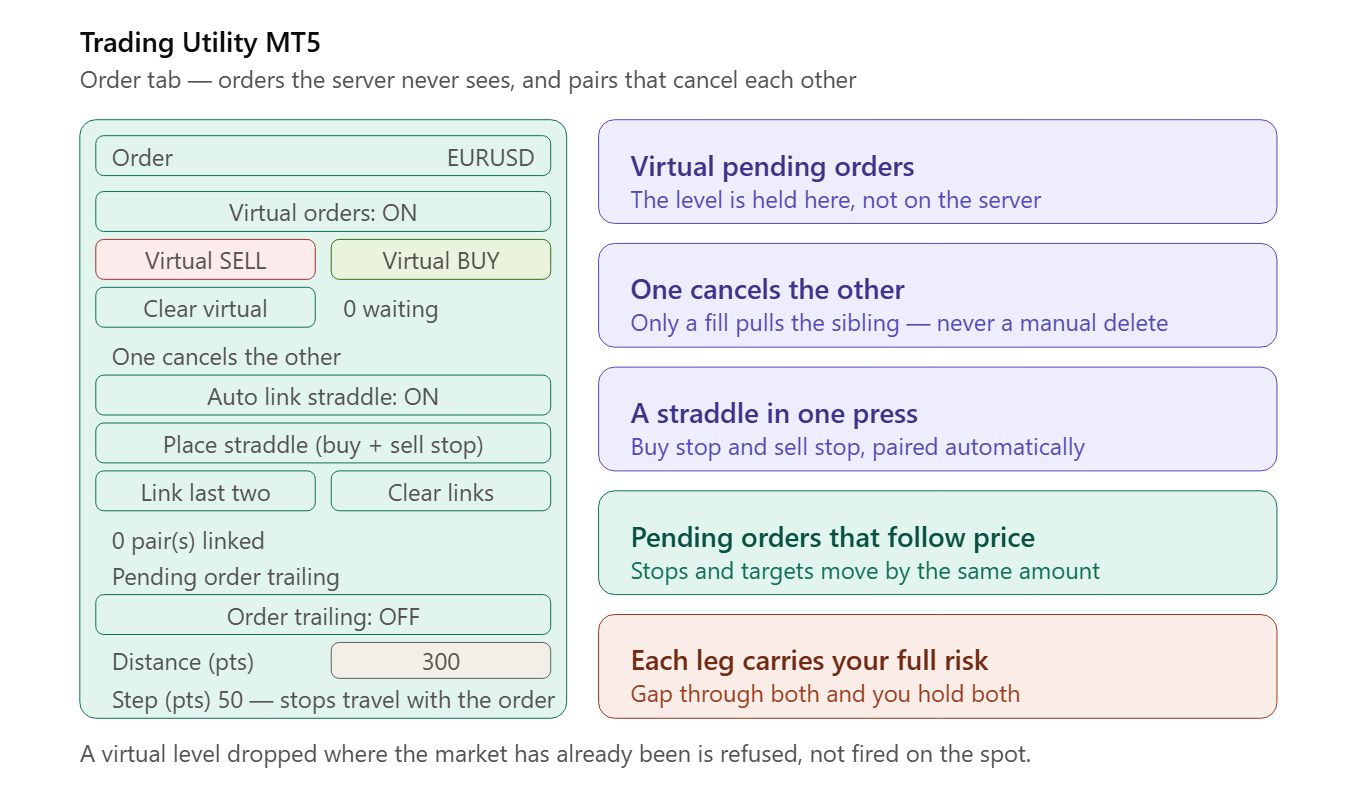
The Order tab needs its warning on the banner rather than hidden in the manual — a straddle is the one control here that can double your exposure:
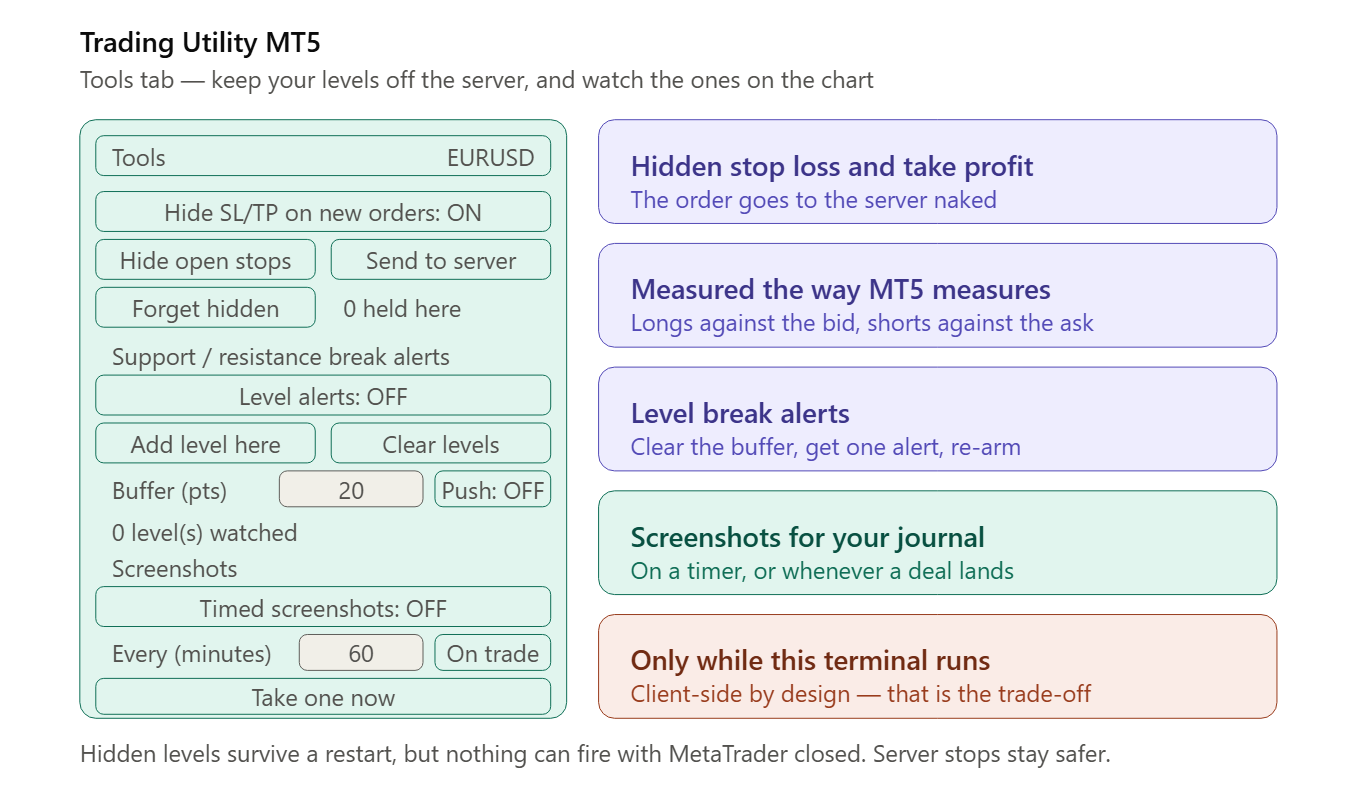
Tools carries the honest caveat. Hidden stops are the headline feature here, and the reason they're not free needs to be on the banner, not buried:
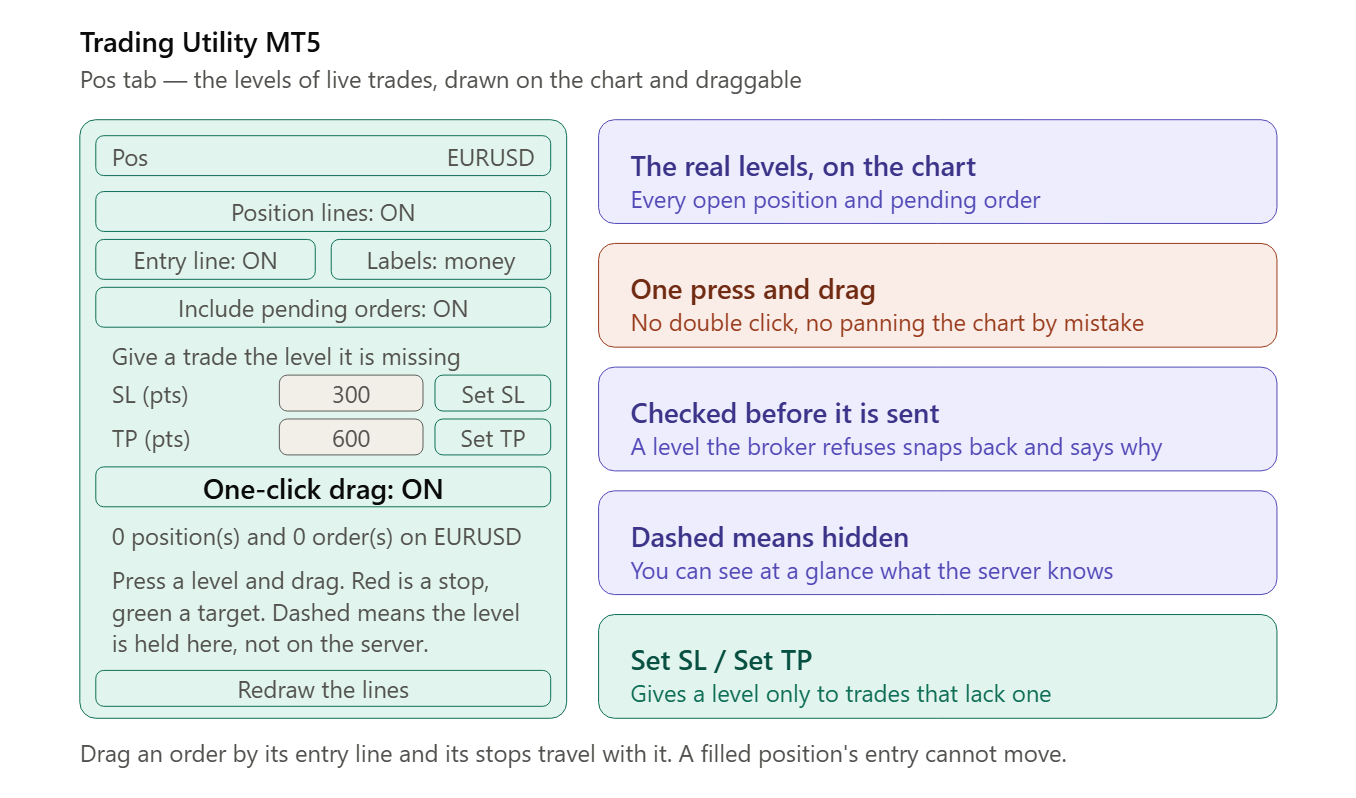
The Pos tab is your strongest differentiator — most competing panels make you double-click before a level will move:
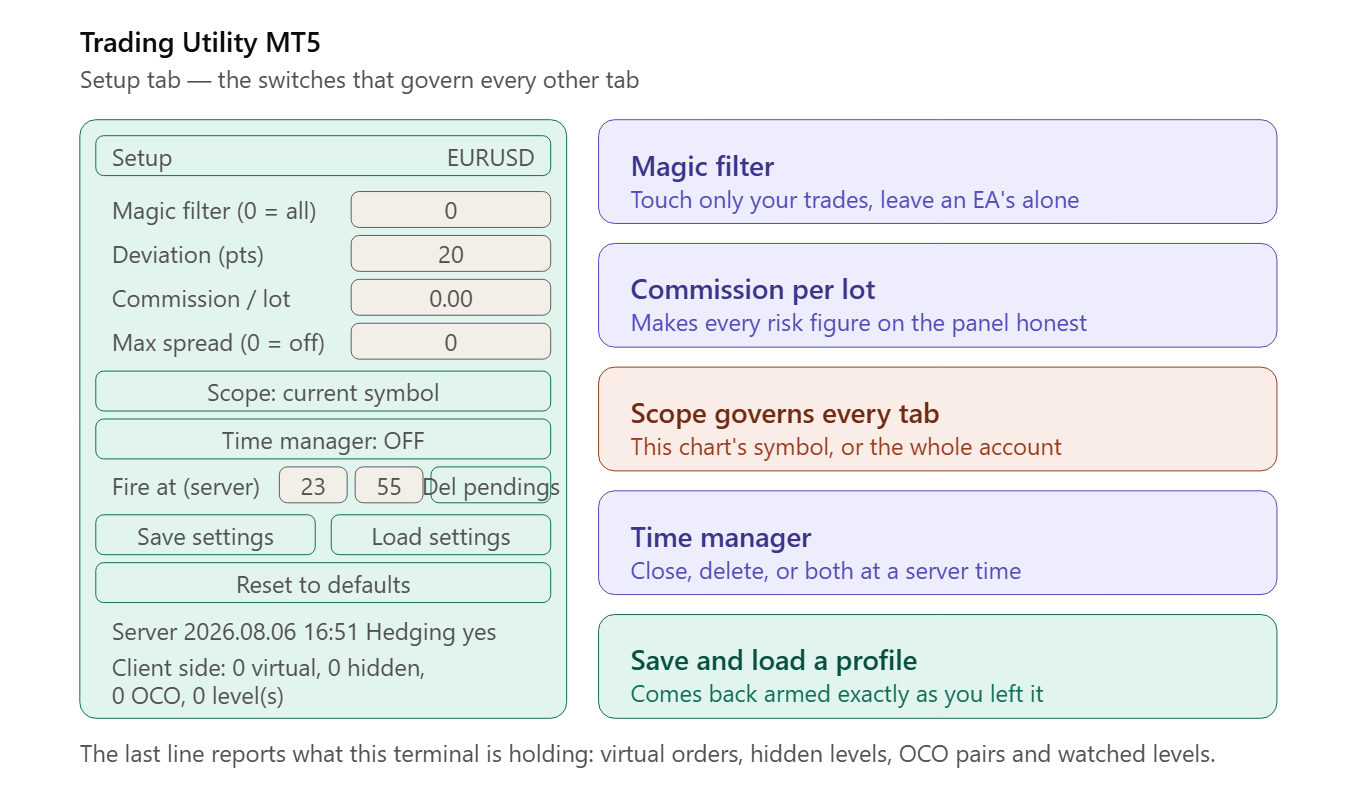
And Setup — the tab that quietly governs every other one: