

https://www.mql5.com/en/market/product/183347
Gold Reflex Pro flags the moment price pulls back to the dynamic value zone of a live trend, gets firmly rejected, and closes back on the trend side — a long wick stabs through the value zone and is pushed straight back. You enter with the trend at the pullback (buy the dip in an up-trend, sell the rally in a down-trend), instead of chasing price or guessing reversals.
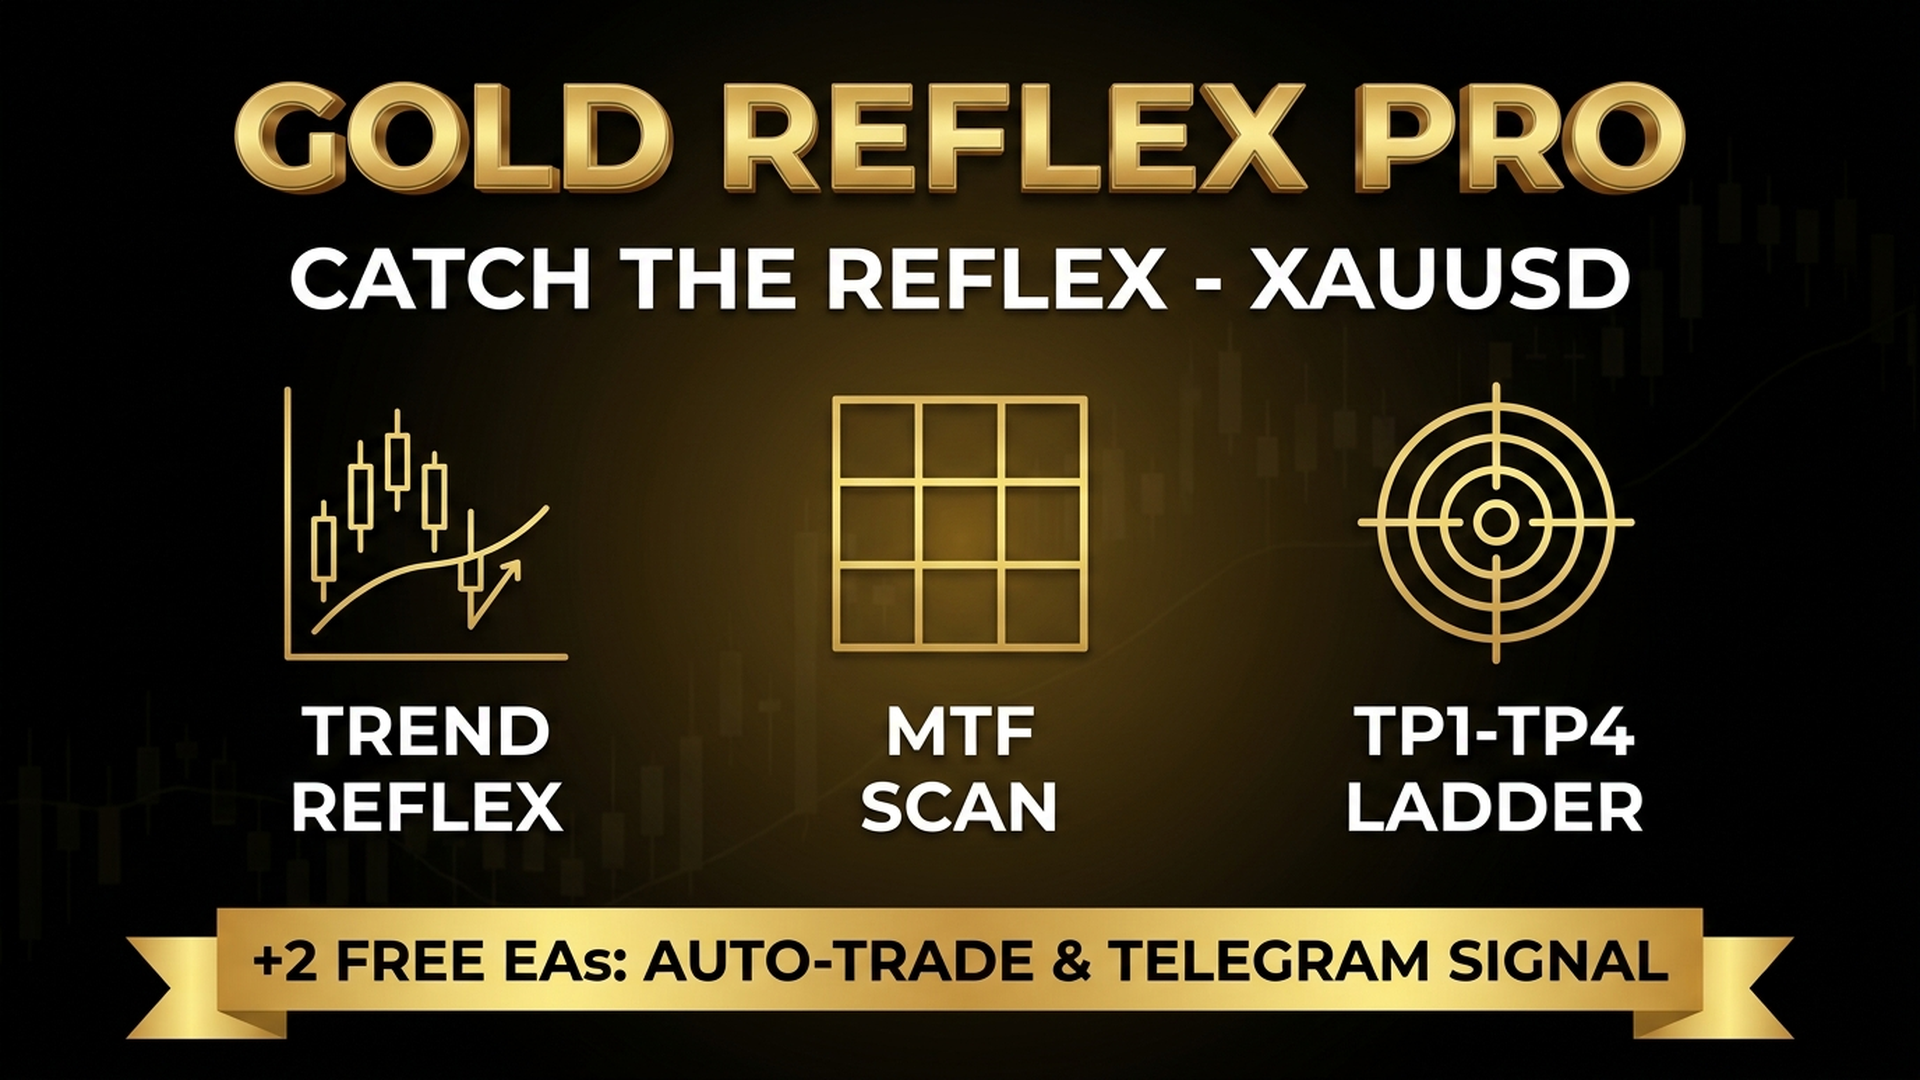
Every signal ships with a complete trade plan drawn on the chart:
- Buy / Sell arrow on the closed signal bar.
- Structure Stop Loss (auto, ATR-scaled around the protective swing — usually just beyond the rejection wick).
- 4 Take-Profit rungs at R-multiples (partial scaling).
- Risk/Reward zones shaded behind price.
- Live Win-Rate panel — per-TP W/L, hit-rate, net points, with a ★ on the recommended rung.
- MTF Scan radar — signals + strength across many symbols × timeframes at once.
⚠️ This is a with-trend pullback system — it works best in clearly trending markets where the value zone is sloping. It underperforms in extended ranges, where the value zone drifts sideways and rejections are unreliable. Prefer clean-trend conditions and always manage your own risk and lot size.
2. Reading the chart
| Element | Meaning |
|---|---|
| Green up-arrow | Buy signal (closed bar) |
| Red down-arrow | Sell signal (closed bar) |
| Red line | Stop Loss (structure + ATR) |
| Gold dashed line | Entry |
| Green lines TP1–TP4 | Take-Profit rungs (R-multiples) |
| Gold ★ line | Recommended TP rung (best balanced win-rate × profit) |
| Shaded zones | Risk (red) / Reward (green) |
No repaint: an arrow appears only after its bar closes and never moves. Backtest = live behaviour.
3. On-chart panels
- Win-Rate panel: for the current symbol, lists each rung TP1…TP4 with W/L , Rate % , NetPoint , and marks the ★ recommended rung. Use it to choose which rung to favour.
- MTF Scan radar: rows = symbols, columns = timeframes ( M1 M5 M15 M30 H1 H4 D1 ), cells show direction/strength, the SUMMARY column shows UP/DOWN/FLAT. Drag to move, click the header to resize (S/M/L). Spot the strongest setups without opening each chart.
4. Inputs (by the label shown in MT5)
Inputs are grouped in the same order they appear in the dialog. The "Displayed label" column is the exact text you see in MT5.
Signal direction
| Displayed label | Default | Description |
|---|---|---|
| Which signals to show | Both | Show signals: Buy only / Sell only / Both |
Signal strength (entry quality)
| Displayed label | Default | Description |
|---|---|---|
| Gate weak signals (range + decisive close) | false | Filter out weak signals (wide range + decisive close required). false = take every detected rejection |
| Min signal-bar range (× ATR); 0 = off | 0.8 | Min signal-bar range (× ATR); 0 = off. Used only when the gate is ON |
| Min close position in signal dir within bar (0..1); 0 = off | 0.60 | Min close position in the signal direction within the bar (0..1); 0 = off |
Trading session
| Displayed label | Default | Description |
|---|---|---|
| Enable trading session filter (off = run all day) | false | Restrict signals to a GMT window (off = run all day) |
| Start time (GMT) — indicator runs from this time | "13:00" | Window start (GMT) |
| End time (GMT) — indicator runs until this time | "17:00" | Window end (GMT). Default ≈ London/New-York overlap (winter) |
Chart history
| Displayed label | Default | Description |
|---|---|---|
| Chart history to scan (bars) | 10000 | Number of historical bars scanned on the chart |
Stop Loss & Take Profit
| Displayed label | Default | Description |
|---|---|---|
| Stop Loss distance (x ATR) | 3.0 | Stop-Loss distance (× ATR) around the protective swing |
| Take Profit 1 (R:R, 0 = off) | 1.0 | Take-Profit 1 (R:R); 0 = off |
| Take Profit 2 (R:R, 0 = off) | 2.0 | Take-Profit 2 (R:R); 0 = off |
| Take Profit 3 (R:R, 0 = off) | 3.0 | Take-Profit 3 (R:R); 0 = off |
| Take Profit 4 (R:R, 0 = off) | 4.0 | Take-Profit 4 (R:R); 0 = off |
MTF Scan
| Displayed label | Default | Description |
|---|---|---|
| Scan multiple symbols & timeframes | true | Scan multiple symbols & timeframes |
| Symbols, comma separated (empty = Market Watch) | "" | Symbol list, comma-separated (empty = Market Watch) |
| Max symbols | 100 | Max symbols to scan |
| Timeframes | "M1,M5,M15,M30,H1,H4,D1" | Timeframes scanned in the radar |
| Send signals to the auto-trade EA | true | Publish signals to the companion auto-trade EA |
| Attach per-TP win-rate to published signals (for DangerMonitor) | true | Attach per-TP win-rate to published signals |
| Signal ID (EA must use the same) | 932601 | Signal ID — the EA must use the same value |
Trade setup display
| Displayed label | Default | Description |
|---|---|---|
| Show last N setups (0 = all) | 0 | Show last N setups (0 = all) |
| Shade risk/reward zones | true | Shade risk/reward zones |
| Draw ONLY the recommended TP line (hide other TP rungs) | false | Draw only the recommended TP line. false = show all 4 rungs |
| Show win-rate panel | true | Show the on-chart win-rate panel |
Alerts
| Displayed label | Default | Description |
|---|---|---|
| Enable alerts | false | Master alert switch |
| Popup window | true | Popup window on a new signal |
| Sound | false | Play sound |
| Push to phone | false | Push notification to phone (MetaQuotes ID) |
| Sound file | "alert.wav" | Sound file |
5. Recommended presets
Starting points — tune to your symbol, broker spread and risk appetite.
| Setting | Scalp (M5) | Day (M15–H1) | Swing (H4) |
|---|---|---|---|
| Chart timeframe | M5 | M15 or H1 | H4 |
| Stop Loss distance (× ATR) | 2.0–2.5 | 3.0 (default) | 3.0–3.5 |
| TP1 / TP2 / TP3 / TP4 (R:R) | 1 / 1.5 / 2 / 3 | 1 / 2 / 3 / 4 (default) | 1 / 2 / 3.5 / 5 |
| Gate weak signals | true (cut noise) | false–true | false |
| Enable trading session filter | true (London/NY) | optional | false |
| Favoured TP rung (panel ★) | TP1–TP2 | TP2–TP3 | TP3–TP4 |
Notes:
- Scalping gold is noisy — turning Gate weak signals ON plus a session window filters low-quality rejections.
- Best where the trend is clear and the value zone is sloping; a sideways value zone gives weak, mixed rejections.
- Swing trades ride longer; widen the SL slightly and stretch the upper TP rungs.
- Let the ★ recommended rung in the win-rate panel guide partial exits once it has enough samples.
6. Companion EA (optional)
GoldReflexProEA auto-executes the indicator's signals (market entry + the same SL/TP ladder).
- On the indicator: keep "Send signals to the auto-trade EA" = true and note the "Signal ID" (932601).
- On the EA: set the matching Signal ID, lot/risk and execution mode, enable Algo Trading.
- Run both on the same terminal so the EA reads the live signal stream.
7. Honest limitations
- With-trend pullback only — needs a clear trend with a sloping value zone; weak in extended ranges.
- Signals are closed-bar; you act on the next bar's open.
- Win-rate / net-point figures are historical sample stats, not a profit guarantee.
- Always size positions to your own risk plan.


