Support Resistance Channels (SRchannel)
**Automatic, self-adjusting support & resistance zones — ranked by real strength, with break alerts straight to your phone.**
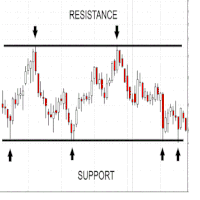
Most S/R tools draw a thin line at every swing and leave you to guess which one matters. **SRchannel** does the opposite: it finds the pivot points, groups the ones that cluster together into a **zone (channel)**, scores each zone by how many pivots and price touches it holds, and then shows only the **strongest** ones. The colors update by themselves depending on where price is, and the moment a zone is broken you get a marker on the candle and an alert.
Works on **every symbol and every timeframe** (Forex, indices, metals, crypto, stocks).
---
## How it works
- It scans the chart and keeps the **Pivot Points** (swing highs / lows).
- Each time a new pivot is confirmed it rebuilds the map: for every pivot it collects all nearby pivots that fall inside a **dynamic-width channel** (width is based on the Highest/Lowest range of the last 300 bars).
- While building each channel it measures its **strength** = number of pivots inside it **plus** how many bars actually touched that zone within the Loopback Period.
- All channels are then **sorted by strength**, overlapping ones are cleaned up, and only the strongest are displayed.
- The **color of each zone is set automatically**:
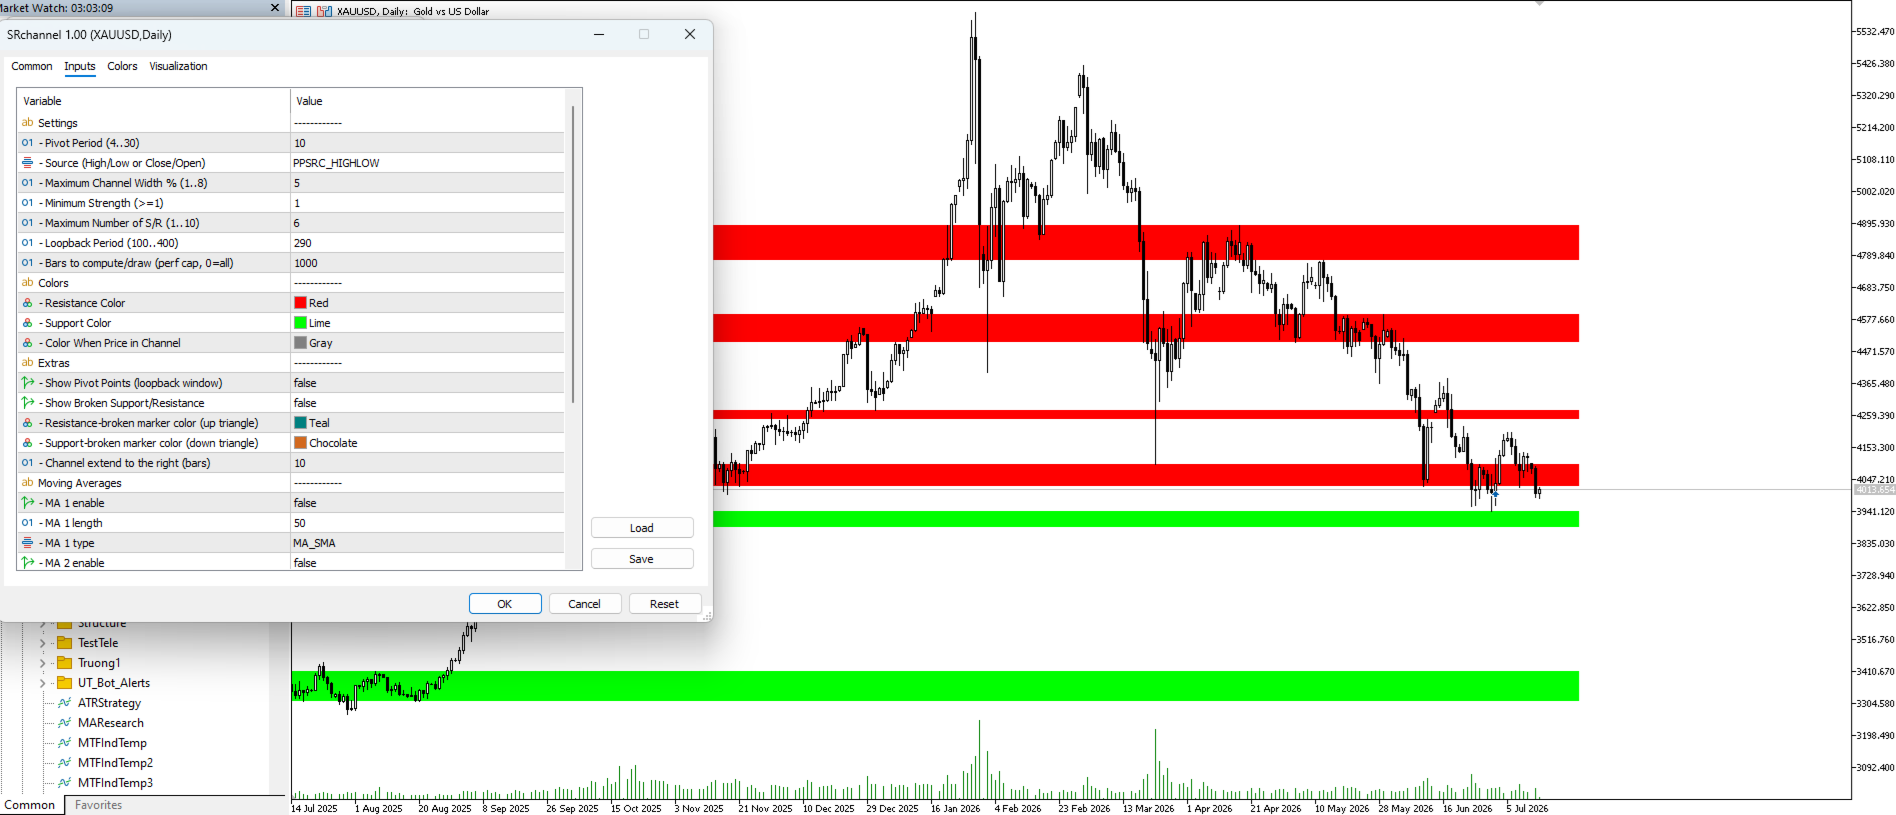
- **Red** – the zone is entirely **above** price → acting as **resistance**
- **Green** – the zone is entirely **below** price → acting as **support**
- **Gray** – price is currently **inside** the zone
- When price closes through a displayed zone, the indicator marks the candle with a **▲ / ▼** triangle and can send an **alert / push / email / Telegram** message.
---
## What you see on the chart
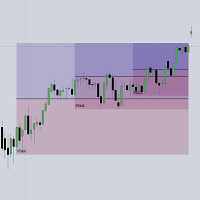
- **Colored rectangles** – the active support/resistance channels, extended to the right.
- **▲ below a candle** – a resistance zone was broken to the upside (bullish break).
- **▼ above a candle** – a support zone was broken to the downside (bearish break).
- **H / L labels** (optional) – the pivot highs and lows currently feeding the calculation.
- **Optional MA 1 / MA 2** overlays (SMA or EMA) for quick trend context.
---
## How to trade / read the signals
### Reading the chart at a glance
| What you see | What it means | What to do |
|---|---|---|
| **Green zone under price** | Nearest **support** | Look for **longs** on a bounce / hold of the zone |
| **Red zone above price** | Nearest **resistance** | Look for **shorts** on rejection, or wait for a clean break |
| **Gray zone around price** | Price is **inside** a zone (indecision / equilibrium) | Stand aside — let price pick a side first |
| **▲ under candle** | Resistance **broken up** | Bullish continuation bias; buy pullbacks to the broken zone (now support) |
| **▼ over candle** | Support **broken down** | Bearish continuation bias; sell pullbacks to the broken zone (now resistance) |
| **Wider / thicker cluster** | Zone built from **more pivots + touches** (stronger) | Trust it more for reversals and targets |
> Zone strength matters: a channel that holds many pivots and touches is a stronger decision point than a thin, lightly-tested one. Prefer trading from the strongest zones and use weaker ones only as intermediate targets.
### Long playbook (bounce)
1. Price pulls back into a **green** support zone.
2. Wait for the candle to **close back out of / above** the zone (rejection wick, engulfing, etc.).
3. Enter long; **stop** just below the zone (below the channel bottom).
4. **Target** the next zone above (the next red/gray channel) or a fixed R multiple.
### Long playbook (breakout)
1. A **▲** prints — a resistance zone was broken on the close.
2. Enter on the retest: wait for price to come back to the **broken zone** and hold it as new support.
3. Stop below the retested zone; target the next channel above.
### Short playbook
- Mirror the long rules: rejection from a **red** resistance zone, or a **▼** break of support followed by a retest that fails. Stop above the zone, target the next channel below.
### Signals to skip
- Price sitting **inside a gray zone** — no edge, wait for a break or a clean rejection.
- A break with **no follow-through / no retest** on lower-liquidity sessions.
- Counter-trading a **strong** zone in a strong trend — let the break markers confirm the direction first.
- Very **weak / thin** zones as reversal points — use them only as partial-target levels.
---
## Inputs
**Settings**
- **Pivot Period** – left/right bars used to detect pivots (higher = bigger, slower swings).
- **Source** – *High/Low* or *Close/Open* for pivot detection.
- **Maximum Channel Width %** – max zone thickness, measured against the last-300-bar range.
- **Minimum Strength** – minimum score a channel needs to be shown.
- **Maximum Number of S/R** – how many of the strongest zones to display.
- **Loopback Period** – how far back pivots and touches are counted when scoring zones.
- **Bars to compute/draw** – limit calculation/drawing to the last N bars (performance & cleaner history).
**Colors**
- **Resistance / Support / In-Channel** colors (auto-selected per zone based on price position).
**Extras**
- **Show Pivot Points** – display the H/L labels feeding the calculation.
- **Show Broken Support/Resistance** – enable the ▲/▼ break markers.
- **Broken-up / Broken-down marker colors.**
- **Channel extend to the right (bars).**
**Moving Averages**
- **MA 1 / MA 2** – optional SMA/EMA overlays with independent length and type.
**Notifications** – notification type, plus email / Telegram fields (see below).
---
## Alerts & notifications
When a displayed zone is broken on the **close of a bar**, SRchannel can notify you through:
- **Terminal alert (pop-up)**
- **MetaTrader mobile push notification**
- **Email**
- **Telegram**
Signals are evaluated on **bar close**, so a break alert is fired once per bar — no alert spam inside the candle.
---
## Notes & tips
- Works on **all symbols and all timeframes**. Higher timeframes give fewer but more significant zones.
- The S/R map naturally **re-adjusts as new pivots form** — that is exactly how support/resistance evolves; the currently displayed zones always reflect the most relevant, strongest levels.
- A new pivot needs *Pivot Period* bars on each side to be confirmed, so the newest swing appears with that normal confirmation delay.
- Combine SRchannel zones with the built-in MAs (or your own trend filter) and trade **with** the higher-timeframe direction for the cleanest setups.
- Increase **Pivot Period** and use a **higher timeframe** for swing trading; lower them for intraday.
---
*If you have questions, feature requests, or want a specific alert setup, feel free to send me a message — I'm happy to help.*