Institutional ETH Levels
- Göstergeler
- Sürüm: 1.0

Short description
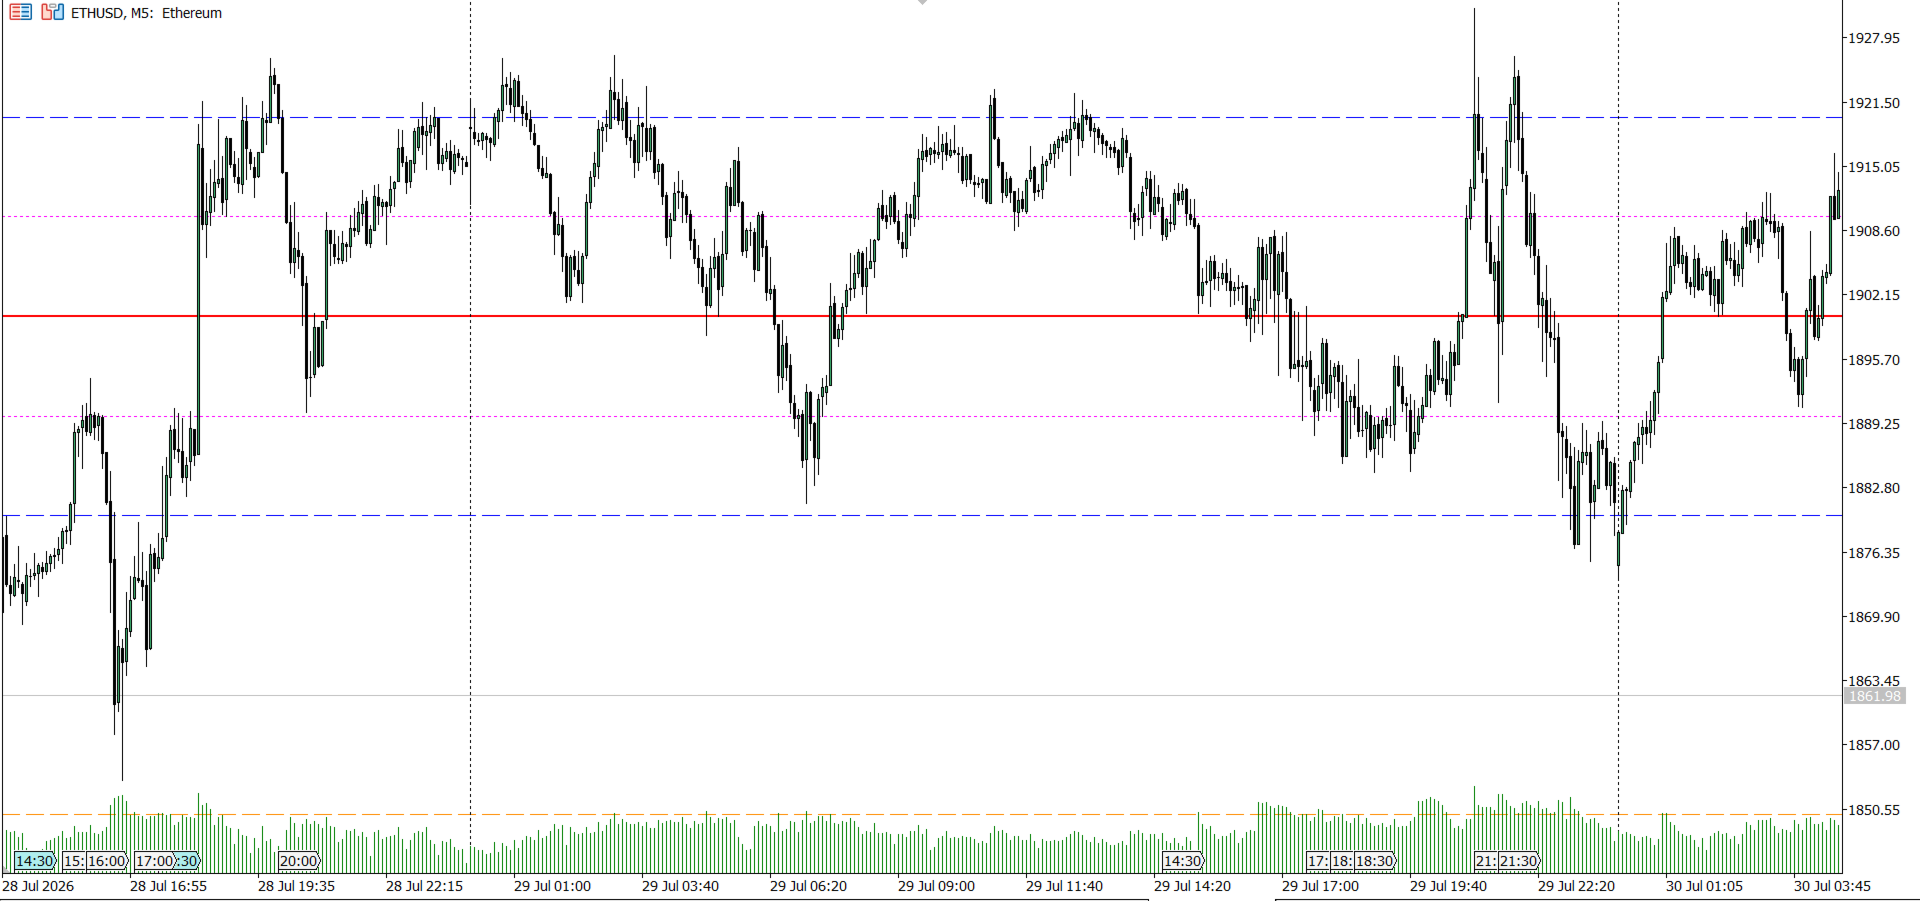
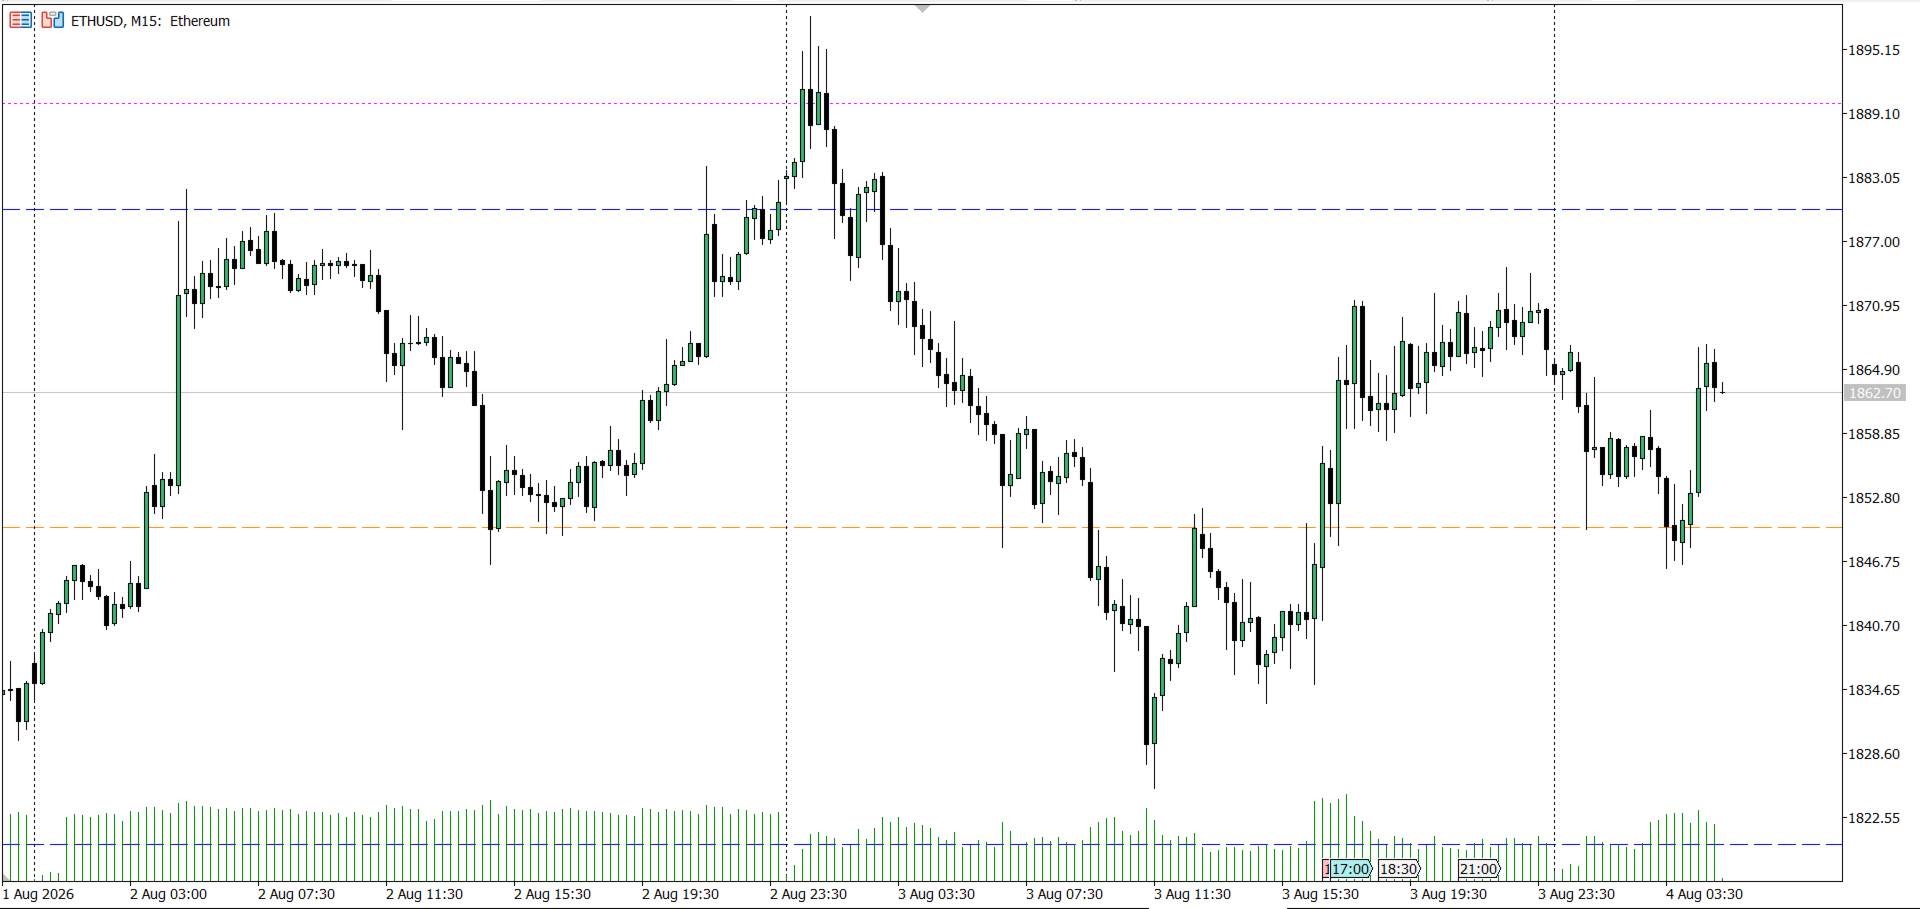
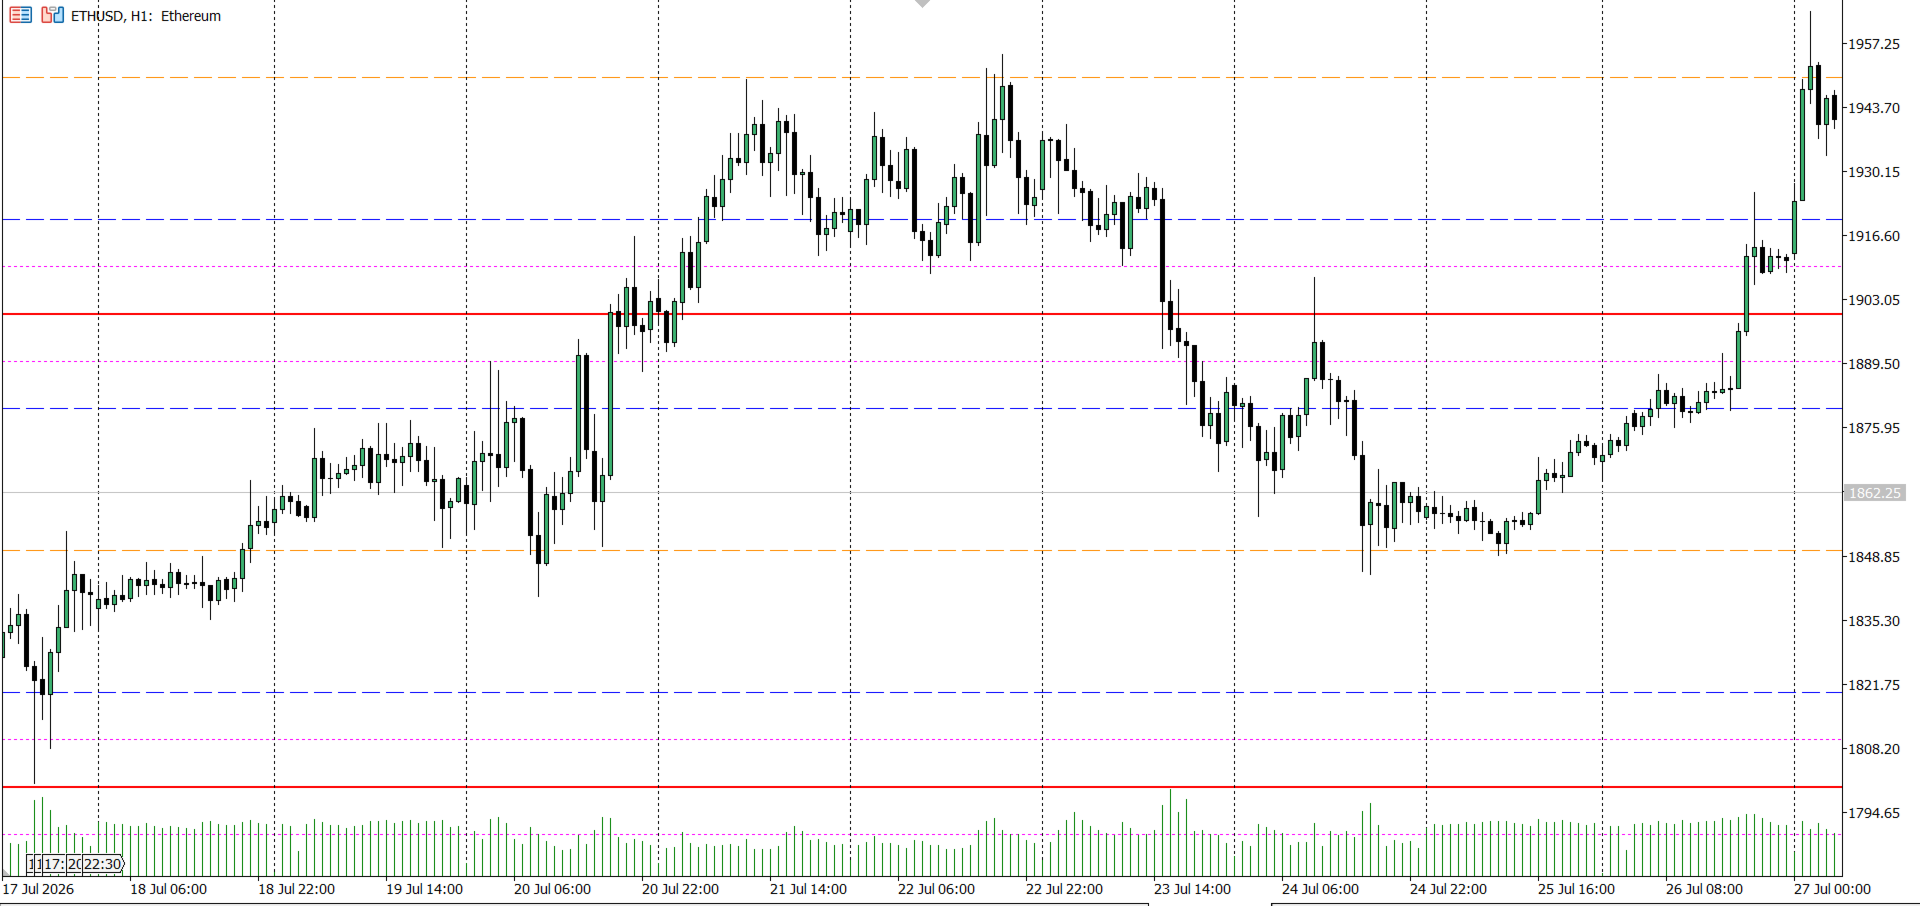
Plots a repeating grid of round-dollar levels on ETHUSD — labeled Wall / Hot Zone / Exit / Trap by their typical institutional role — tuned for lower timeframes (M1 through H1).
Full description
Draws horizontal reference lines at 10 intervals around the current ETHUSD price, based on the idea that round-dollar levels (multiples of $100, and near-round levels like $X20/ X80, $X50, $X10/$X90) tend to act as psychological reaction zones where liquidity and stop-hunts commonly cluster — the same concept used in classic Forex "big figure" analysis, rescaled to ETH's dollar price structure instead of pip fractions.
Each level is labeled by role:
- $100 Round Level — The Wall: a major psychological level, often a zone of rejection
- $20 / $80 Sub-Level — The Hot Zone: a common area to watch for entry confirmation via price action or volume
- $50 Midpoint — The Exit: often used as a partial take-profit reference
- $10 / $90 Sub-Level — The Trap: prone to fakeouts and stop hunts near the round number — a caution zone, not an entry signal
Built for ETHUSD specifically: the $10 step size is calibrated to ETH's price scale and is most useful on lower timeframes (M1–H1) where price frequently interacts with these levels intraday. An on-screen note fires if you attach it to a non-ETH symbol, since the fixed dollar grid won't make sense at a different price scale (adjust the step-size input if you want to experiment elsewhere).
Behavior: lines update in place with no flicker, refresh automatically on a timer as well as on new bars, and clean up instantly after scrolling or zooming.
This tool is a visual reference only — it does not generate trade signals. For informational and educational purposes only, not financial advice.