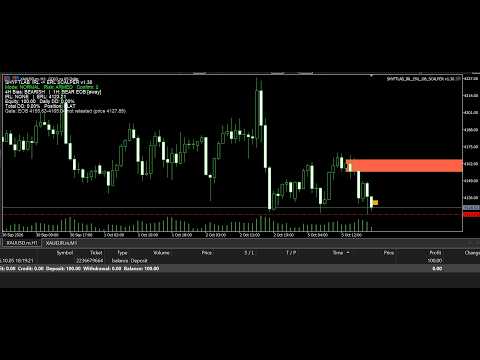
ShyftLab EOB Fattah1 Indicator
- Indicadores
- Versão: 1.0
- Ativações: 5

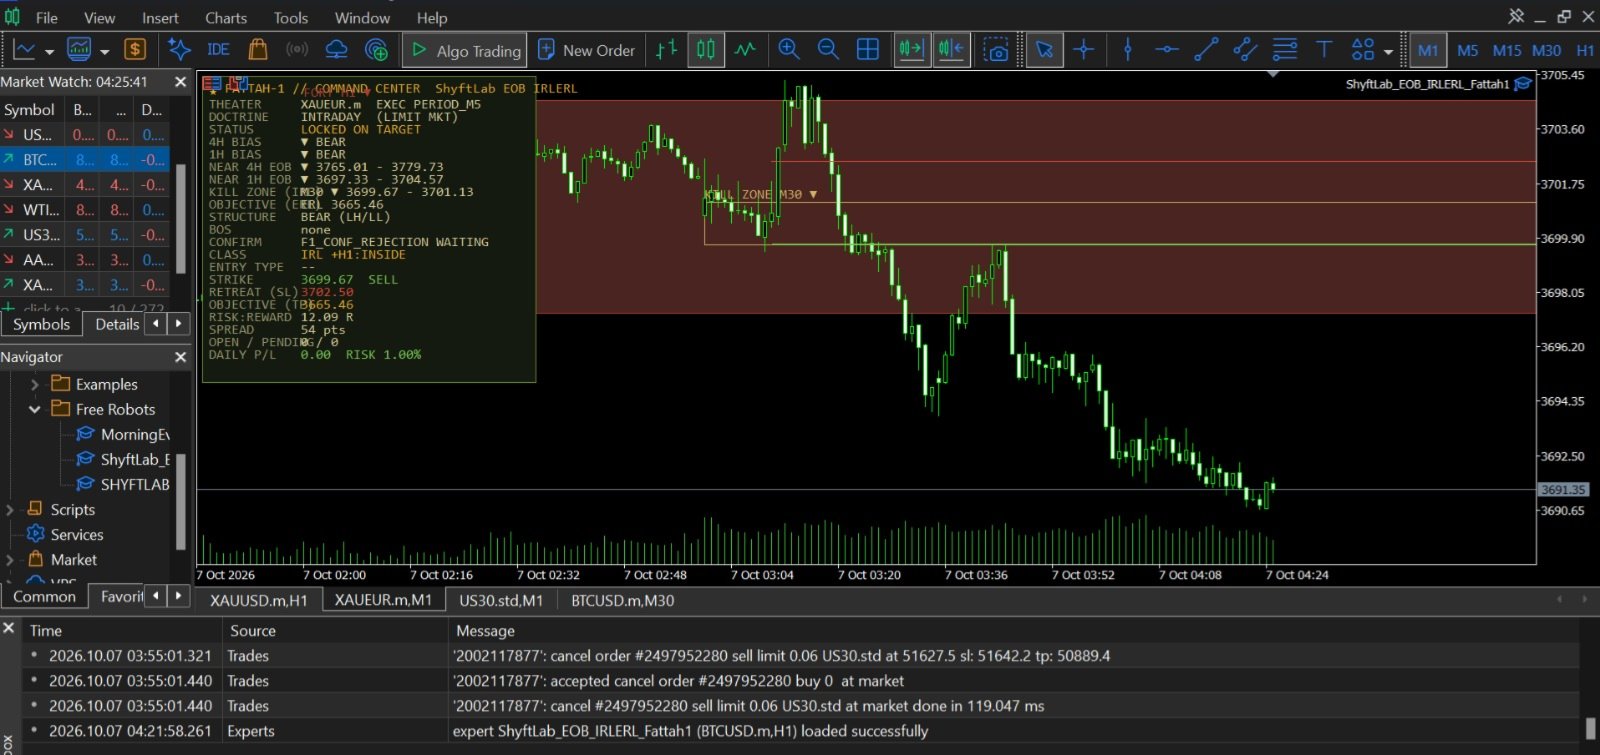
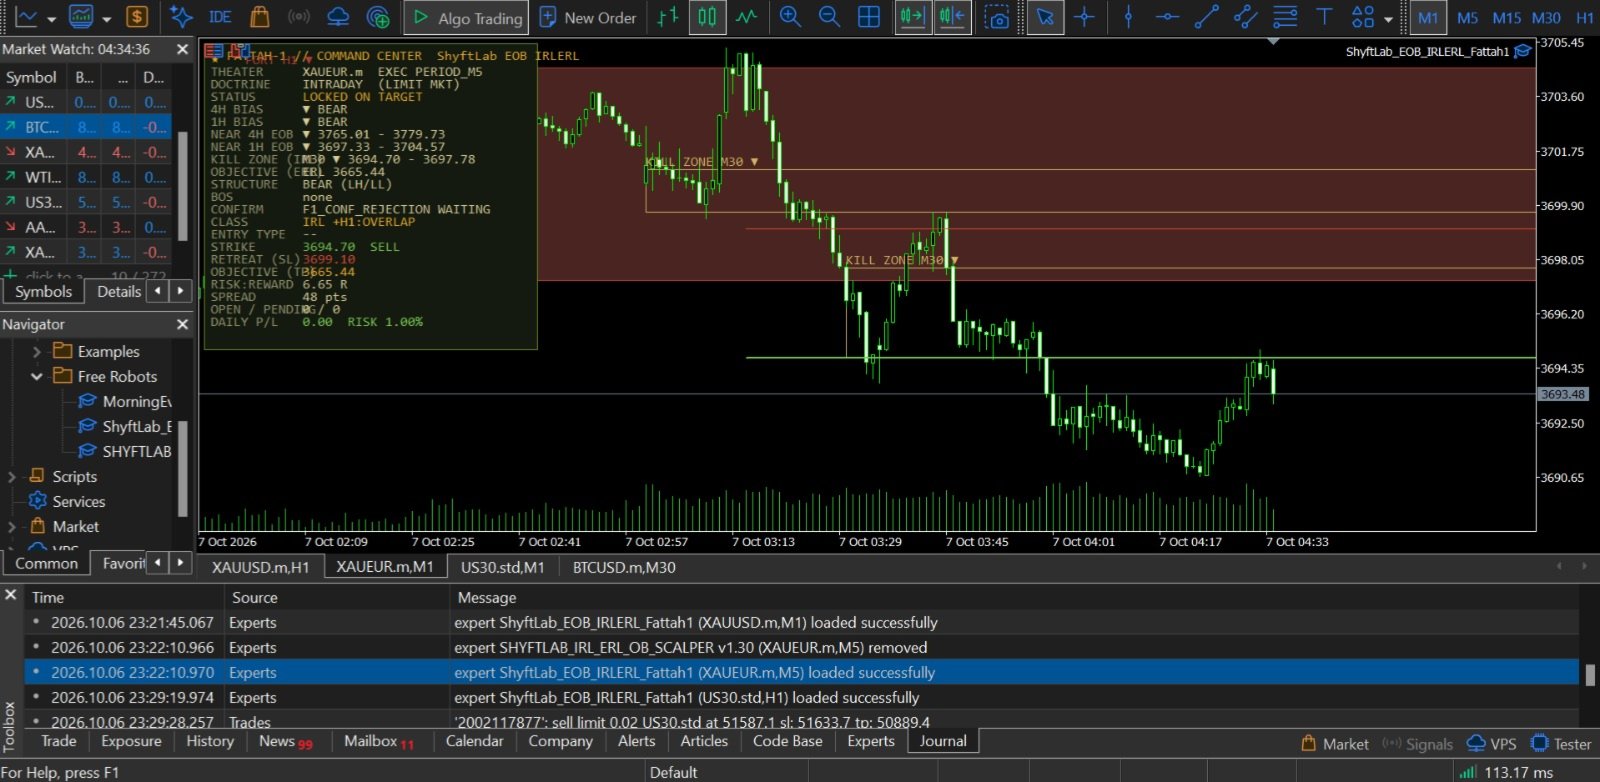
Shyft Lab Fattah Engulfing Block Zones is a gold-focused analytical indicator for MetaTrader 5. It turns the chart into a simple battle map: where the higher timeframe is strong, where price is likely to react, and where price is likely heading. It does not place trades. You stay in control.
WHAT YOU GET
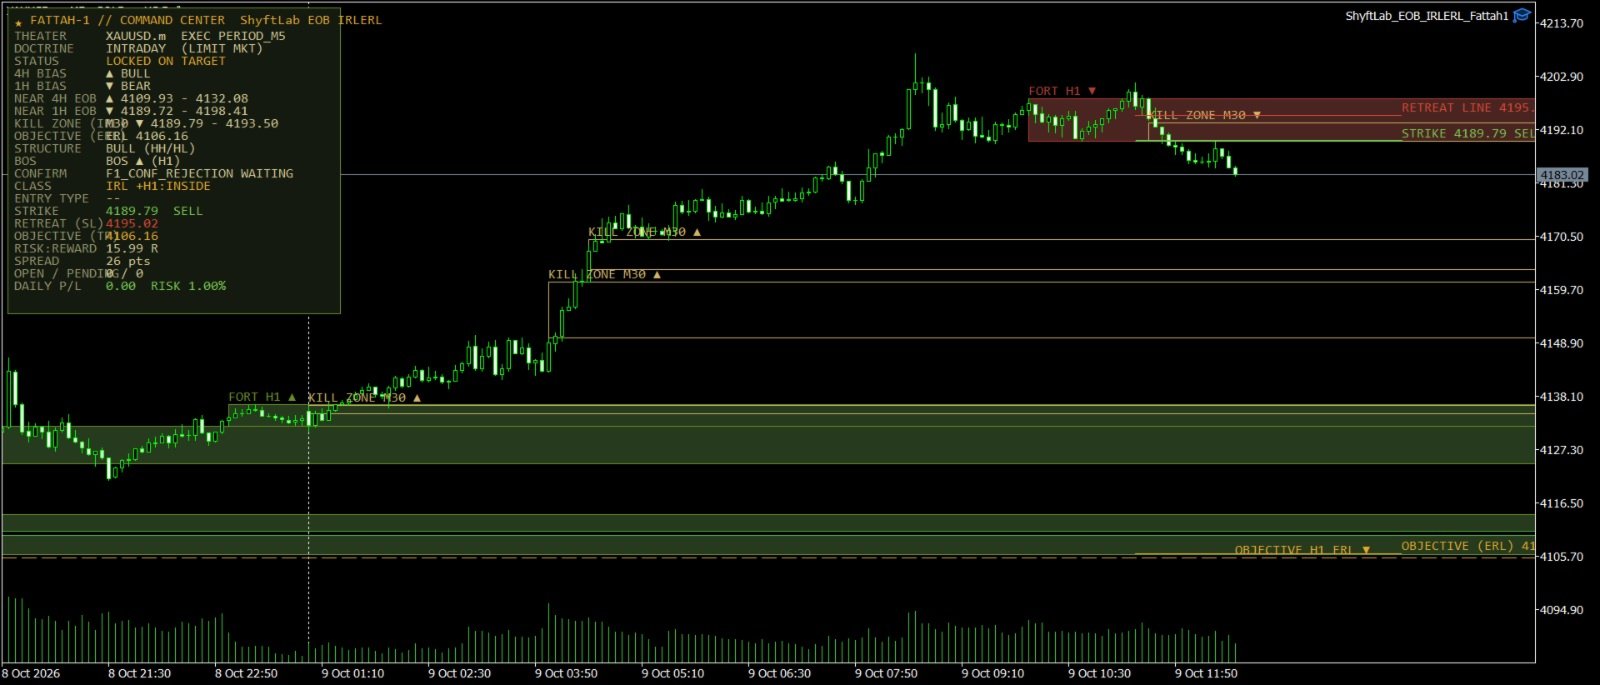
- Fort zones: the higher timeframe areas that matter, drawn for you on the chart.
- Kill zones: the areas where price may react, marked on the M30 chart.
- Objective lines: the nearest targets price may be drawn toward.
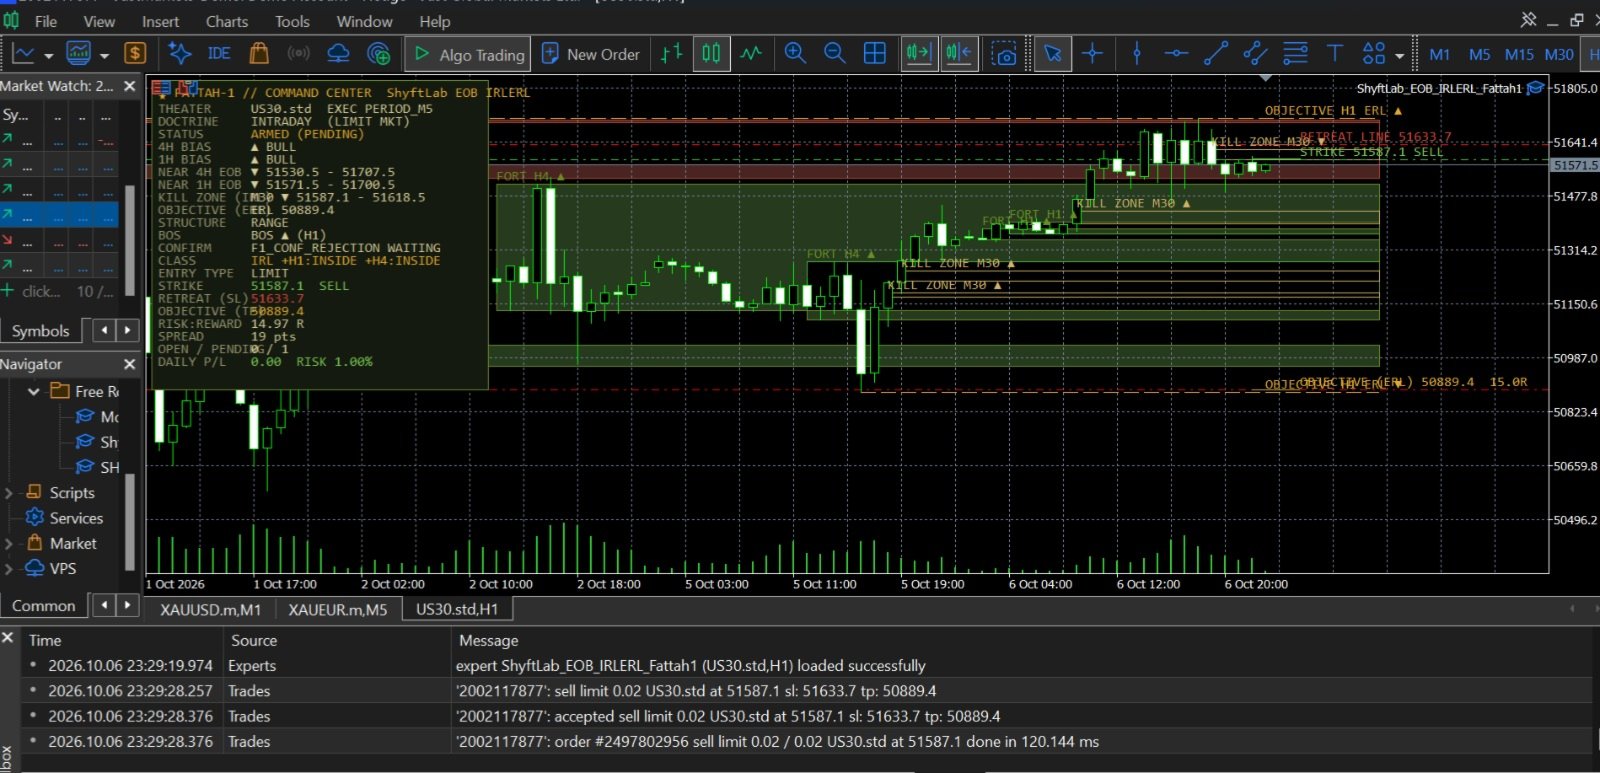
- Strike plan: a suggested strike (entry) level, retreat (stop) level and objective (target) level, with the risk to reward shown.
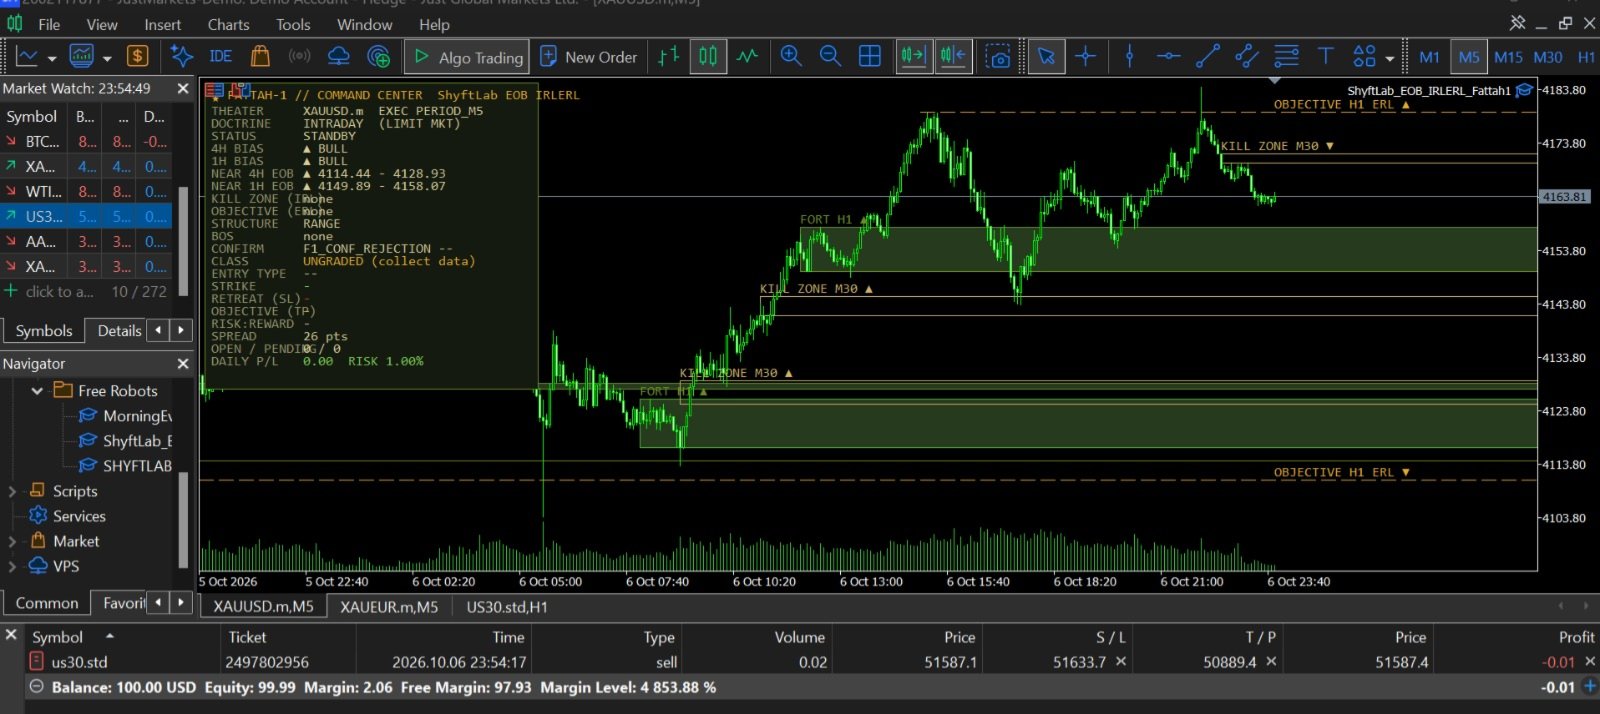
- Command center dashboard: 4H and 1H bias, nearest fort zones, structure, status of the setup and confirmation state in one panel.
- Three doctrines: Scalp, Intraday and Swing, or all fronts together.
- Clear status text: it tells you when there is no valid setup, when it is waiting for confirmation, and when data is missing.
- Lightweight and clean. No DLLs, no web requests.
HOW TO USE IT (SNIPER ENTRY)
1. Attach the indicator to an XAUUSD M30 chart. Keep the dashboard visible.
2. Read the 4H and 1H bias. Trade with the bias.
3. Wait for the status to show WAITING FOR CONFIRMATION. This means price is near a kill zone.
4. Watch the confirmation on the M5 execution chart. When the dashboard shows CONFIRMED, the sniper window is open.
5. Take the entry at the strike line, with your stop at the retreat line and your target at the objective.
6. If the status says NO VALID SETUP, do nothing. Patience is part of the system.
Always apply your own risk management. The levels shown are guides, not guarantees.
RECOMMENDED SETUP
- Symbol: XAUUSD (gold). Built and tuned for gold.
- Chart timeframe: M30.
- Confirmation timeframe: M5 (default).
- Load M30, H1 and H4 history. If the dashboard says INSUFFICIENT HISTORY, scroll back on those charts once.
IMPORTANT
This indicator provides analytical levels only. It is not a signal service and does not promise profit. Trading carries risk. Test on a demo account first.
INPUTS
Identity
- InpTag: label shown in the dashboard title.
Doctrine
- InpMode: Scalp, Intraday, Swing or All Fronts.
- InpExecTF: confirmation timeframe (M1 to M30).
- InpConf: confirmation style.
- InpConfLookback: how many confirmation bars are checked.
- InpMSSBars: lookback used by the micro structure style of confirmation.
Scalp, Intraday and Swing profiles (same inputs for each)
- IRL timeframe: timeframe used for kill zones.
- ERL timeframe: timeframe used for objectives.
- Rule: which fort zones must support a kill zone.
- Minimum RR: minimum reward to risk for a setup to appear.
- TP pick: nearest objective or the next one.
Fort zone settings
- InpEOBMaxAgeH1 and InpEOBMaxAgeH4: how long a fort zone stays valid.
- InpProxATR: how close a kill zone must be to a fort zone.
Kill zone settings
- InpFvgMaxAge: how long a kill zone stays valid.
- InpMinFvgATR: minimum kill zone size.
- InpEntryModel: where inside the zone the strike level sits.
- InpMaxEntryDistATR: hides setups that are too far from price.
Objective settings
- InpSwingLen: sensitivity of objective detection.
- InpERLMaxAge: how long an objective stays valid.
- InpRequireSweep: optional stricter filter.
- InpSweepLookback: lookback used by that filter.
Stop and target (informational)
- InpSLModel: where the retreat line is placed.
- InpSLBufATR: retreat line buffer.
- InpMaxSLATR: hides setups with too wide a stop.
- InpTPMode: how the objective is chosen.
- InpTPBufATR: how close to the objective the target sits.
Visuals
- InpShowMarkup: draw zones and lines on the chart.
- InpShowDashboard: show the dashboard.
- InpDrawMaxEOB: how many fort zones to draw.
Engine
- InpLookbackBars: how much history to scan.
- InpMaxZones: maximum zones kept.