
Troubleshooting Guide
UTM: Troubleshooting Guide - Other - 31 August 2023 - Traders' Blogs (mql5.com)
Quick Access to Other Guides
UTM: Adaptive Risk Management Formula Language - Other - 20 August 2023 - Traders' Blogs (mql5.com)
UTM: Local Trade Copier Installation Guide - Other - 12 September 2023 - Traders' Blogs (mql5.com)
UTM: Trade Copier NT8 Futures Support - Other - 25 May 2024 - Traders' Blogs (mql5.com)
System Requirements:
- Standard: 8GB RAM, 2 CPUs min.
- Memory Save Mode: May be sufficient with 4GB RAM.
- Multiple UTM Instances (3-5+): 16GB RAM.
GUI Size Requirements:
- User Feedback: Some users have reported the GUI appearing too large on smaller displays.
- Developer Note: The application is in daily use by the developer on a 14" laptop screen with 125% DPI scaling, and functions optimally at that setting. This screen size and DPI scaling should be considered the lower limit for a comfortable user experience.
Additional Notes:
- Once your settings are configured, you can minimize the Manager or switch to Memory Save Mode, effectively making the GUI size less of an issue.
Contact:
If you encounter any issues or require assistance, feel free to send me a private message.
⚠️ Warning: Performance Issues and System Requirements for Running MT5 on macOS
MetaTrader 5 (MT5) is a Windows-only native application. Running MT5 on macOS is not a native operation and can lead to unexpected problems. We've received reports indicating that performance and compatibility issues are particularly prevalent on ARM-based Macs, even when using Parallels to run an ARM version of Windows and MT5. Although users with Intel-based Macs have generally reported stable performance when running MT5 via Wine, it's important to note that this is not guaranteed and has not been tested by the developer.
Recommended Actions:
1. For optimal performance and full compatibility, it's strongly advised to run MT5 on a native Windows(x86) environment.
2. If you're using an Intel-based Mac, running MT5 via Wine has generally been fine, but this is not guaranteed.
3. If you're using an ARM-based Mac, be cautious even when using Parallels with a Windows environment, as issues have been reported.
Getting Started
Spread Management
UTM: SPREAD MANAGEMENT - Other - 14 May 2024 - Traders' Blogs (mql5.com)
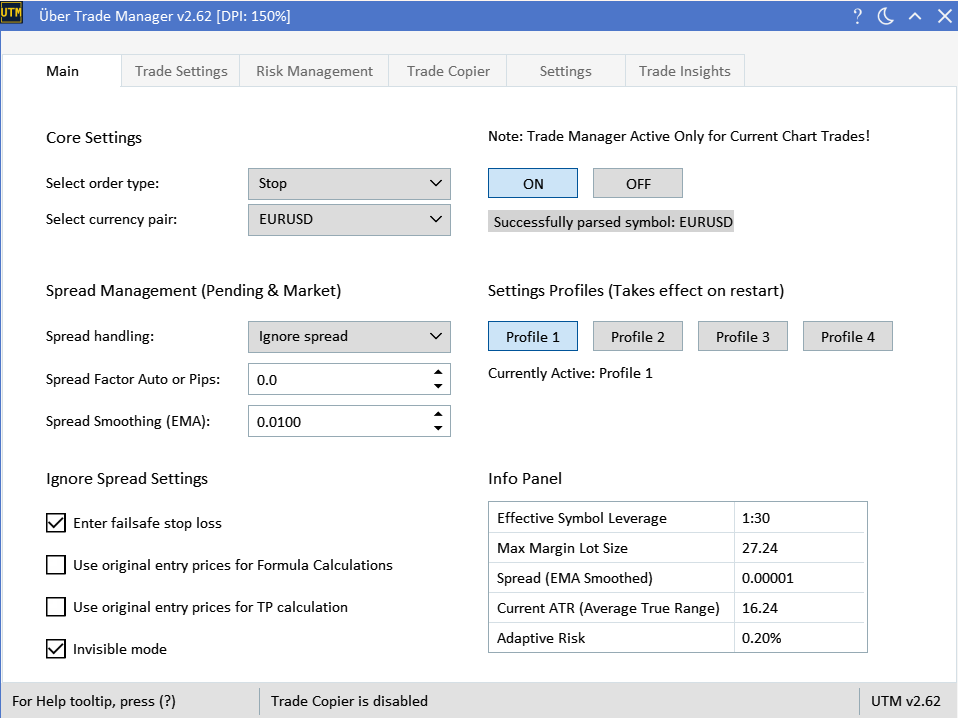
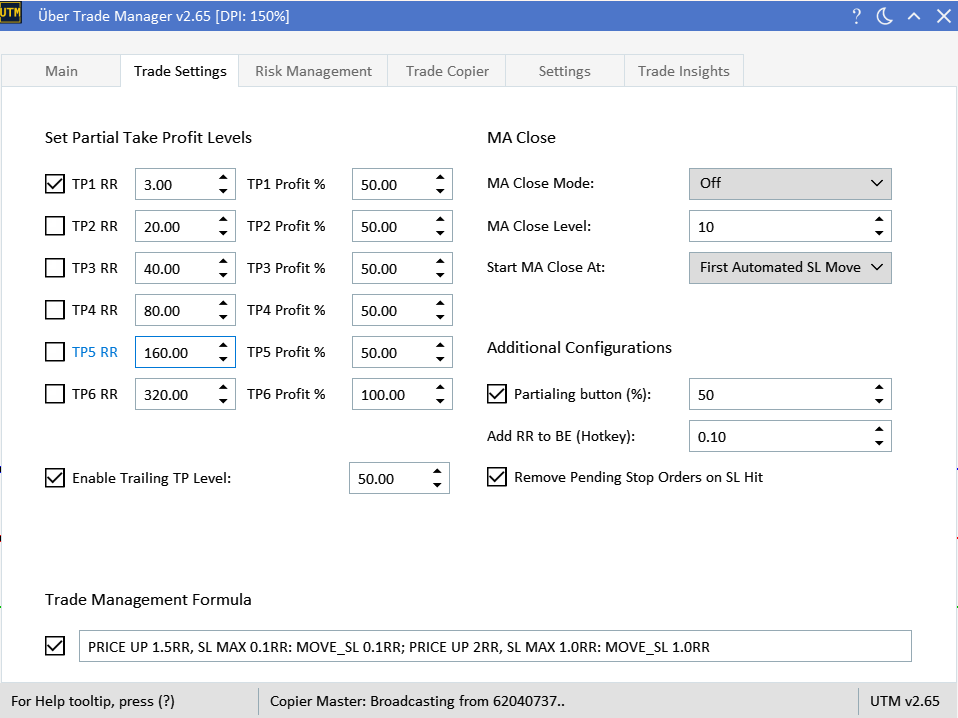
Trade Settings
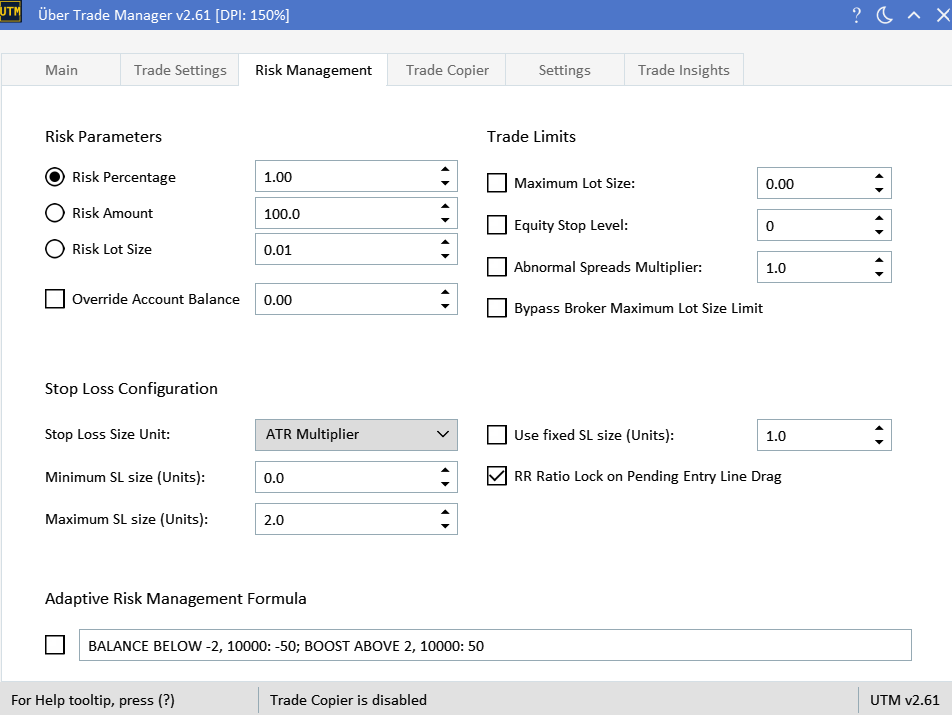
Risk Management
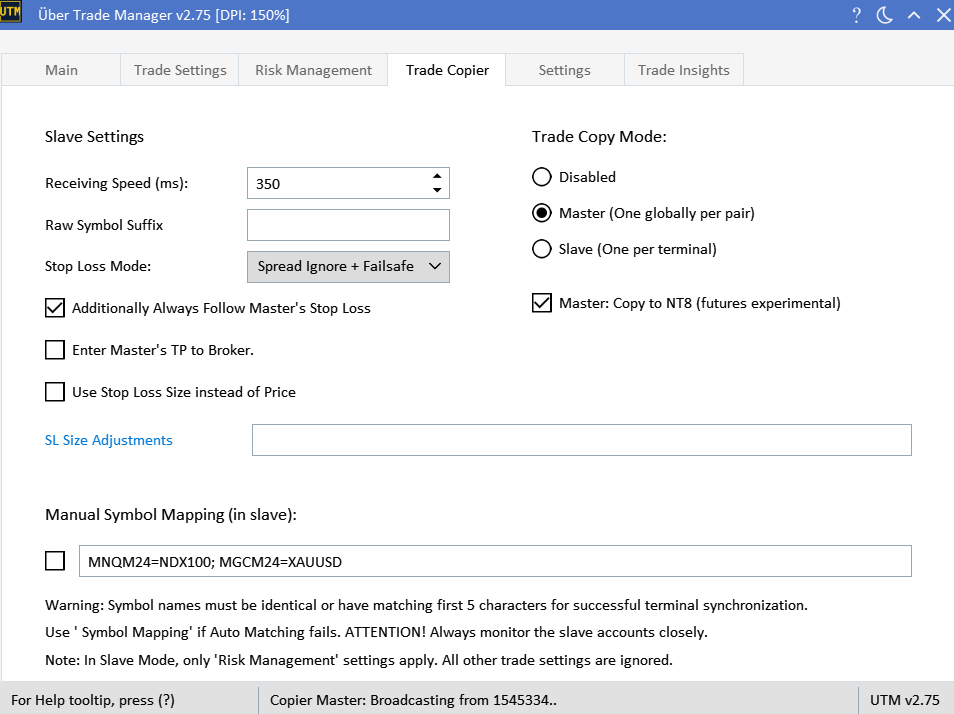
Trade Copier
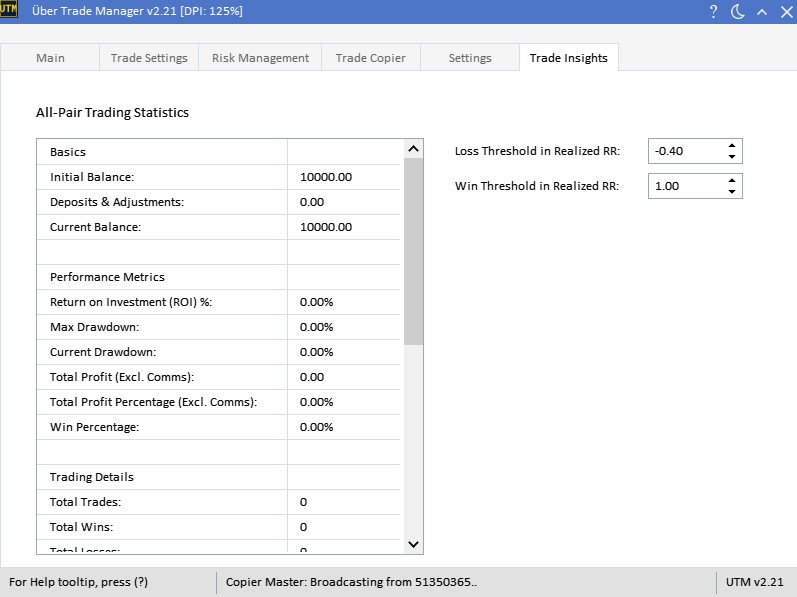
Trade Insights
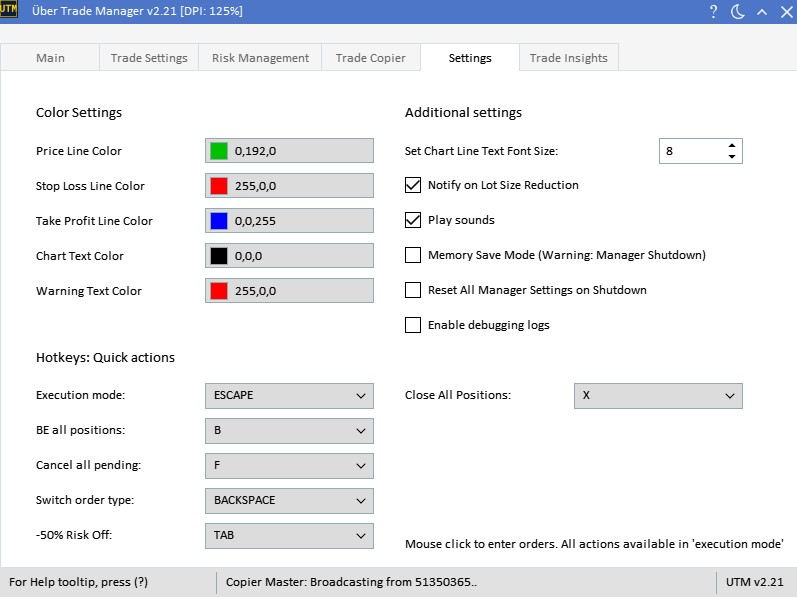
Settings
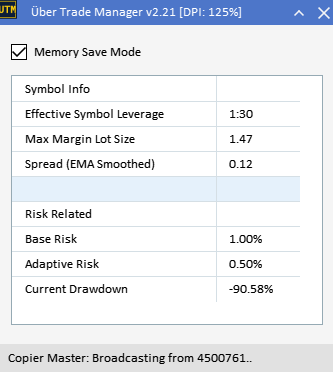
Memory Save Mode:
By enabling the 'Memory Save Mode,' you can substantially cut down RAM usage by around 90-96%. This mode streamlines the UTM GUI, removing non-essential elements and further reducing memory consumption. It's an advantageous feature when multiple manager instances are open, especially when settings no longer require adjustments. This mode also optimizes RAM allocation when operating in the 'Trade Copier Slave' mode, ensuring efficient resource use for slave accounts.
Trade Notification Sounds:
-
Entry Alert: This sound plays when a new trade is successfully initiated. It serves as a confirmation that your position has been opened in the market.
-
Stop Loss Alert: This alert goes off when your trade hits its stop loss level. This ensures you're aware that the trade has exited. If the trade exited while in profit, you would also hear the Take Profit alert sound. If not, only the Stop Loss sound will play, signaling that the trade ended out of favor.
-
Take Profit Alert: This sound is triggered when your trade reaches or surpasses its take profit level. It either indicates that the trade has achieved a certain profit target, or that the position has been closed at a profit. This alert ensures you're updated on the progress of your trade.
-
Missed Pending Order Alert: This alert is activated when a pending order doesn't get executed due to price reversals. Instead of the order being triggered, the price moves in the opposite direction, surpassing the stop loss level for that order. This sound acts as a notification to inform you that the order was missed, so you may want to review and potentially adjust the position.
Hotkeys:
Quick switch order type: Useful if late for stop order, e.g quick switch to market. Hotkeys work only in 'execution mode'.


![[XAUUSD]: Weekly Liquidity Activation Points (timings), June 29 - July 3, 2026](https://c.mql5.com/6/1014/splash-preview-772062.png "[XAUUSD]: Weekly Liquidity Activation Points (timings), June 29 - July 3, 2026")
