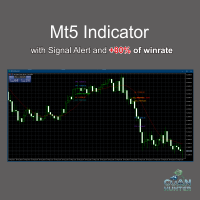
CuanHunter Robot Gold and crypto
- Experts
- Versione: 1.9
- Aggiornato: 18 ottobre 2025
- Attivazioni: 20

CuanHunter Robot EA – Auto Trading for XAUUSD & BTCUSD
🚀 Key Features:
-
Automatic Trading: Executes BUY/SELL signals based on fast/slow EMA crossovers + ATR.
-
Dual Preset Modes: Choose XAUUSD (Gold) or BTCUSD (Bitcoin) – parameters optimized for each, no manual adjustments needed.
-
Auto SL/TP with Broker-Safe Checks: Stop Loss and Take Profit levels are calculated automatically while respecting broker minimum stop rules.
-
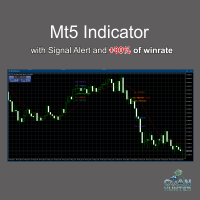
Visual Chart Signals: Easy-to-read labels 🚀 BUY ⚡ SELL along with TP/SL on the chart.
-
One Trade Per Bar: Prevents overtrading by limiting trades to one per signal bar.
-
Scalping & Short-Term Ready: Perfect for fast strategies on M1–M15 timeframes.
-
Debug Mode: Detailed logs for monitoring and analysis.
💡 Advantages:
-
No manual setting of EMA lengths, ATR, or Risk/Reward required.
-
Optimized presets for BTC vs XAU for each market.
-
Safety checks reduce errors due to broker restrictions on SL/TP.
📈 Recommended Settings:
-
Timeframes: M15
-
Instruments: XAUUSD / BTCUSD (By Selected Mode on setting)
-
Start with small lots for testing: 0.01–0.05
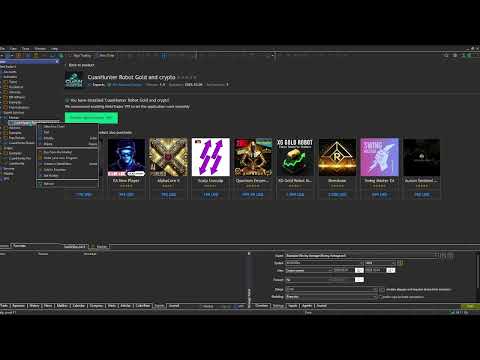
🤖 CuanHunter Robot Demo Setup Guide (MT5) 🚀
Step 1: Get Ready in MT5 🔑
-
Log in to your Account (e.g., Exness-MT5Trial7).
-
Make sure Algo Trading is enabled. The button in the toolbar should be blue (labeled "Algo Trading").
Step 2: Find & Download the Demo 🛒
-
Open the Market tab in MT5.
-
Type the EA's name: CuanHunter. (Example)
-
Select the EA that has the "Free" or "Demo" label.
-
Click the "Download" or "Free Demo" button. (Do not select the paid version if you only want to test the demo).
Step 3: Wait for Install 💾
-
MT5 will automatically download the EA to the folder: MQL5/Experts/
-
Once finished, the EA will appear in the Navigator window under Expert Advisors → CuanHunter Robot.
Step 4: Attach EA to the Chart 📊
-
Open a chart for a supported symbol (e.g., XAUUSDm on the M15 timeframe). (Remember, EAs usually cannot run on incompatible symbols.)
-
Drag & drop the EA from the Navigator onto the chart.
-
In the EA Settings pop-up, check the following:
-
✅ Check Allow live trading (Mandatory for demo trading).
-
✅ Check Allow DLL imports (if required by the EA).
-
-
Adjust the Inputs (like lot size, mode (XAUUSD/BTCUSD), etc.) as needed.
-
Click OK.
Step 5: Confirm the Robot is Running 🙂
-
Check the top right corner of the chart. You should see a smiley face 🙂. This means the EA is active.
-
If you see a warning symbol ⚠️ or a sad face 😟, the EA is NOT active. This could be because:
-
The symbol is not compatible.
-
Algo Trading is not active (check the blue button from Step 1).
-
The Market Free Demo version does not support this specific symbol.
-
Step 6: Monitor Logs & Actions 💬
-
Check the Experts tab at the bottom of the terminal. You should see printouts or alerts from the EA here.
-
Visual labels on the chart (like BUY/SELL) should appear according to the EA's logic.
-
The EA will start opening positions based on signals (if your broker's demo allows it).
If you still see an error, please check the Journal tab for any specific error codes (like Error 403 or 12002) and let me know!