Order Block Visual Pro
- Indicateurs
- Version: 1.10
- Activations: 10

# ORDERBLOCK VISUAL PRO: Institutional Multi-TF Scanner & Liquidity Radar
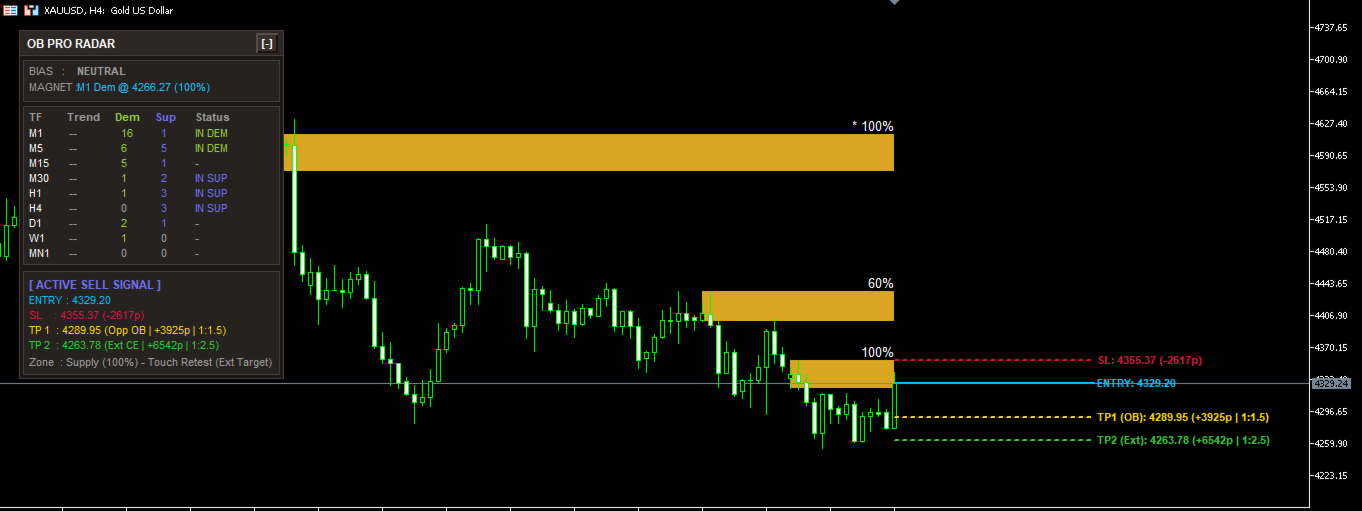
**OrderBlock Visual PRO** is a professional-grade Smart Money Concepts (SMC) indicator engineered for MetaTrader 5. It automatically detects institutional accumulation and distribution zones (Order Blocks), calculates high-probability trade setups, and projects dynamic Entry, Stop Loss, and Take Profit levels based on the **"OB-to-OB Liquidity Path"** concept.
Equipped with an interactive, ultra-fast **Glassmorphism Multi-Timeframe Dashboard**, this indicator continuously monitors 9 timeframes (M1 to MN1) simultaneously—saving you from flipping through dozens of charts.
---
### 🌟 Key Highlights & Advantages
- **100% Non-Repainting & Non-Lagging**: Once a bar closes, zones and signals remain fixed and verified.
- **OB-to-OB Liquidity Engine**: Take Profit 1 is dynamically locked onto the opposing unmitigated Order Block (the exact target where institutions take profit).
- **All-in-One Multi-TF Scanner (9 Timeframes)**: Monitors M1, M5, M15, M30, H1, H4, D1, W1, and MN1 in a single compact panel.
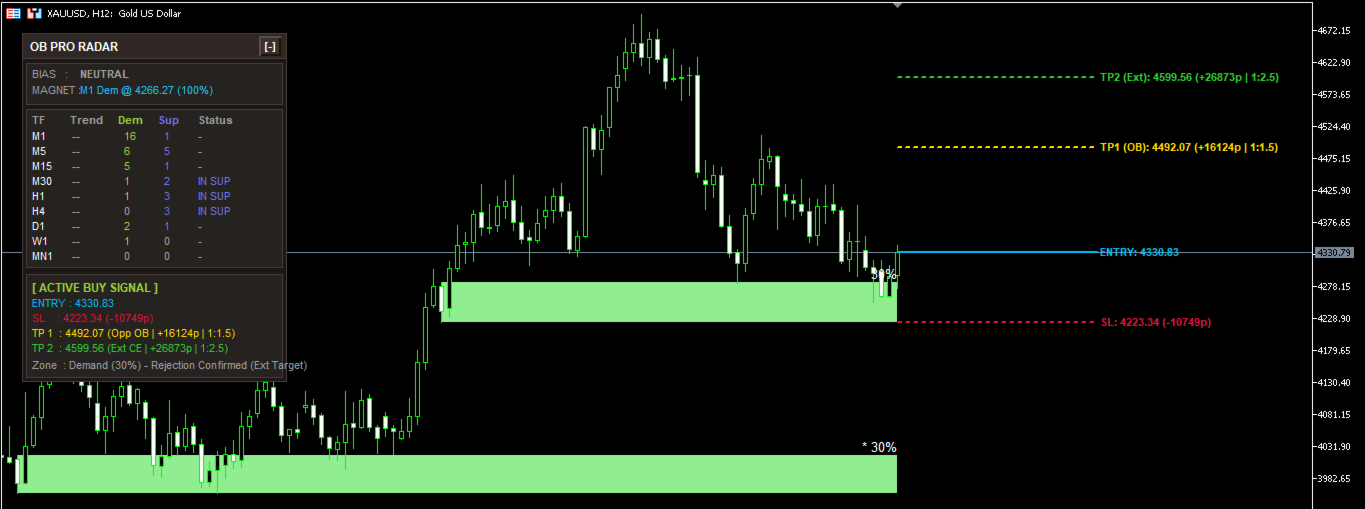
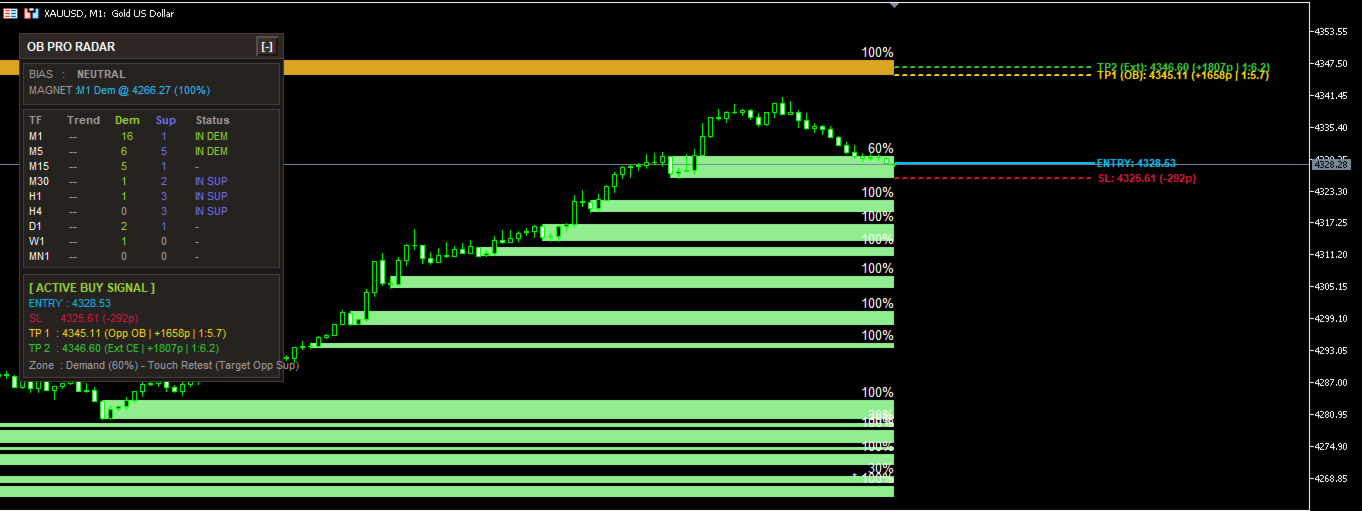
- **Live Active Signal Radar**: Displays exact ENTRY, STOP LOSS (with pip buffer), TP 1 (Opposing OB), and TP 2 (Extended CE) with real-time Risk:Reward calculations.
- **Harmonized Chart Projections**: Clean, color-coded lines plotted directly onto your chart with price & pip tags.
- **Instant Mobile Push Notifications**: Receive actionable signal alerts with exact Entry/SL/TP levels directly to your MetaTrader 5 mobile app.
- **Ultra-Lightweight Performance**: Optimized with handle caching and zero CPU lag—smooth 60 FPS chart dragging.
---
### 📊 How the "OB-to-OB" Concept Works
Institutions accumulate liquidity at Order Blocks and drive price toward opposing unmitigated zones:
1. **BULLISH SETUP (Demand Retest)**:
- **Entry**: Retest or rejection off the Bullish Demand Block.
- **Stop Loss**: Positioned safely below the bottom of the Demand zone with spread/ATR buffer.
- **Take Profit 1 (Primary)**: The lower boundary of the nearest opposing Supply Order Block above current price.
- **Take Profit 2 (Runner)**: Consequent Encroachment (50% CE) or breakout of the opposing Supply zone.
2. **BEARISH SETUP (Supply Retest)**:
- **Entry**: Retest or rejection off the Bearish Supply Block.
- **Stop Loss**: Positioned safely above the top of the Supply zone with spread/ATR buffer.
- **Take Profit 1 (Primary)**: The upper boundary of the nearest opposing Demand Order Block below current price.
- **Take Profit 2 (Runner)**: Consequent Encroachment (50% CE) or breakout of the opposing Demand zone.
---
### 🖥️ Dashboard Interface Overview
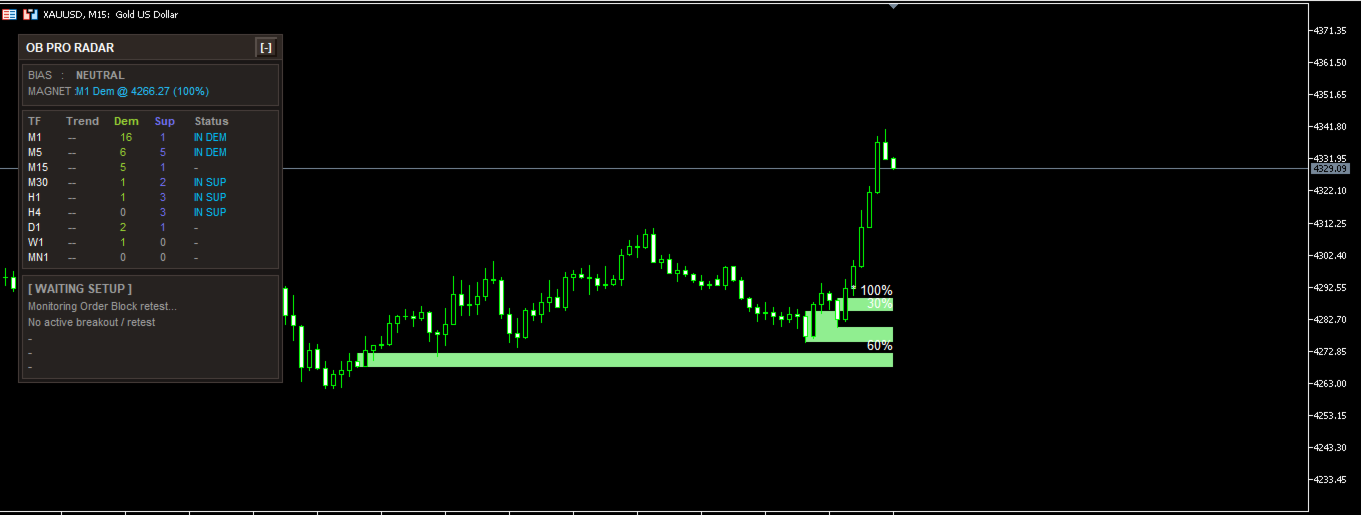
- **Global Market Bias**: Analyzes higher-timeframe order block dominance (Bullish / Bearish / Neutral).
- **Global Magnet Zone**: Identifies the strongest, highest-rated Order Block across all 9 timeframes.
- **Multi-TF Scanner Grid**:
- `Trend`: Current timeframe bias.
- `Dem / Sup`: Active count of demand and supply blocks.
- `Status`: Real-time status indicators (`IN DEM`, `IN SUP`, `NEW*`).
- **Active Signal Radar**:
- Color-coded: Blue (Entry), Red (SL), Gold (TP1 OB), Green (TP2 Runner).
- **One-Click Collapse [-]/[+]**: Minimize the panel to a sleek header bar whenever you want a completely clean chart.
---
### ⚙️ Input Parameters Guide
- **Candle Range**: Pivot structure range for detecting Order Blocks (default: 25).
- **Show Mitigated Blocks**: Display tested/mitigated order blocks or hide them.
- **Max Active Boxes per Side**: Maximum number of active zones drawn on chart (default: 20).
- **Auto Bootstrap Bars**: Automatically scales historical sample size according to the chart timeframe.
- **Entry Trigger Mode**: Choose between `Touch Retest`, `Rejection Confirmed`, or `Both`.
- **Stop Loss Buffer (Pips)**: Extra safety margin added outside the zone boundary.
- **TP 1 Fallback RR**: Risk:Reward ratio used when no opposing Order Block exists (e.g. All-Time Highs).
- **Draw Visual Lines on Chart**: Enable/disable projected Entry, SL, and TP lines on your chart.
- **Push Notification to Mobile**: Sends detailed signal alerts directly to your smartphone MT5 app.
- **Dashboard Position X/Y**: Initial coordinates (can be dragged freely with mouse).
---
### 📈 Recommended Trading Setup
- **Best Instruments**: Gold (XAUUSD), Major Forex Pairs (EURUSD, GBPUSD, USDJPY), Crypto (BTCUSD, ETHUSD), and Stock Indices (US30, NAS100).
- **Best Timeframes**:
- **Scalping**: M5 & M15
- **Day Trading**: M15 & H1
- **Swing Trading**: H4 & D1