This is part of the larger UTM Manager Guide - Other - 30 January 2023 - Traders' Blogs (mql5.com)
Getting Started
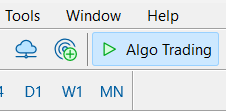
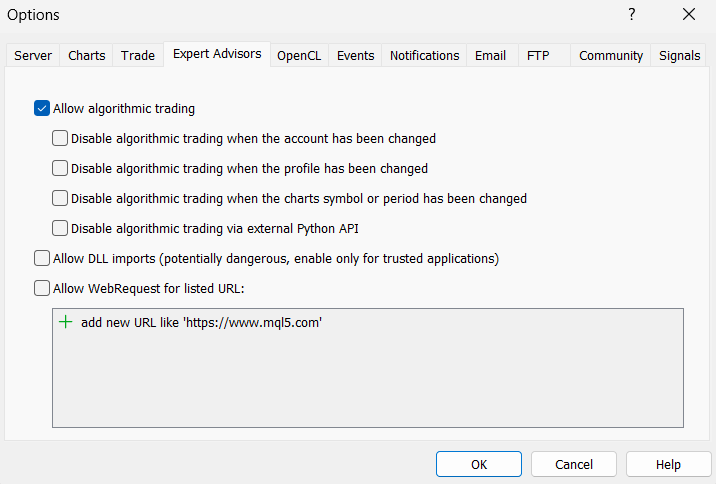
Before you add the UTM Manager to a chart, please ensure that algorithmic trading is activated in MetaTrader 5. To enable it, either click on the 'Algo Trading' button in the main GUI or activate it from the options menu.
After enabling algorithmic trading, you can add the UTM Manager to a chart by using one of the following methods:
- Method 1: Right-click on the Expert Advisor (EA) and select 'Attach to chart' from the drop-down menu.
- Method 2: Drag and drop the UTM Manager EA from the Navigator window onto the chart.
Or permanently from Tools > Options Expert Advisiors
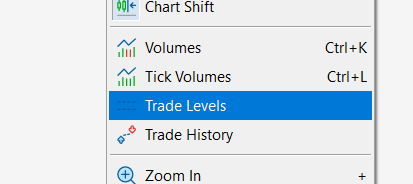
Trade Levels
To disable 'Trade Levels', follow these easy steps: right-click on the chart and choose the option to turn it off.
Or permanently from Tools > Options > Charts.
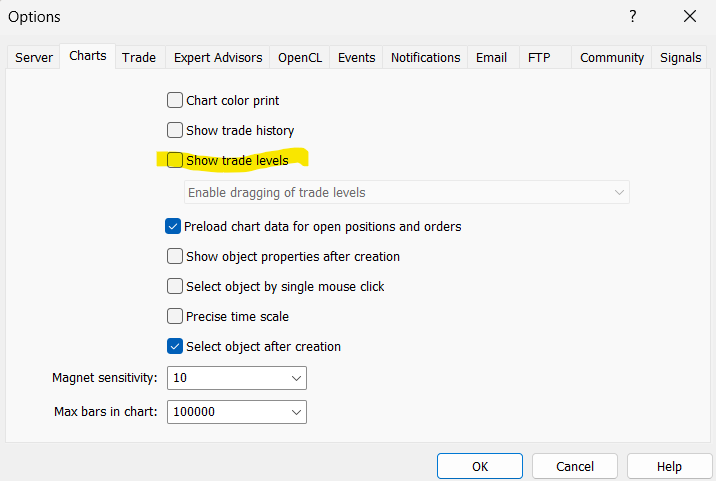
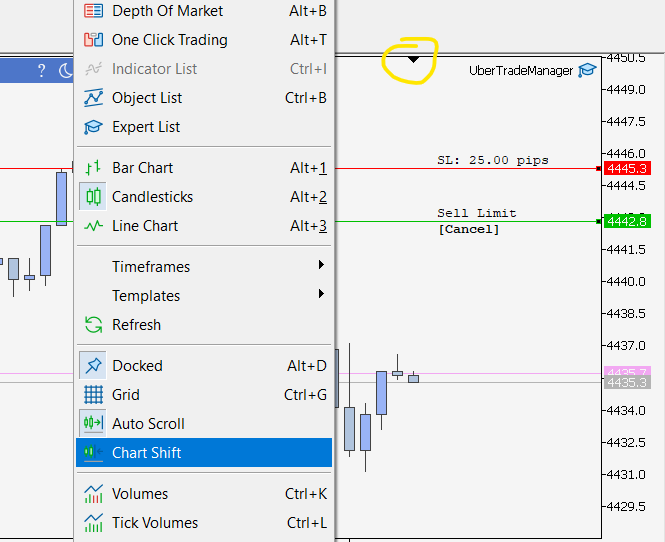
Chart Shift
Also you need to enable 'Chart Shift' and adjust last price level from the 'upside triangle' so you see all the manager texts correctly.
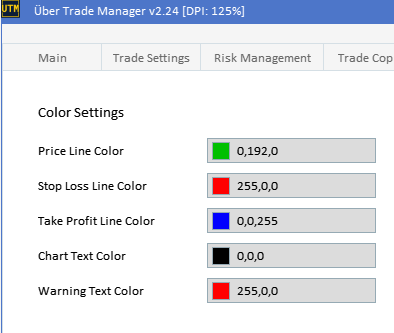
Verify Text Colors
Make sure your text colors are not same as your chart background color and you are able to see all texts. (default colors come from 'chart property color options')
Manager Settings and Configuration Persistence
In this section, we will explore the nuances of the manager settings and the underlying mechanism that governs the saving of these settings.
Unified Settings Across Instances
The trade manager operates based on a shared settings principle. Essentially, all instances of the trade manager share the same settings, referencing a central configuration when initiated.
Saving Settings: Last Save Takes Precedence
The trade manager's saving mechanism is geared to prioritize the most recent alterations. When changes are enacted in any of the manager instances, these become the "last saved settings". It's crucial to understand that the last manager to enact changes will supersede any preceding settings, ensuring that the freshest parameters are always at the forefront, ready to be implemented in new manager instances.
Settings Persistence and Loading
Despite the unified settings approach, existing manager instances retain their current settings, even when alterations are made in a different instance. These instances persist with their "current settings", holding onto the strategies and parameters that were active at their initiation time.
However, a restart of these instances triggers the automatic loading of the latest saved settings, aligning them with the most recent configuration.
Practical Implications and Best Practices
In practice, modifying the settings in one instance doesn't immediately affect others that are running concurrently. They continue utilizing their existing settings until a restart occurs. Once restarted, they assimilate the latest saved settings, harmonizing their operations with the most recent configurations.
Important Tip: Streamlining Manager Operations
To ensure the persistence of settings and avoid overwriting changes inadvertently, it's advisable to make alterations using a single manager instance at a time, followed by restarting all other instances to synchronize them with the latest configurations.
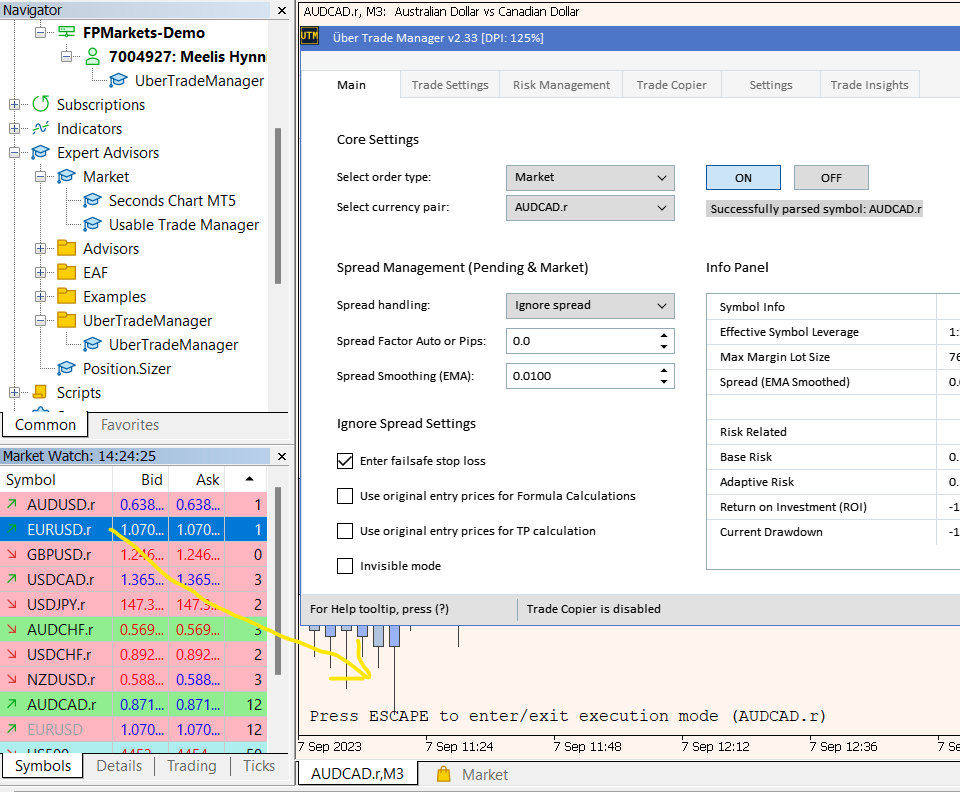
BIG TIP: To facilitate easier management when operating multiple managers, you can utilize the MT5 market watch feature. This allows you to drag symbols directly from the market watch to the current chart, eliminating the necessity to have more than one manager instance open. This simplifies the settings management process.
Tip: Efficient Symbol Switching to Avoid Multiple Chart Instances
To switch symbols, drag them from the "Market Watch" section directly onto the chart to prevent initiating multiple manager instances or charts (when not really needed).
Settings Profiles

The Settings Profiles allows you to manage and switch between different saved settings slots. This is useful when you have specific settings for different trading scenarios.
When you select a new slot that doesn't have any settings saved yet, the system will automatically copy the currently used settings as a starting point for the new slot. This means you don't start from scratch and can adjust from your current settings.
Please note that a restart of the manager is required for the new settings slot to take effect.
Trading Features
Custom Symbols Support
Custom symbols charts allow you to create additional charts/timeframes that are not native to MT5, such as seconds charts.
These charts are not tradable by default and require a manager that supports them. UTM can handle some of the common seconds charts. If the UTM is unable to parse the currency pair name from a custom symbols chart, or if the chart is unknown, you can manually choose the currency pair to trade to overcome this problem.
If a custom symbols chart doesn't work, you can contact the developer for assistance so that we can add support for your chart.
Multiple Trades and Multiple Managers on same pair
With the capability to manage multiple trades, the manager oversees all open positions initiated with the manager. However, it's not possible to open multiple instances of the manager on the same currency pair. If you want to trade another currency pair, you can open another instance of the manager for that particular pair (or drag from market watch). Please note, the manager must be running on the same chart for take profit/partial close orders and for the 'Ignore spread mode' feature to work properly. However, if you have a 100% close percentage at TP1, and are not using the 'Ignore spread invisible mode', the manager will enter the TP level to the broker directly.
Trade Handling
The manager continues to manage trades even after a restart, maintaining the state of each trade. If the manager detects an open trade that wasn't executed through it, it won't draw or manage those trades. Keep in mind that the manager can only handle trades that were executed through it, and it cannot manage trades that were conducted outside of its control. Also, remember that the manager needs to be running on the same chart for take profit/partial close orders to be executed. The same applies when using the 'ignore spread mode' feature. It's recommended to alter trade-related settings only when no trades are running.
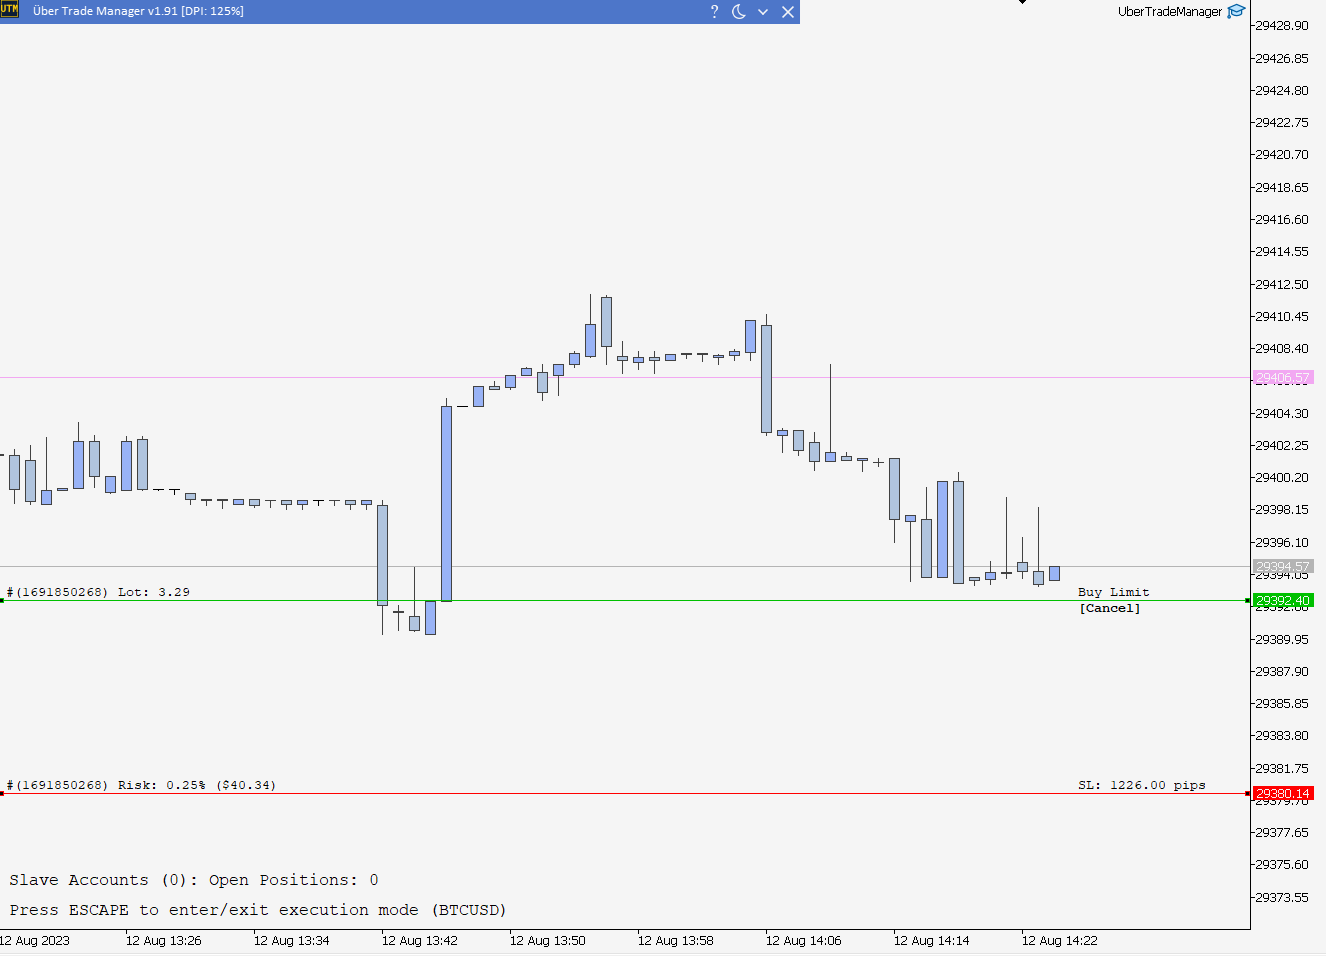
Execution mode (ESC hotkey default)
To initiate trade execution, you will need to enter the 'execution mode' by pressing the execution mode hotkey. In execution mode, you will have the ability to place entry and stop loss lines on the chart. The current SL size will be displayed live on the chart, and once the stop loss line is placed, the trade will be executed. In the scenario of a fixed stop loss, the trade will be executed upon the first placement of the entry line. In the case of a market order, only the stop loss line will appear, and you can only set the stop loss as the trade will be executed at the market price.
While in execution mode, you can also trigger other hotkey events, such as setting all positions to break even, canceling all pending positions at once, or quickly switching the order type (this is useful if you're late for a stop order, for instance, you can quickly switch to a market order). The current live market spread is also displayed in execution mode, as well as other information regarding the current state of the manager.
EMA Smoothing
By checking the
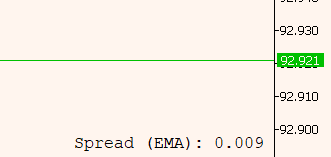
you can inspect the EMA smoothed spread directly on the chart. For a deeper understanding of how EMA smoothed spread operates. Please delve into the detailed section below in this guide for more info about EMA Spread Smoothing.
You can alter your orders by dragging the existing order entry or stop loss lines. When adjusting a pending position in MT5, it will need to be removed and re-entered in the market. This is because MT5 doesn't support modifications to the lot size of an existing position. Adjusting a position necessitates closing it and reopening it with the updated lot size. This ensures that the lot size is recalculated accurately and that the position is opened at the correct size when dragged.
Additionally in Position, there's a 'XX% partial closing' button that enables you to rapidly close a certain percentage of a position. There's also a 'close button' that entirely closes a position. These buttons may not be intuitively obvious.
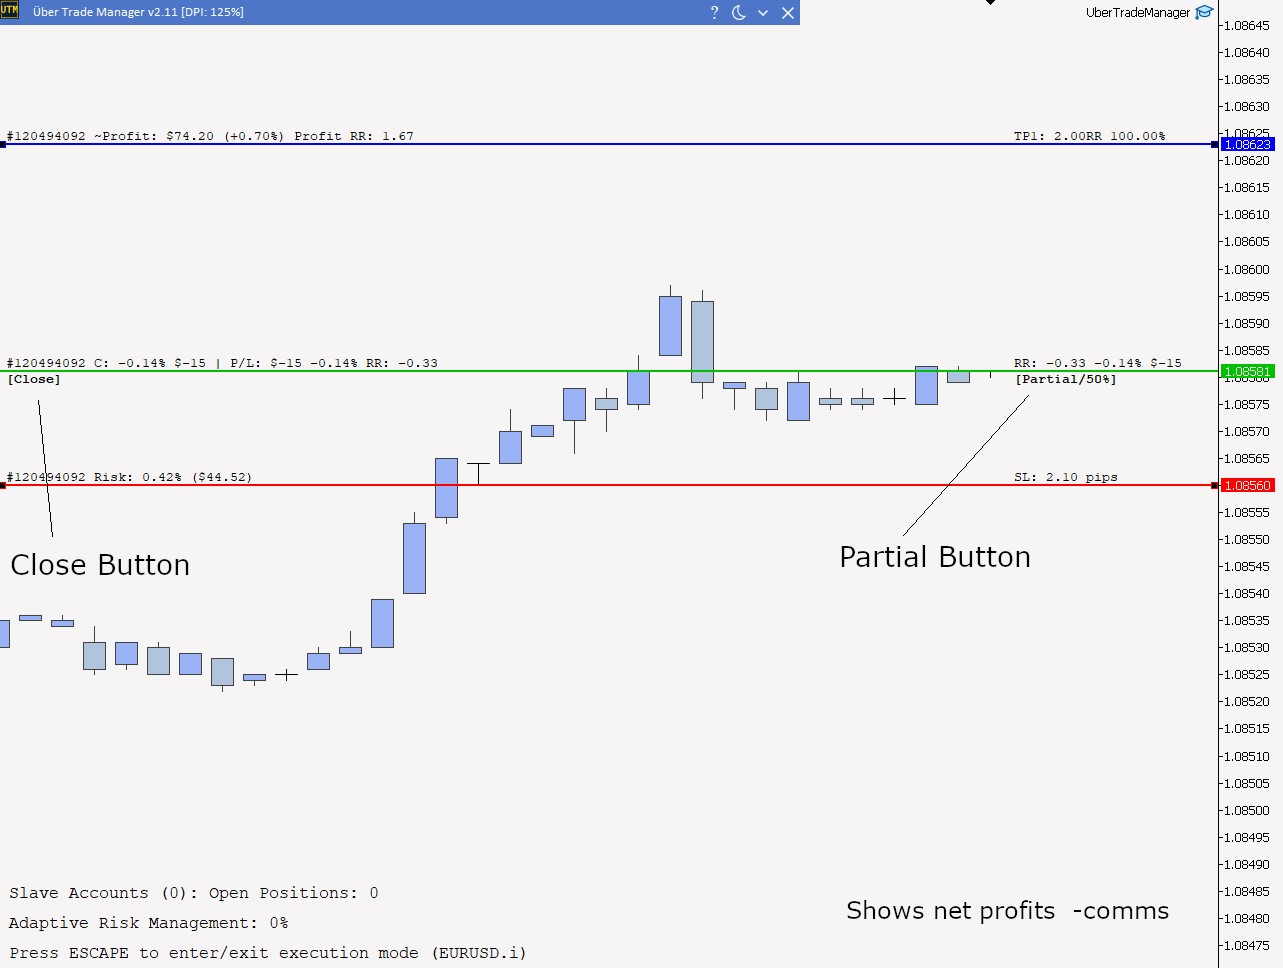
Understanding Trade Line Stats
1. Stop Loss Line (SL Line)
- Left Text: Contains trade ID and either the risk or profit based on the trade's current status.
- Risk or Profit Percentage: Indicates the percentage of risk or profit, excluding commissions if profit is being displayed.
- Risk or Profit in Money: Indicates the risk or profit in the account's currency, excluding commissions if profit is being displayed.
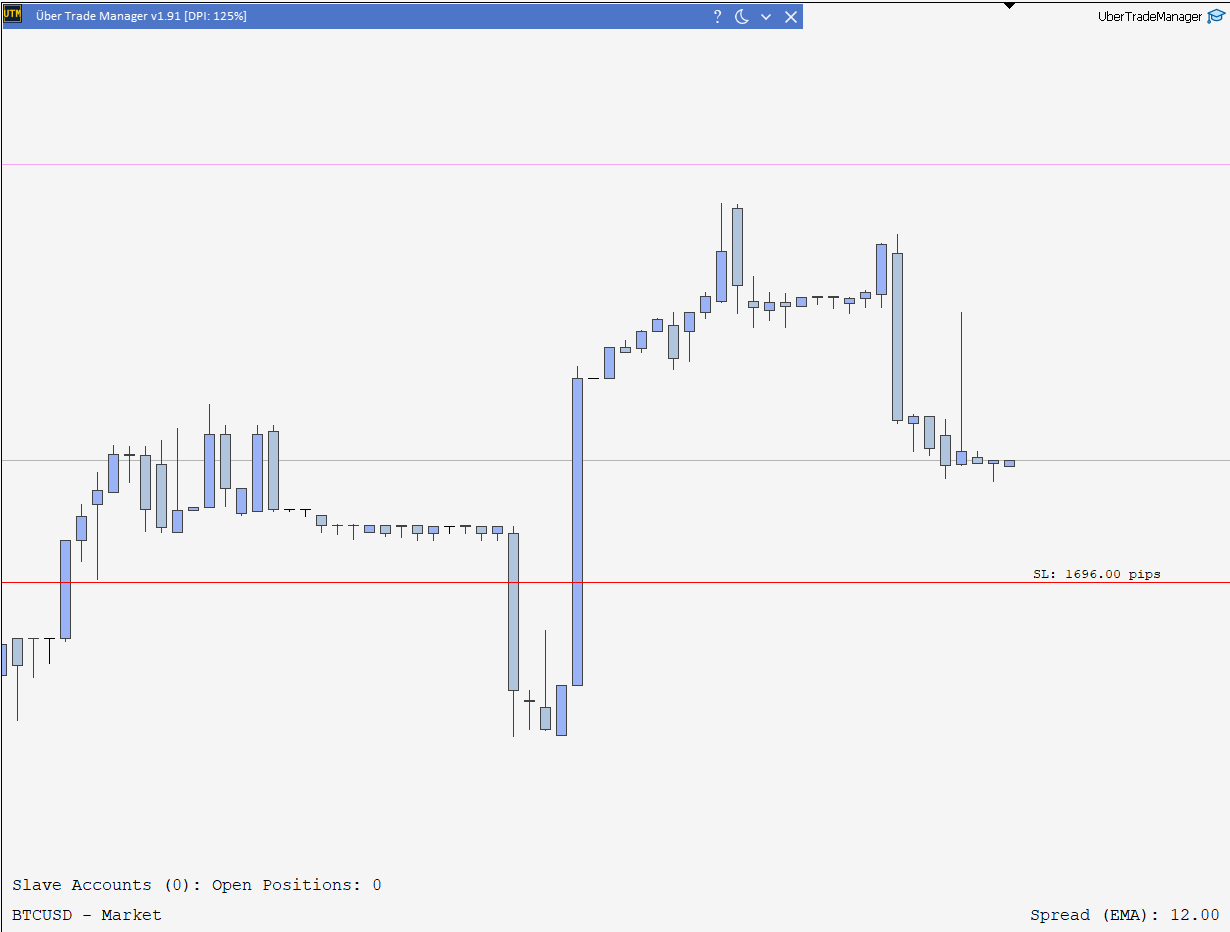
- Right Text: Provides details about the stop loss size in pips or a trailing stop loss with Risk-Reward Ratio (RR).
2. Entry Line
- Left Text:
- Trade ID: Displays the unique identifier for the trade.
- Lot Size: Indicates the size of the lot for the trade (only for pending trades).
- Commissions: Shows the commissions in percentage and money (for positional trades).
- Profit/Loss: Displays the profit or loss in money and percentage, including commissions.
- Risk-Reward Ratio (RR): Shows the RR for the profit, including commissions.
- Right Text:
- Risk-Reward Ratio (RR): Displays the RR excluding commissions. Total profit percentage, and total profit value (for positional trades), including commissions.
3. Take Profit Line (TP Line)
- Left Text:
- Trade ID: Displays the trade's unique identifier.
- Profit: Indicates the potential profit in money and percentage, relative to the account balance. This figure includes commissions.
- Profit RR: Shows the potential Risk-Reward ratio for the profit, including commissions.
- Right Text:
- Take Profit Number: Displays the TP line number.
- Take Profit RR Value: Indicates the TP Risk-Reward value.
- Partial Percentage: Shows the percentage of the total lot size that is taken at this TP.
Additional Notes
- Commissions: The commissions are included in calculations related to profits and are deducted from the calculated value. For risk calculations, the commissions are not included.
- Trailing Stop Loss: If the trade has a trailing stop loss, the right text of the SL line will include the RR value for the trailing stop.